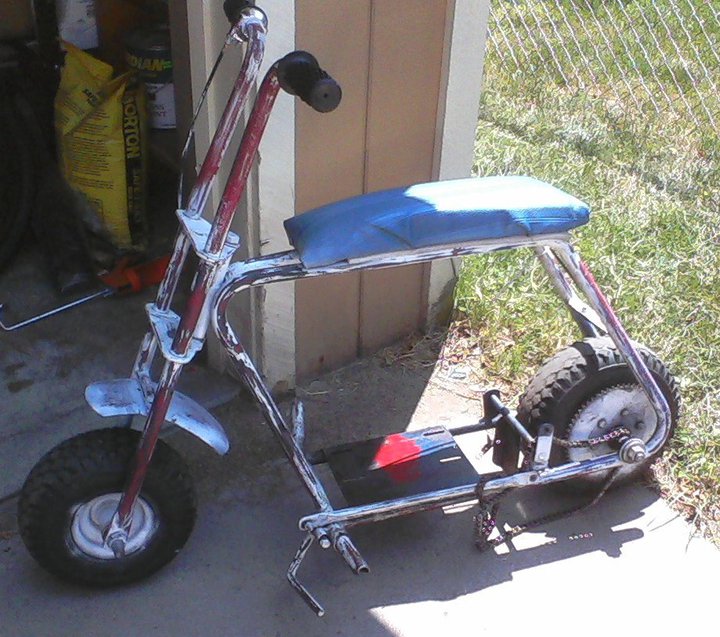
I picked this roller up for 35 bucks and it had a brand new twist grip set with throttle cable. I got it at a local mini bike swap meet in Livonia Michigan. Once a month during the summer months, Mathison Supply has a swap meet in their parking lot. Their address is 28243 Plymouth Road and their phone number is 734.522.5833. They run http://www.oldschoolminibike.com and are both very knowledgable and super helpful!
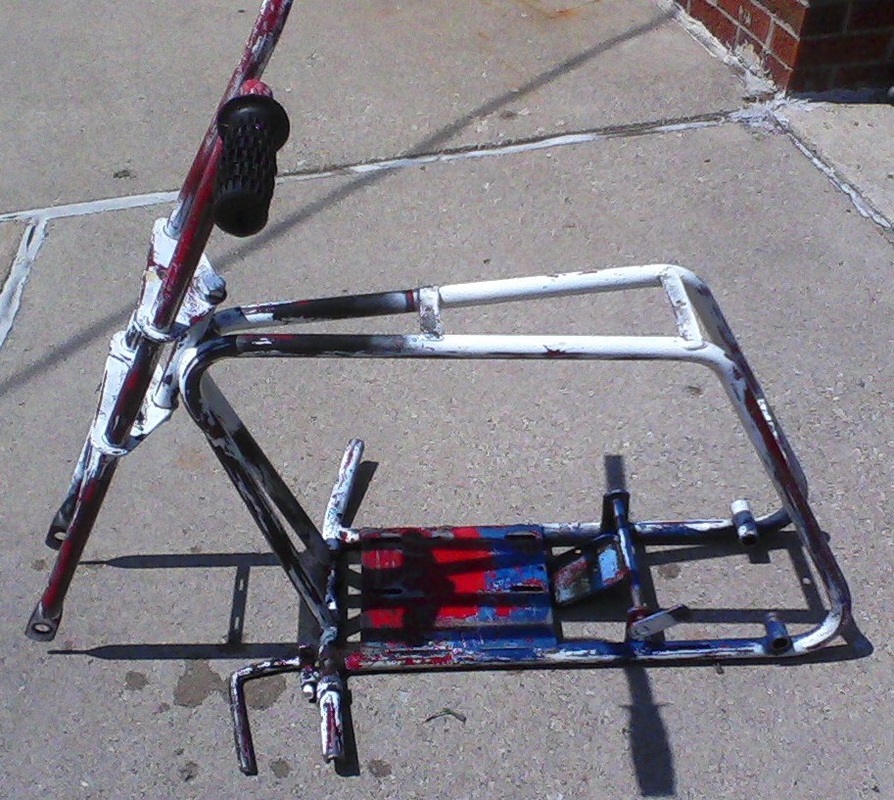
I started out by removing the wheels, seat, chain and throttle cable and degreasing the whole thing. I use driveway degreaser from the Home Depot and a red Scotch Brite pad. The driveway degreaser works really good and is only 10 bucks a gallon from the Home Depot versus 6 to 8 bucks for a spray bottle of degreaser. You should really wears rubber gloves when working with this stuff because it will mess your hands up. I don't wear gloves but I'm not right in the head...

You may also want to wear safety gogles when mixing concentrated degreaser with testoserone and a red Scotch Bright pad, you may get it in your eyes which really burns bad and for a long time. But I'm a a real man and don't wear rubber gloves or safety glasses...
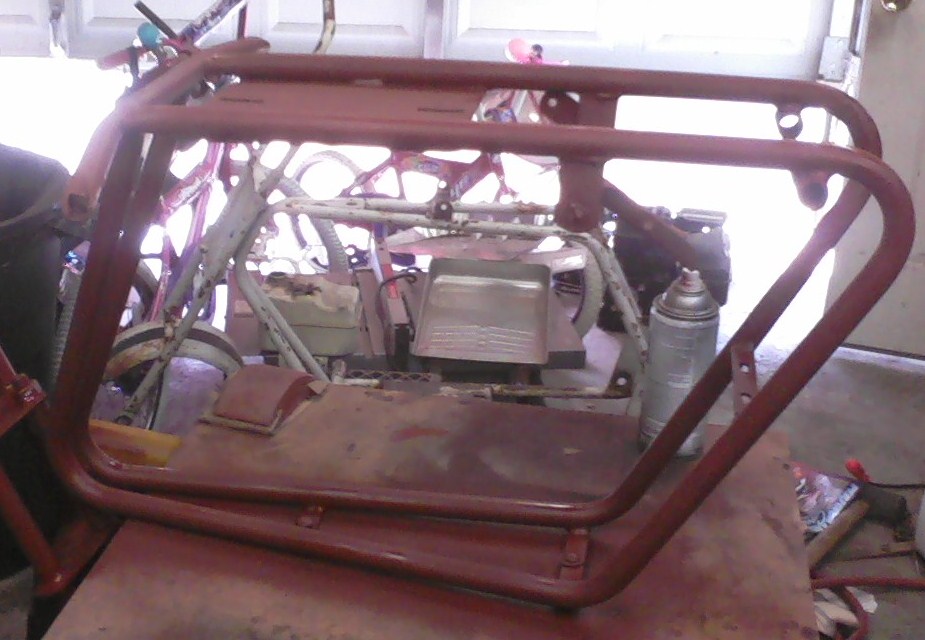
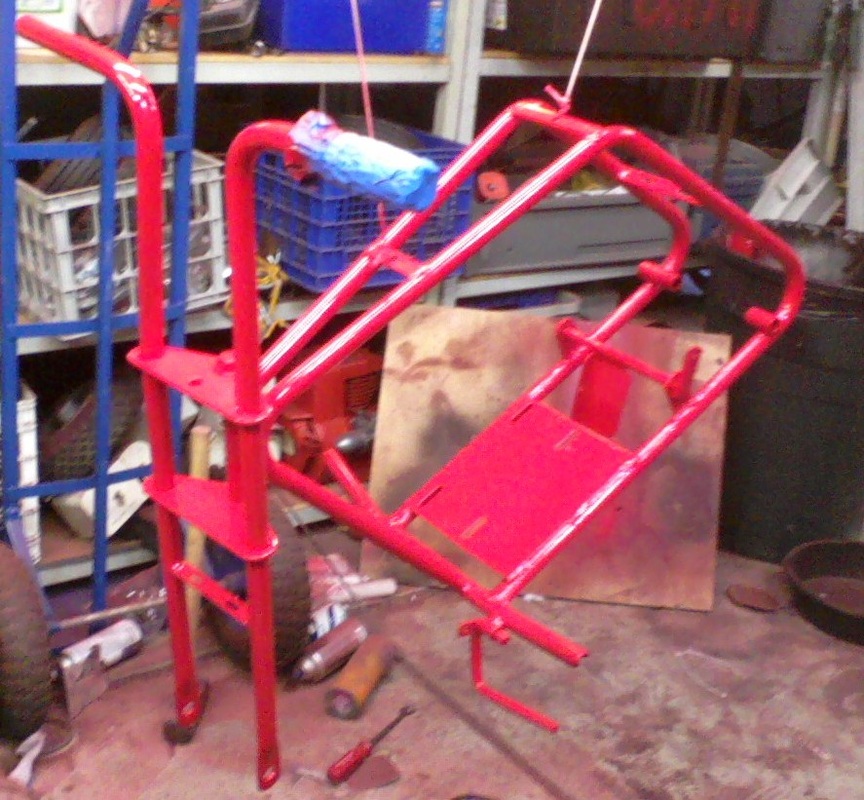
Sorry I didn't take pictures as the frame and forks were getting stripped, but I was in the zone and flying right along. Here is the frame primered.
I painted the underside while on the saw horses.
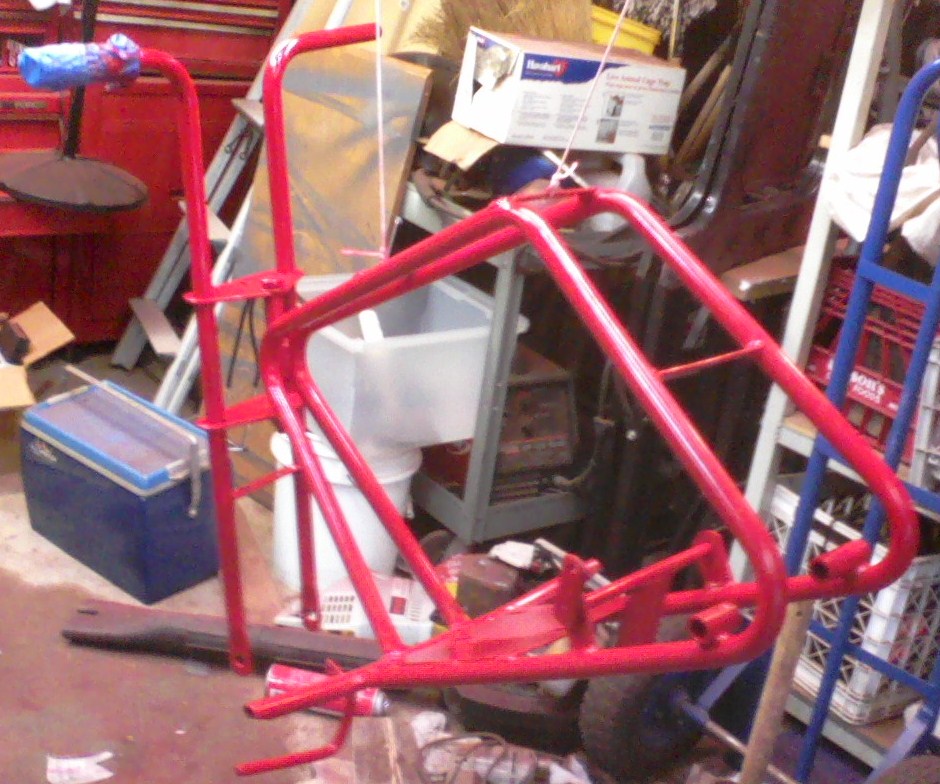
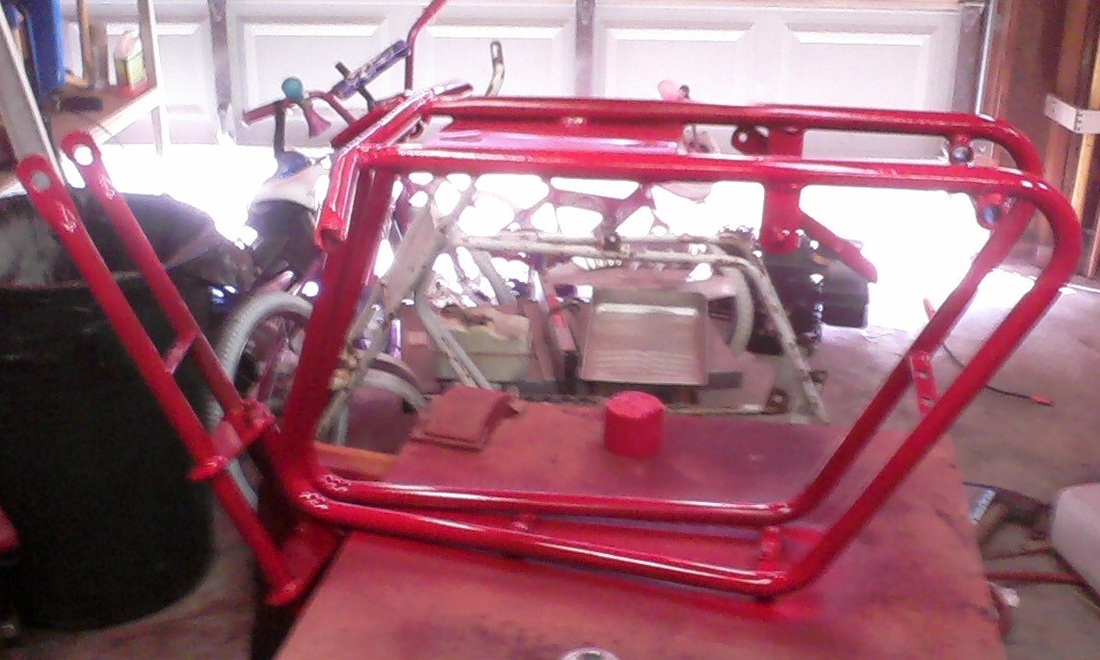
I then hung the whole assembly from the rafters and sprayed it with two coats of Rustoleum Painters Choice in Apple Red, which I picked up on sale for 3 bucks a can at my local ACO. It goes on really nice and I always clear coat anyways so I wasn't worried about durability issues. Notice the taped up handlegrip, I couldn't get that thing off!
After I painted it I clear coated the whole thing using Duplicolor "High Performance Wheel Coating" clear. This stuff goes on great, dries fast and hard and is super shiny and durable. It costs about 7 or 8 bucks a can, but is well worth it. 1 can will do a typical mini bike frame, and you can buy cheaper paint. I shot the 2 coats of the Painters Choice about 20 minutes apart and then after about an hour I cleared it and had no problems with paint interaction.
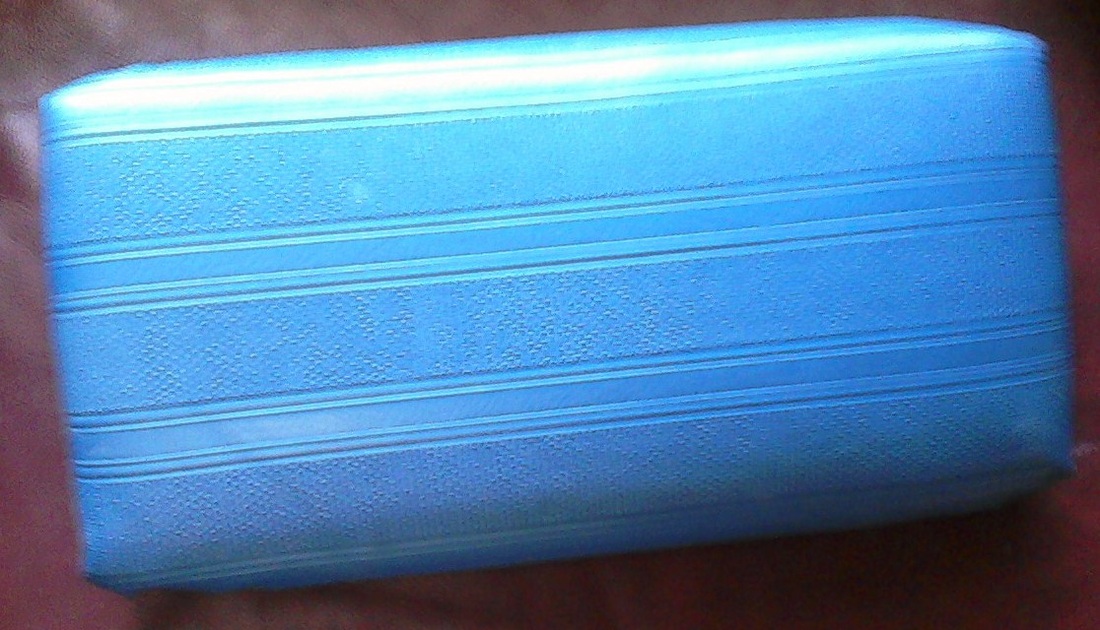
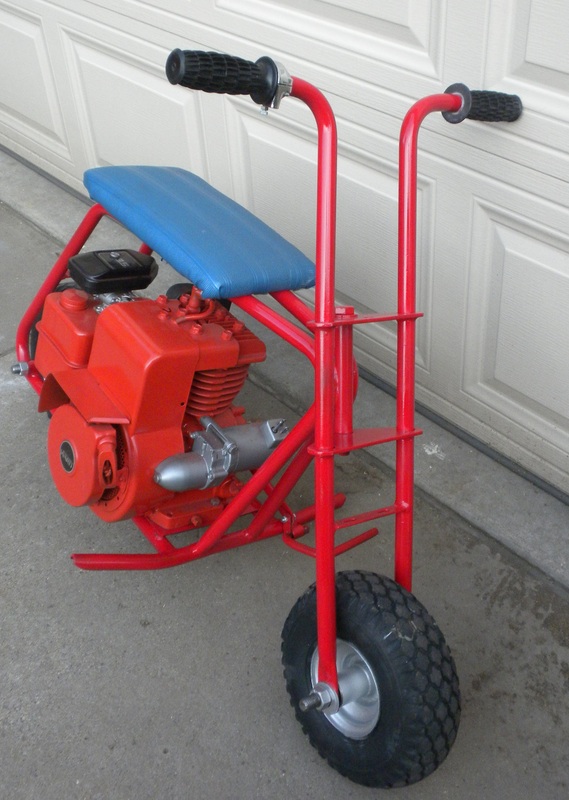
The old seat was clapped out so I made a new one using that cool old school blue vinyl that came on it.
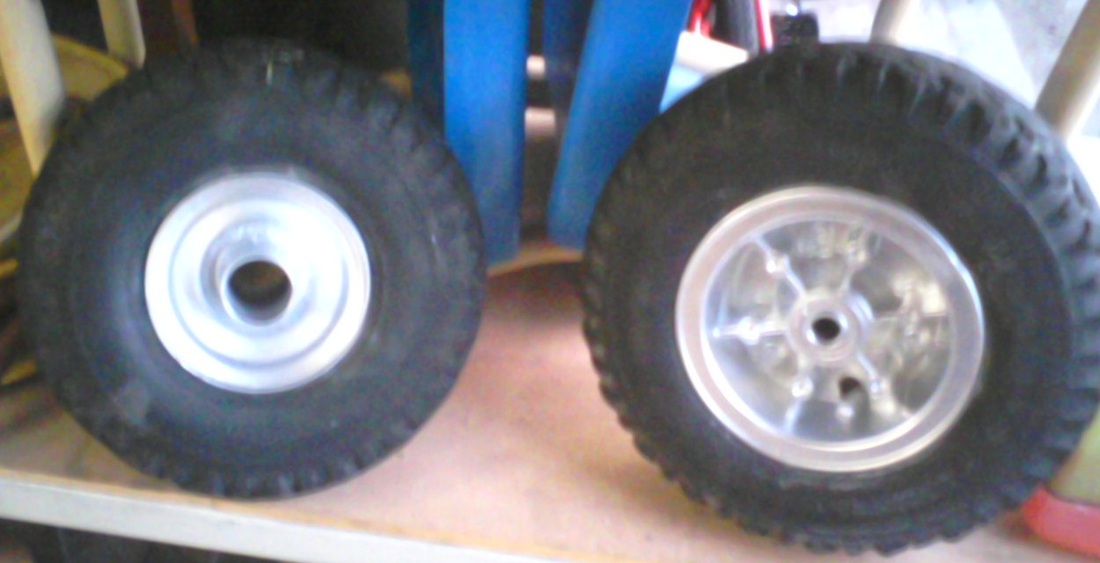
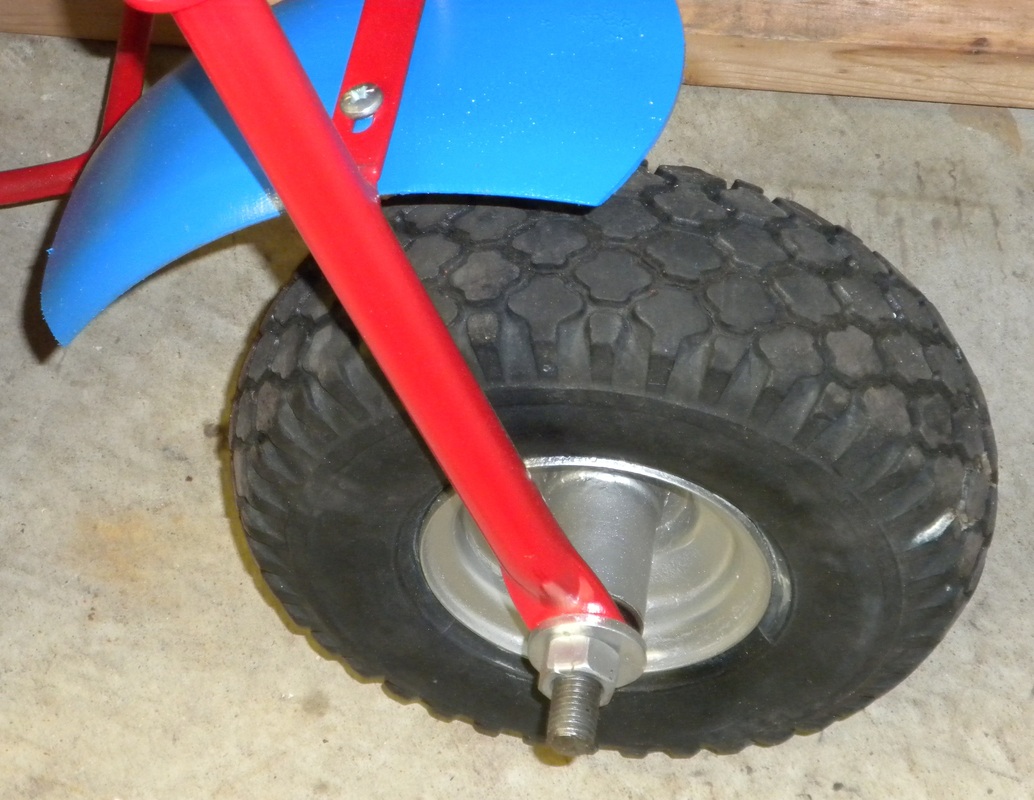
The mismatched wheels got a coat of Rustoleum Bright Coat Metallic Finish paint in the aluminum color to try to make them look like they go together. Actually if you get back 30 or 40 feet and squint it kinda... Nah they look crappy, but hey this is a 35 dollar mini bike! This paint looks nothing like aluminum and I am not crazy about it. But it is what I bought so I used it.
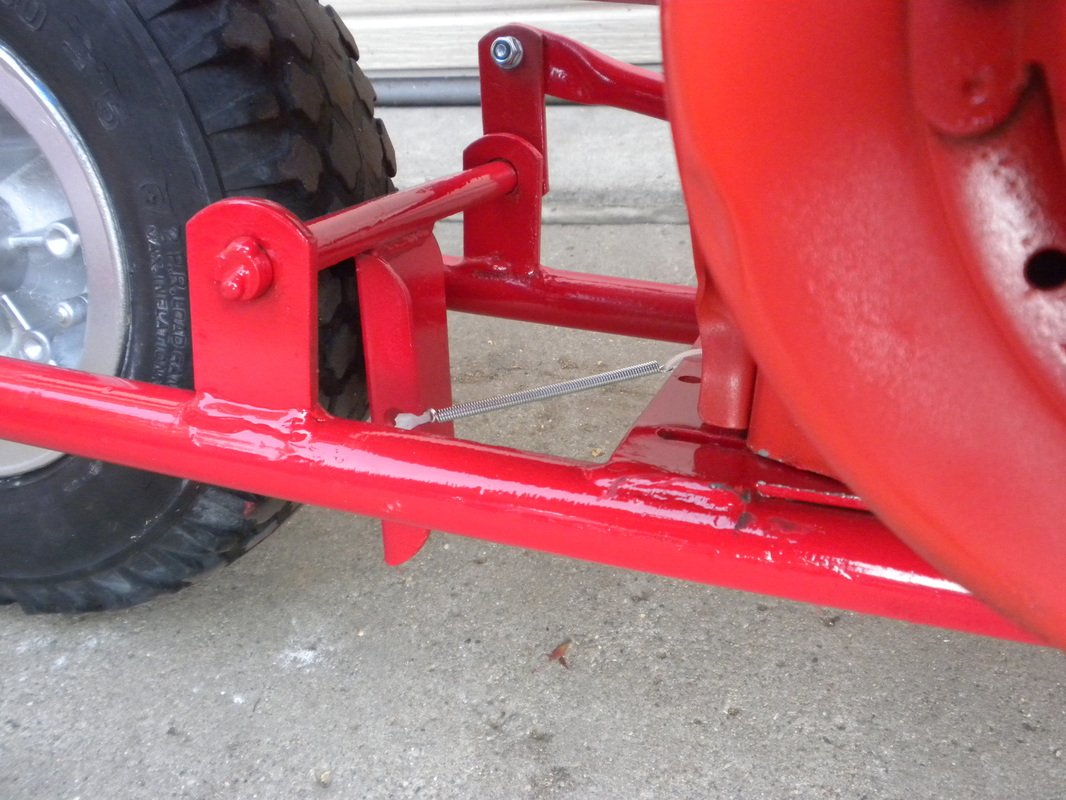
Not sure what to call this braking system, so I will make up my own term - the tire brake system. I was just calling it the tire rubbing pedal thingy system so this is a much better name.
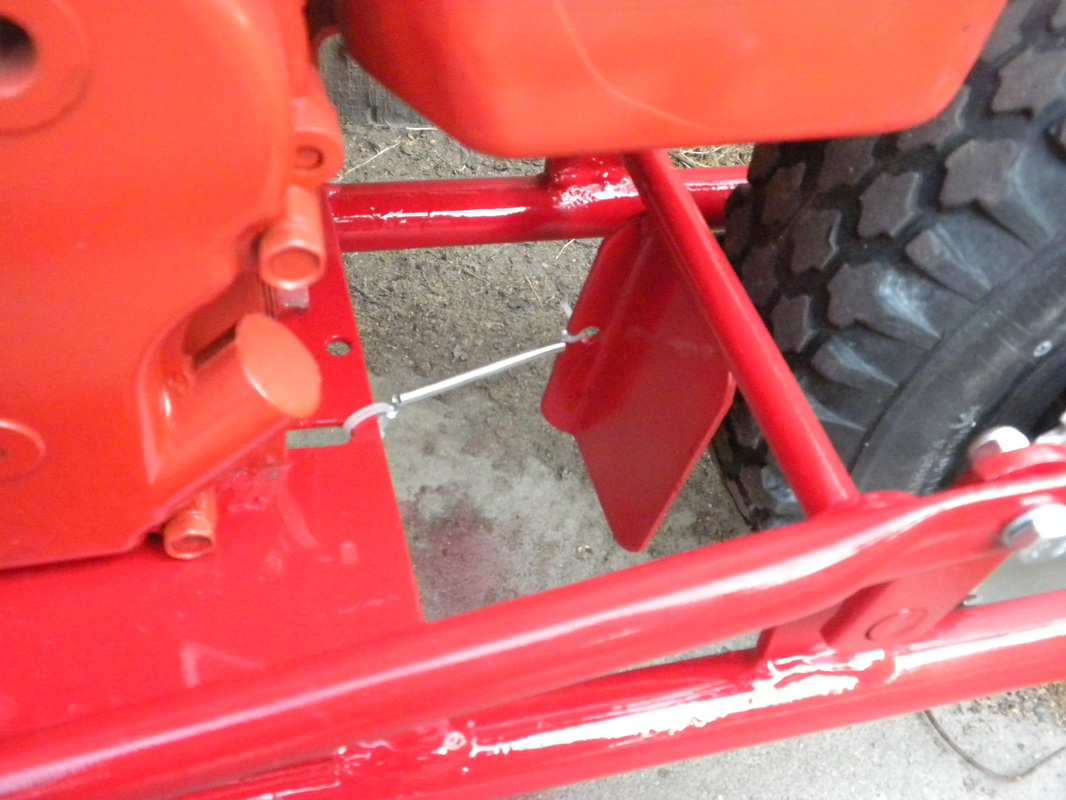
Another shot of the newly named tire brake system, the zip ties will go when I get to the hardware store and get some S hooks I can adapt. Actually, I have a bunch up north so I will just grab those next time I go up.
I installed all new machine screws and nylon lock washers on the pedal and linkage. It was another thing on the 35 dollar bike I didn't have to buy extra.

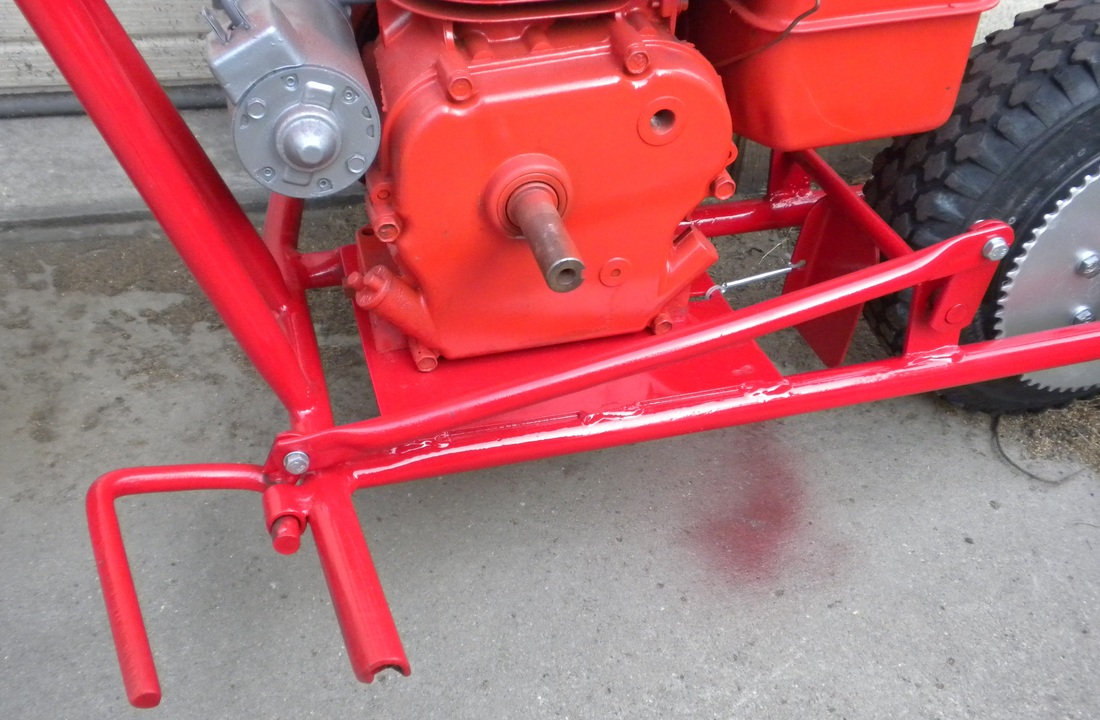
This is a 3 1/2 horsepower Briggs and Stratton I picked at and earlier swap meet at Mathison's in June. It is a former snowblower motor that has an electic starter which works great. I partially disassembled it and gave it a paint job, it runs great but the carb leaks. It wil need a little more work as well as a clutch to be ready.
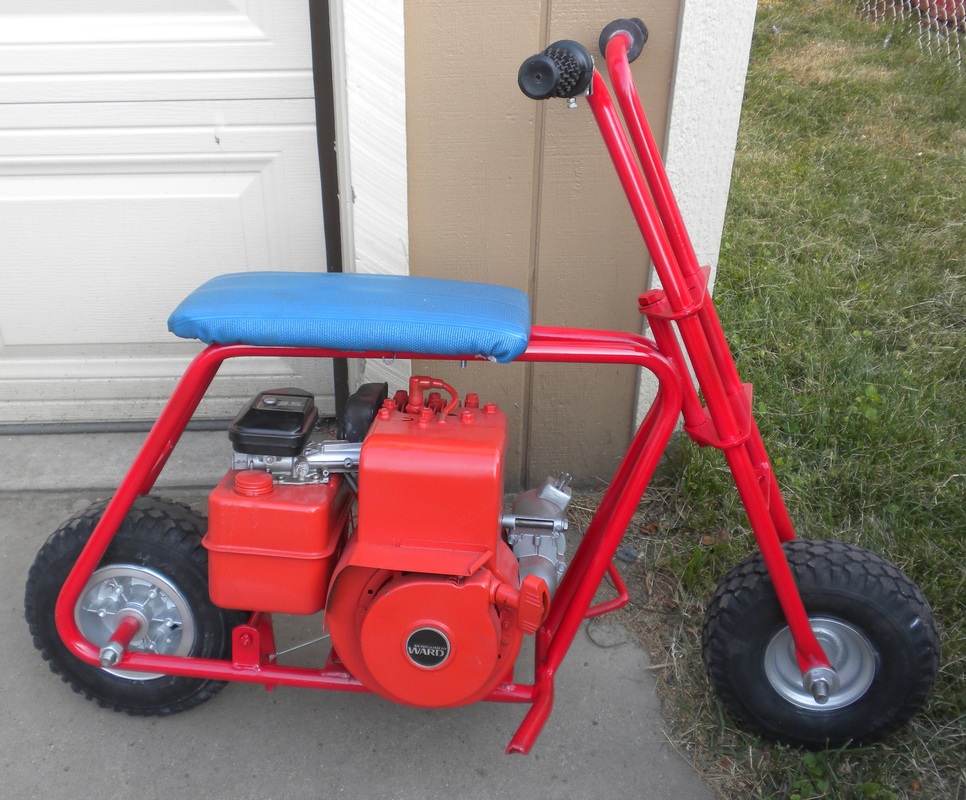
Here is the finished product, I think it looks pretty darn good. I only have 55 dollars in it so far with the motor.
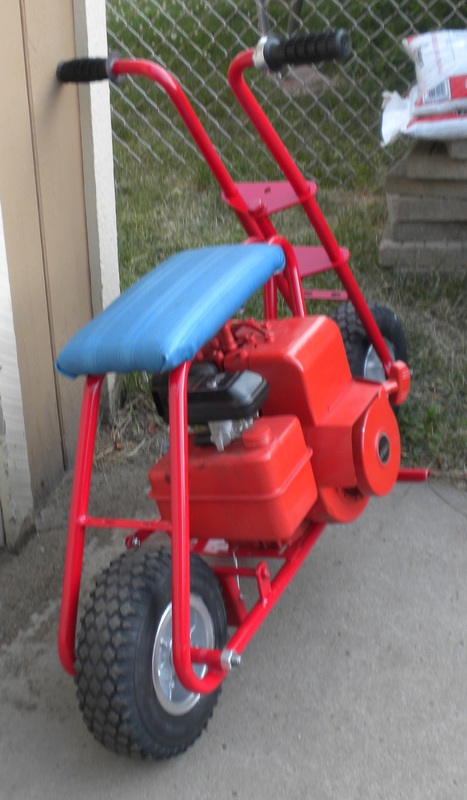
A rear view.
Front view.
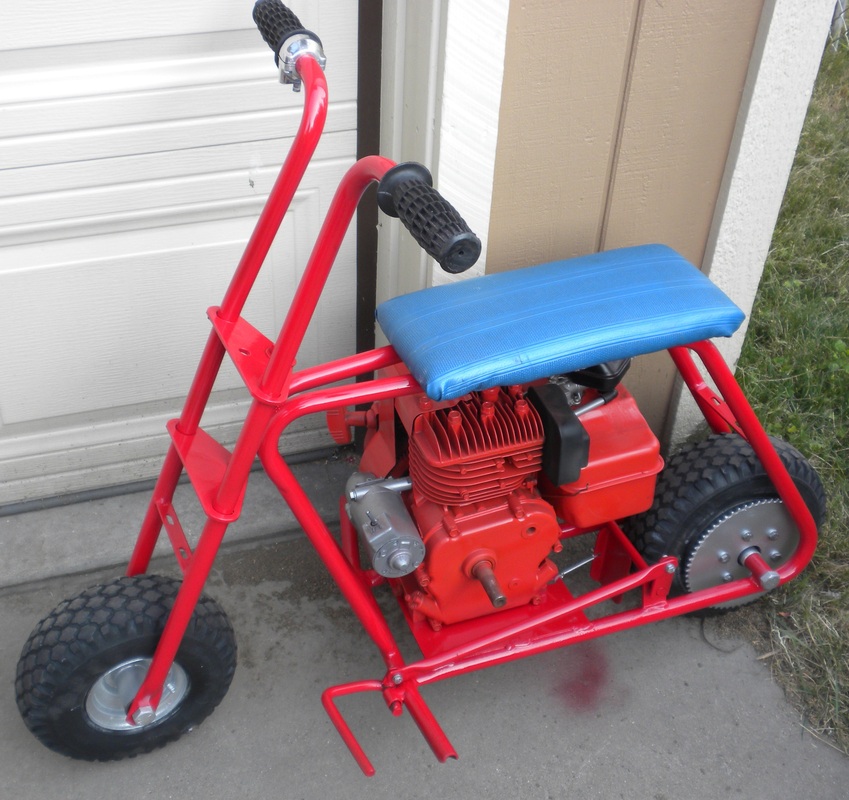
Left side view
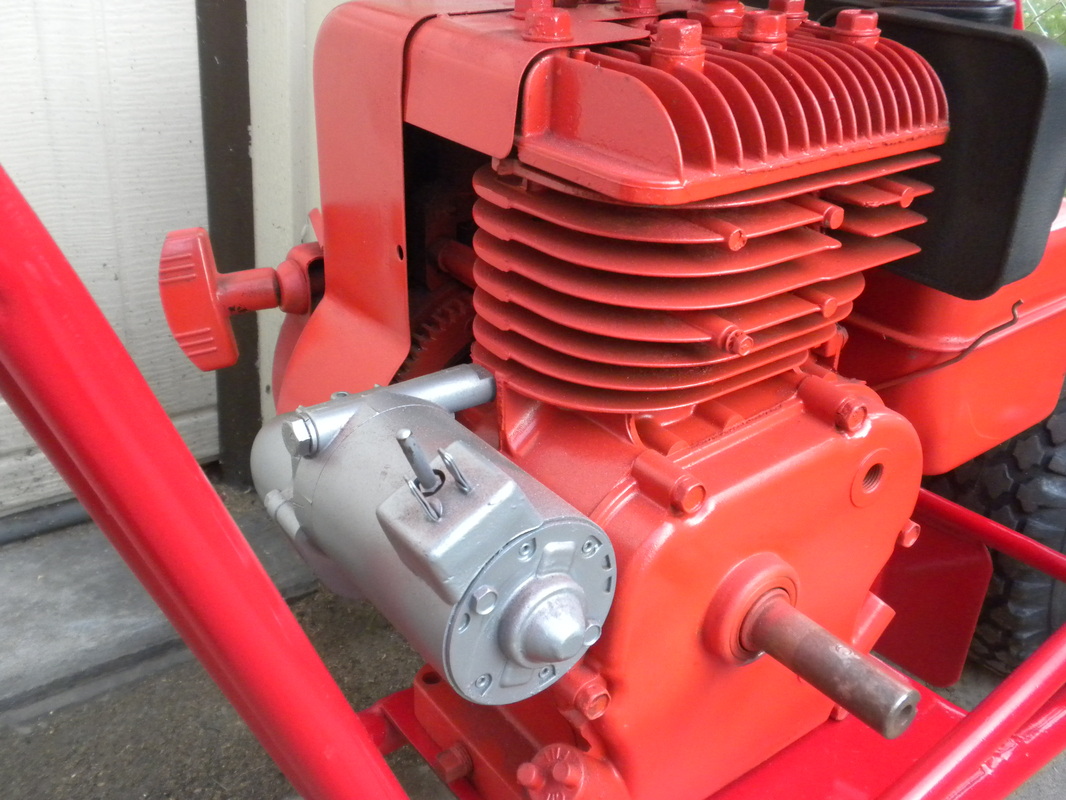
A better view of the electric starter.
I decided to give the cheap little plastic fender that came with it a quick paint job.
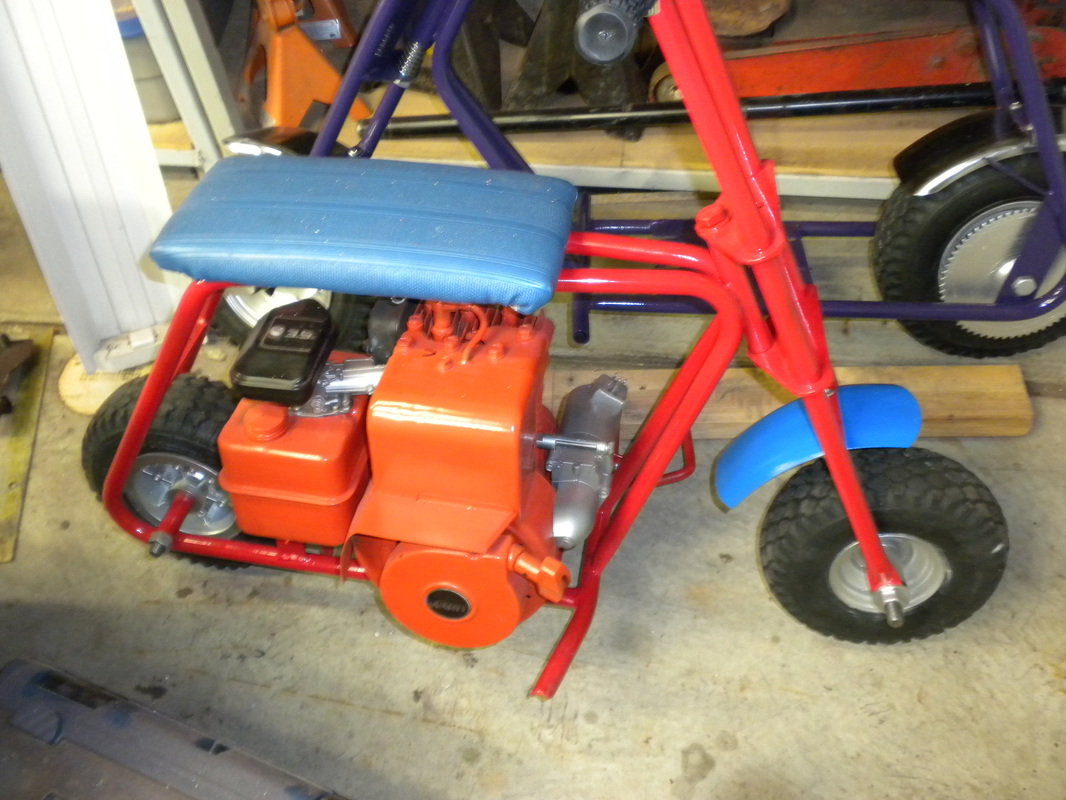
I think it helps to tie in the blue seat, the blue is a little off but hey I had that color laying around.
