I picked this Alexander Reynolds frame and forks at that same spring swap meet in Ann Arbor Michigan held by the Old School Mini Bikes Guys for 10 bucks, I thought it was a good deal. The wheels and tires set me back another 20, twice as much as the frame and forks...
 |
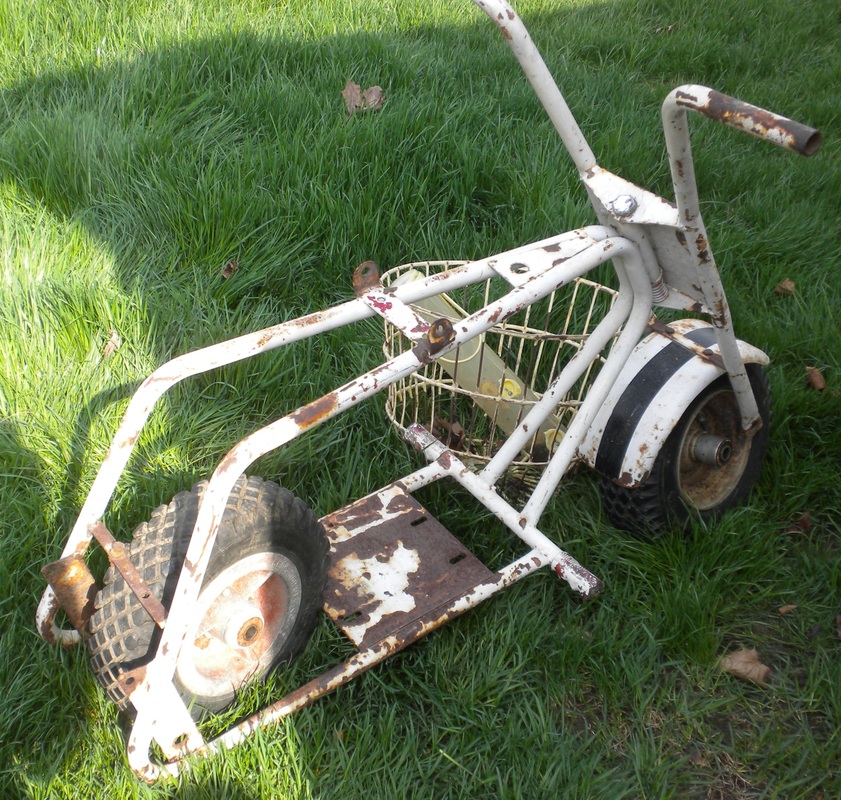 |
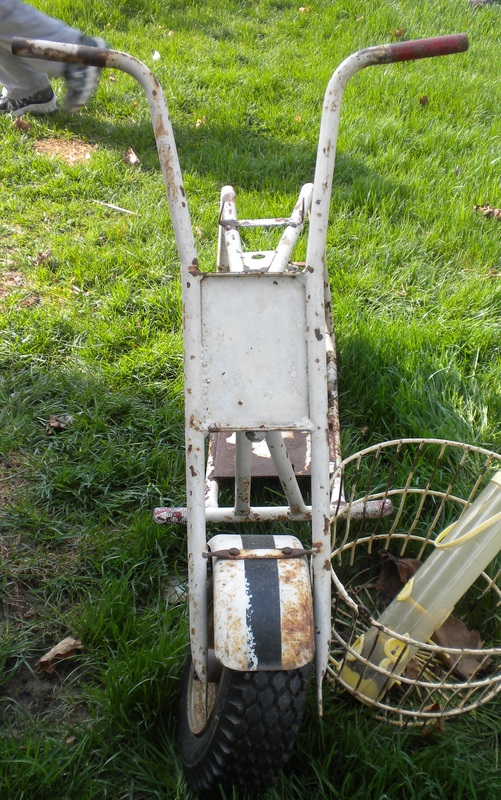
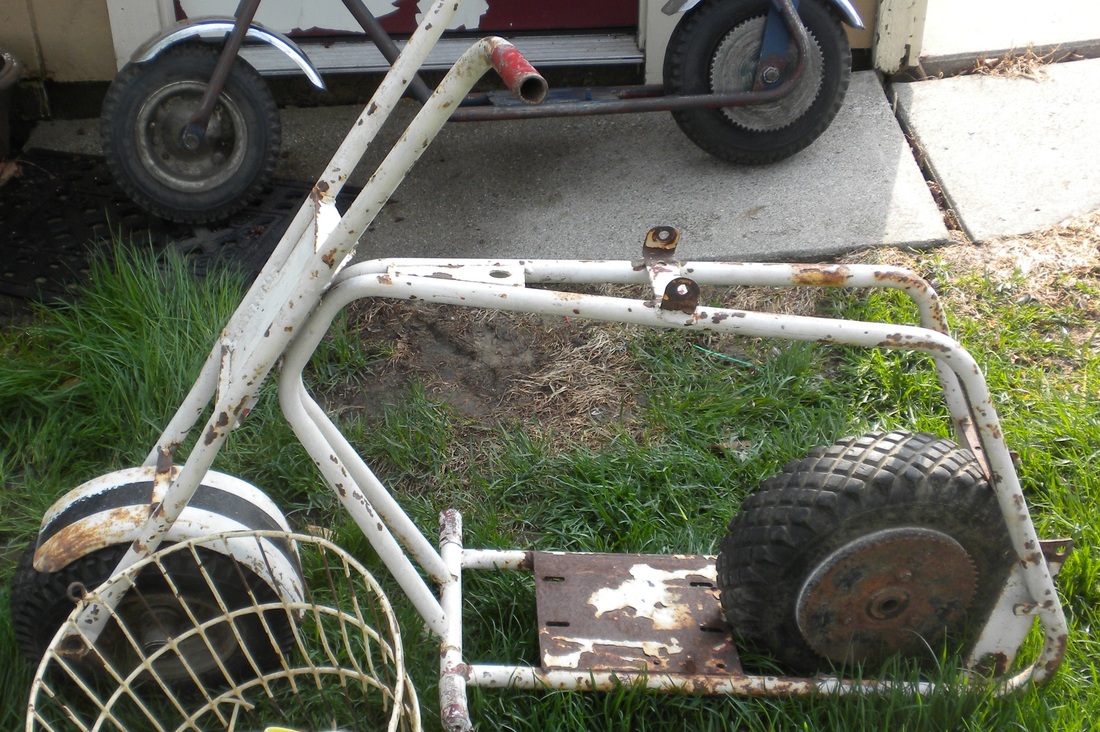
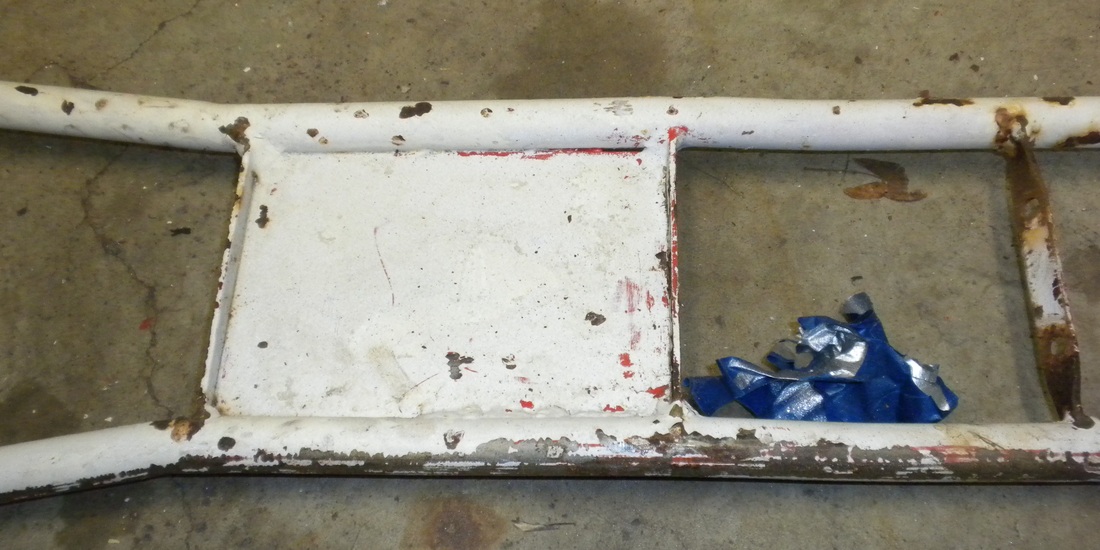
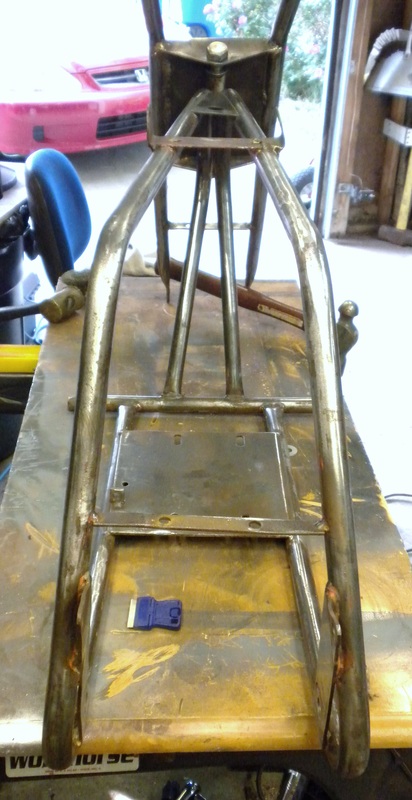
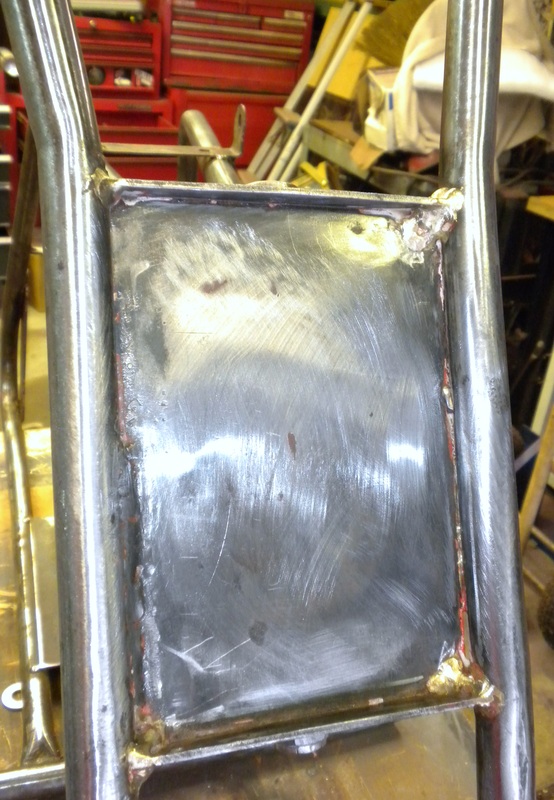
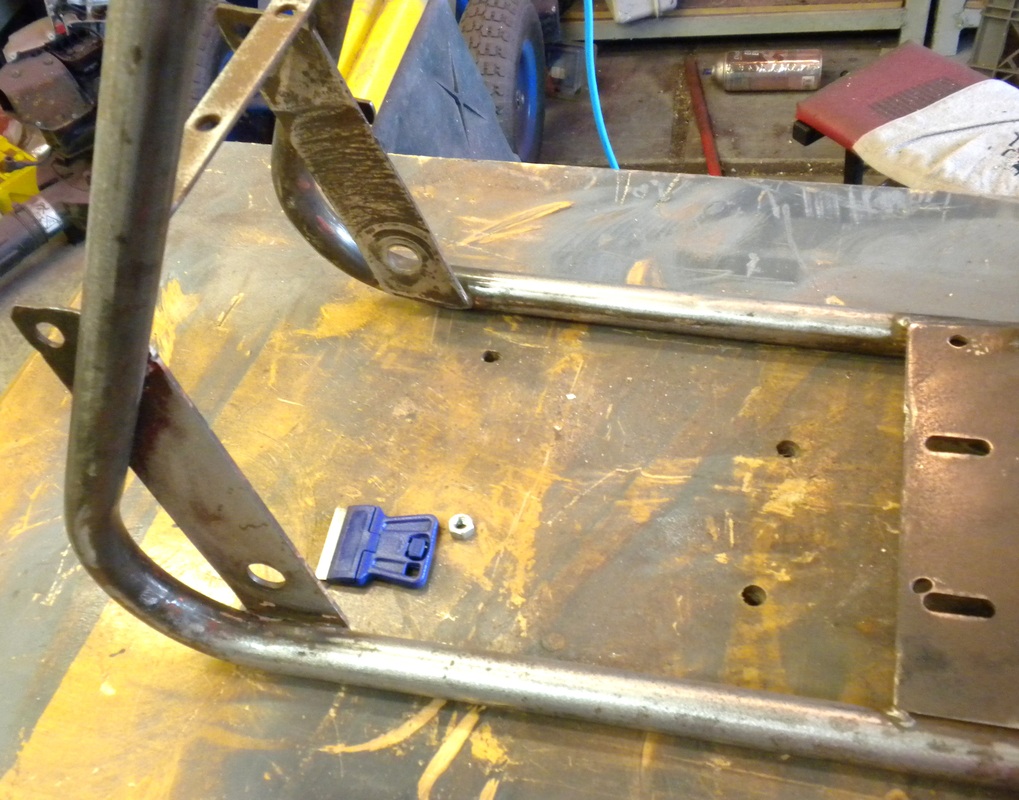
These pictures should give an idea of just how ugly the frame was.
|

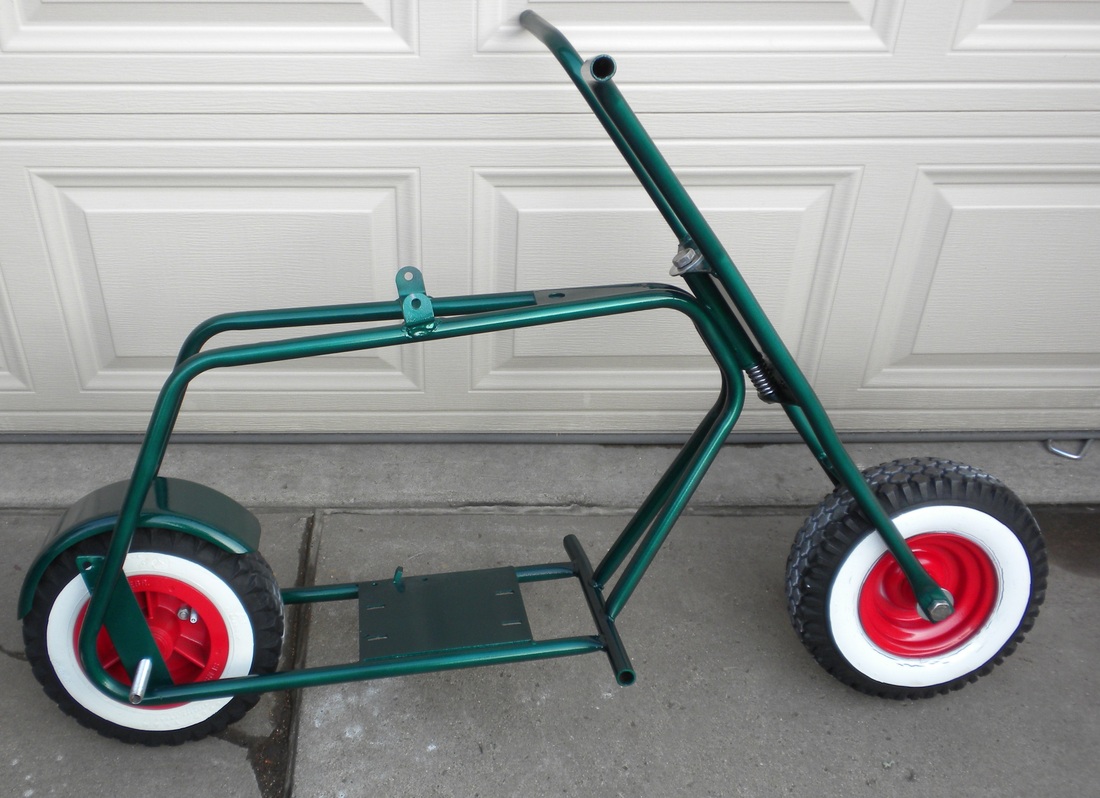
This is the way the whole frame was.
|
I decided to do this bike last because of the condition it was in.
|
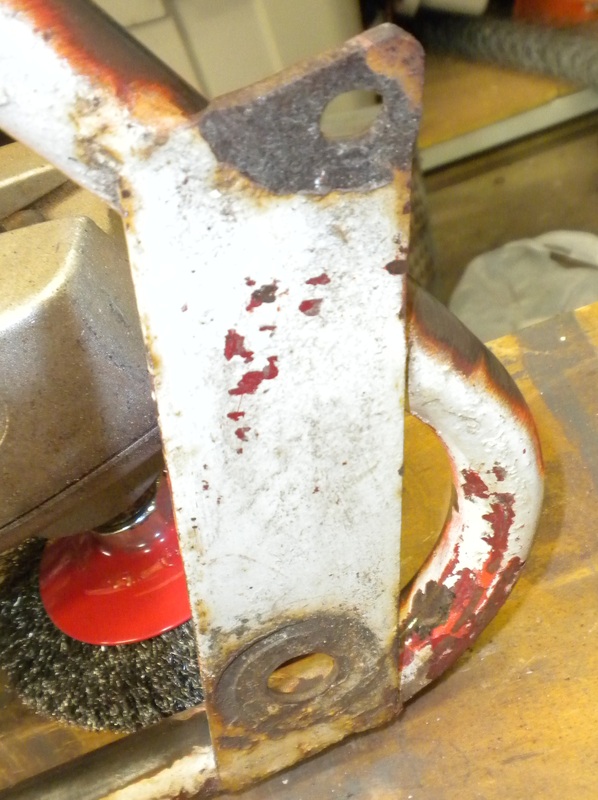
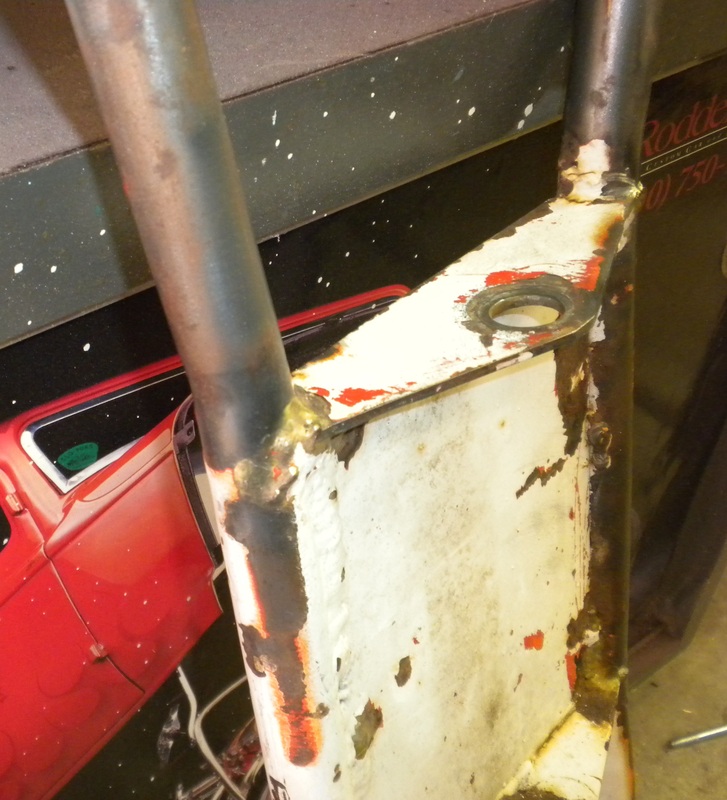
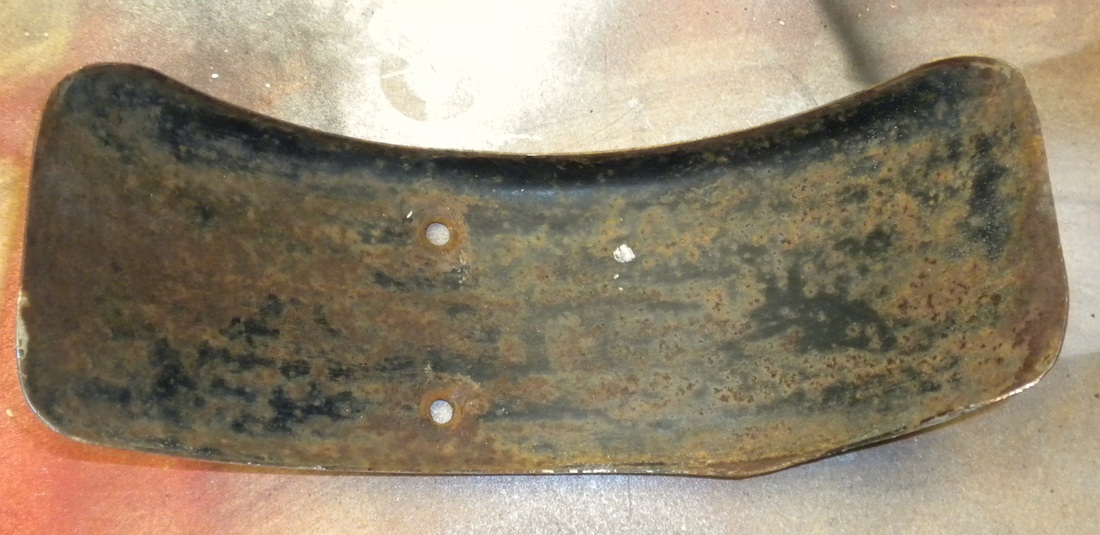
Rust pits and house paint...
|
Although it looked rough, the house paint actually protected it from rust.
|
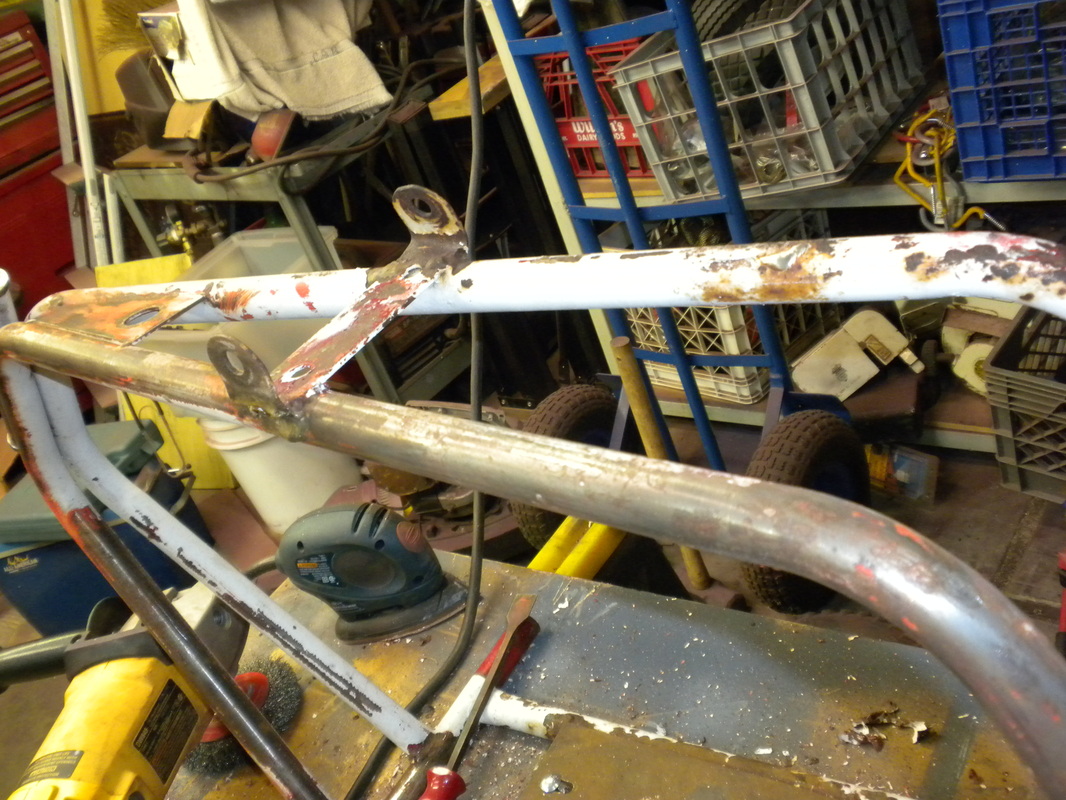
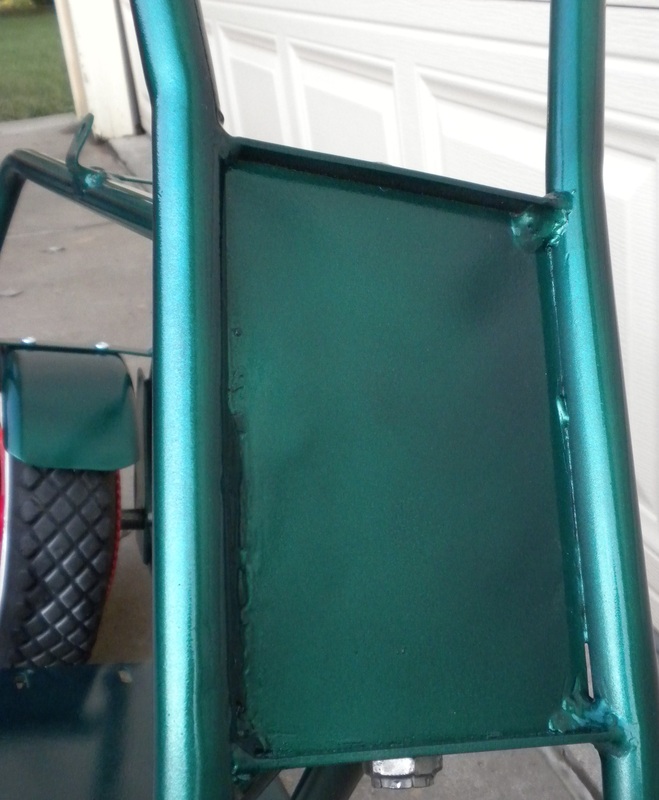
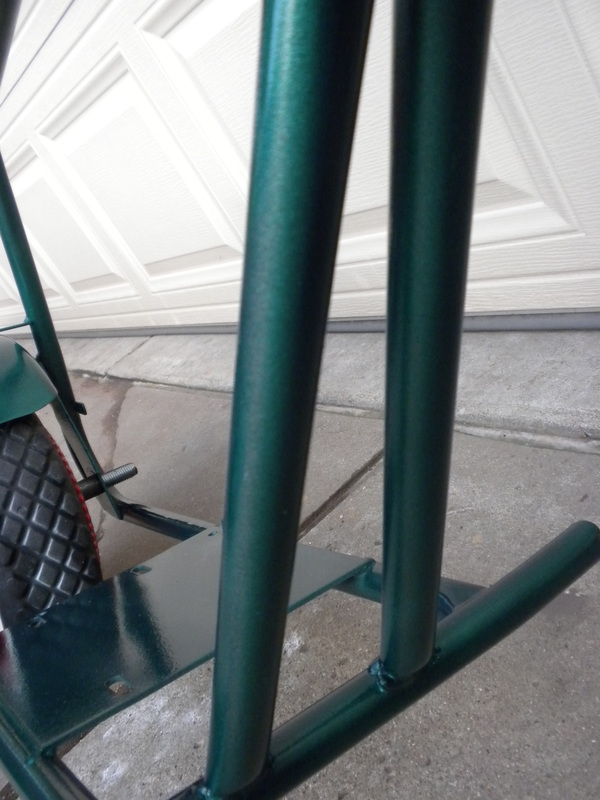
You can see why I thought this frame was going to be a challenge.
|
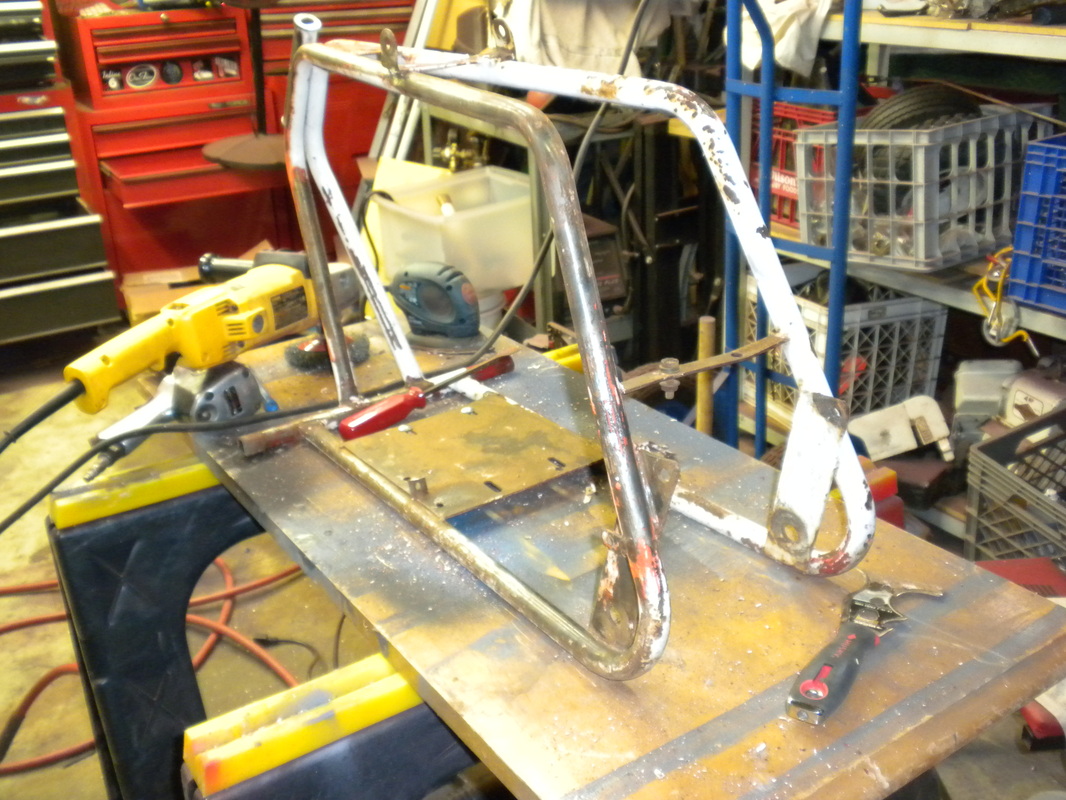
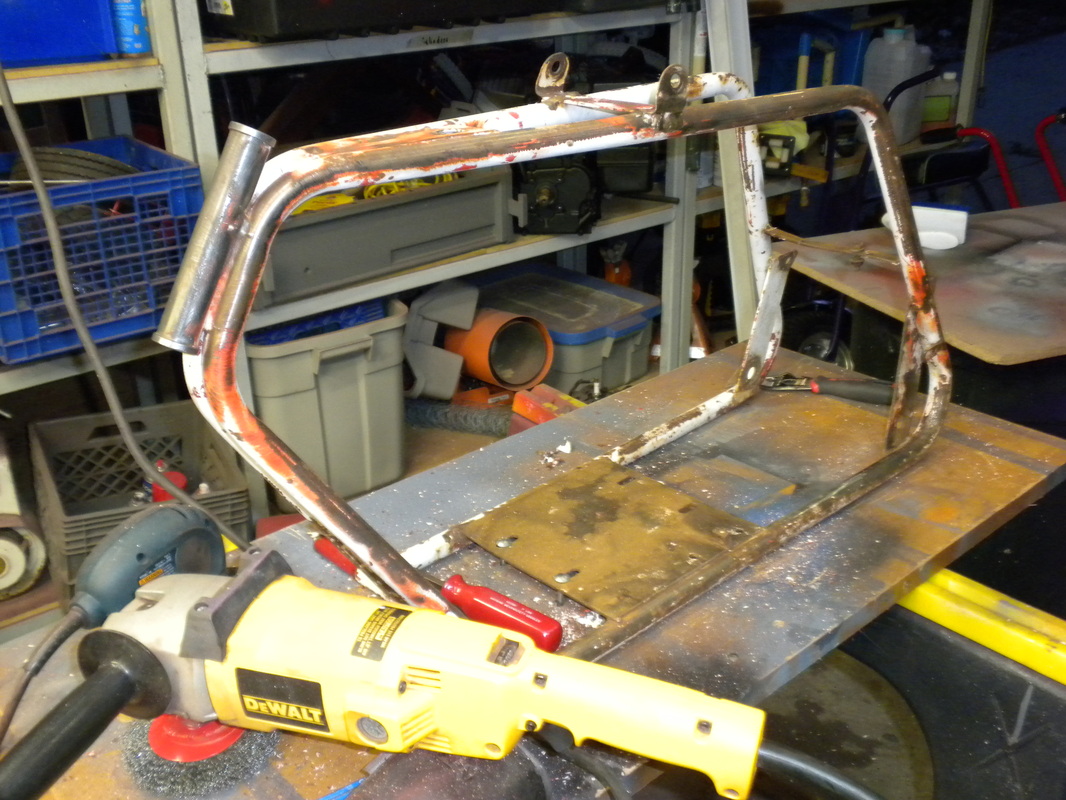
It took lot of grinding and wire wheeling to make progress.
|
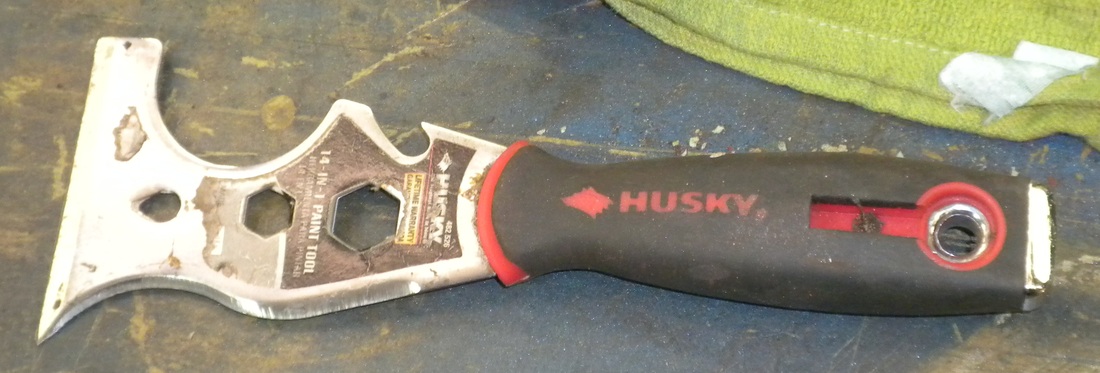
I discovered that my 5 in 1 painters tool worked great to simply scrape the paint off. The point and different curved areas were handy for the various nooks and crannies.
|

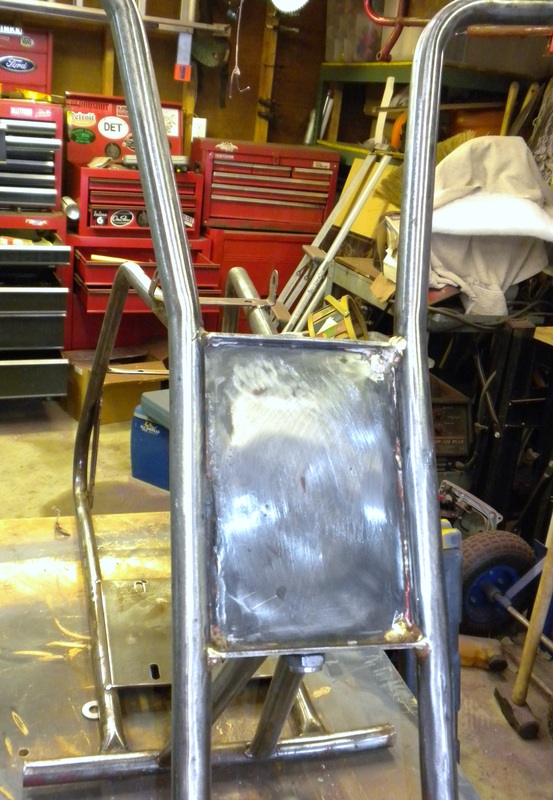
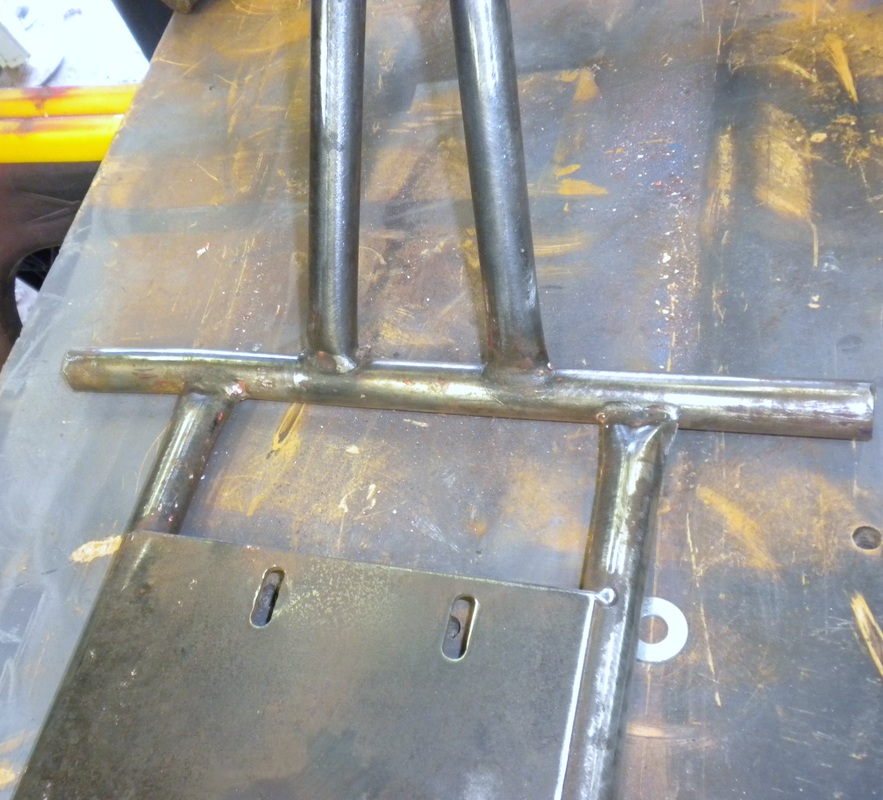
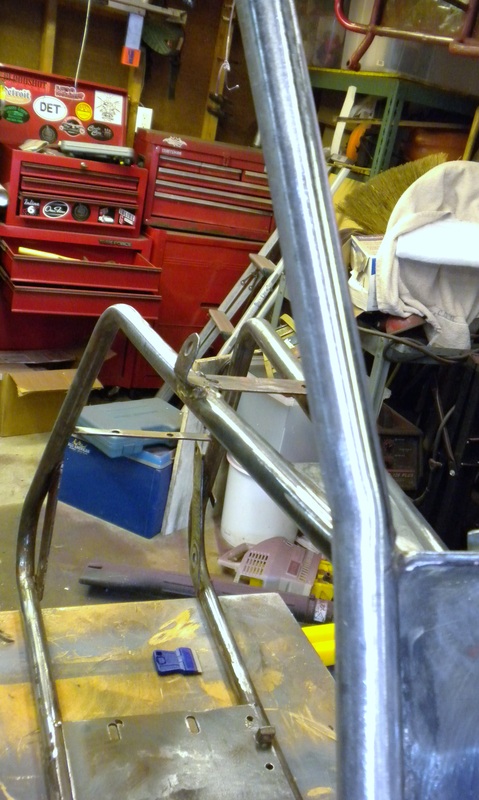
Making progress
|
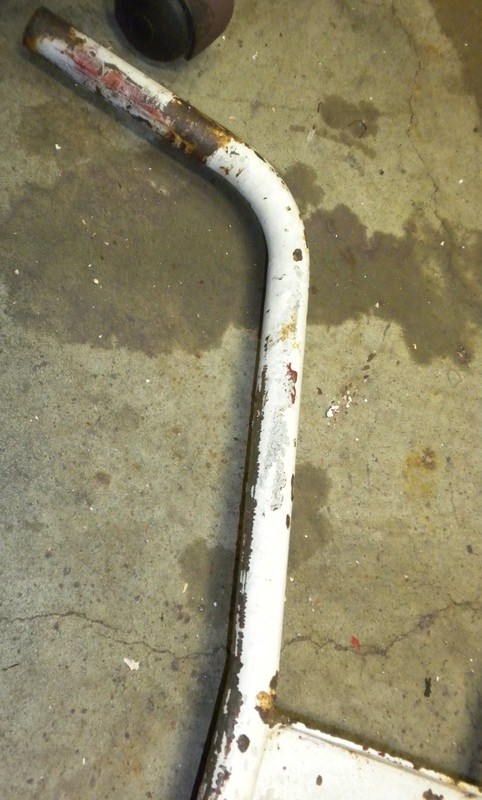
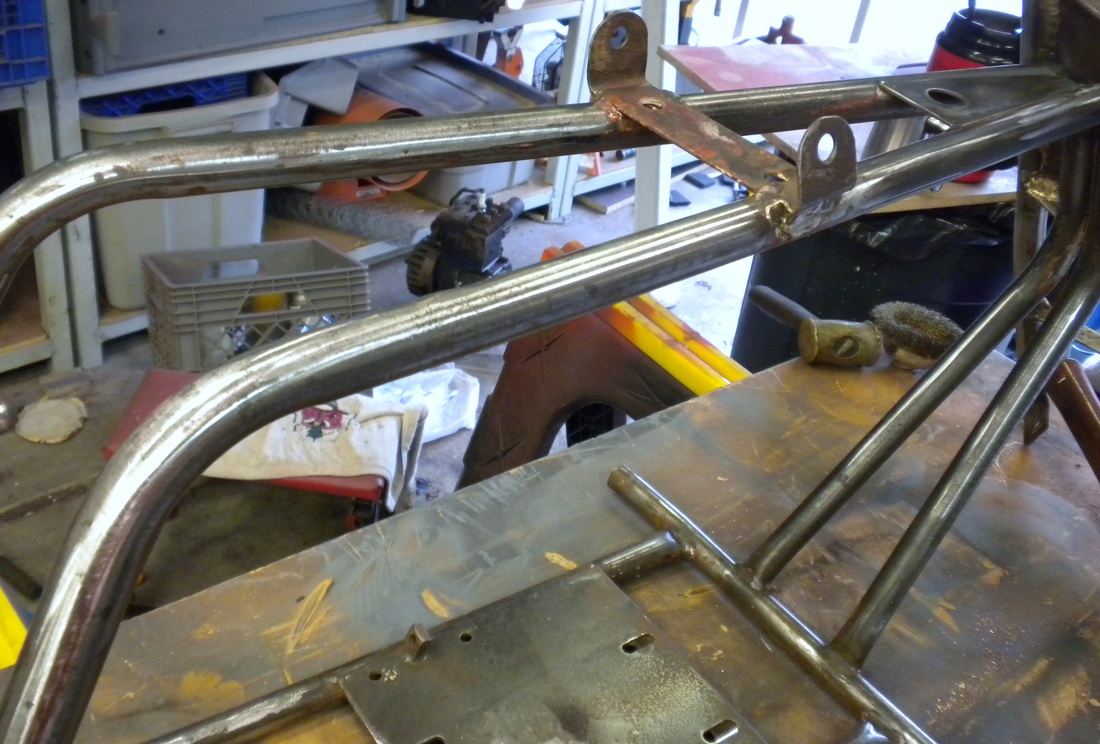
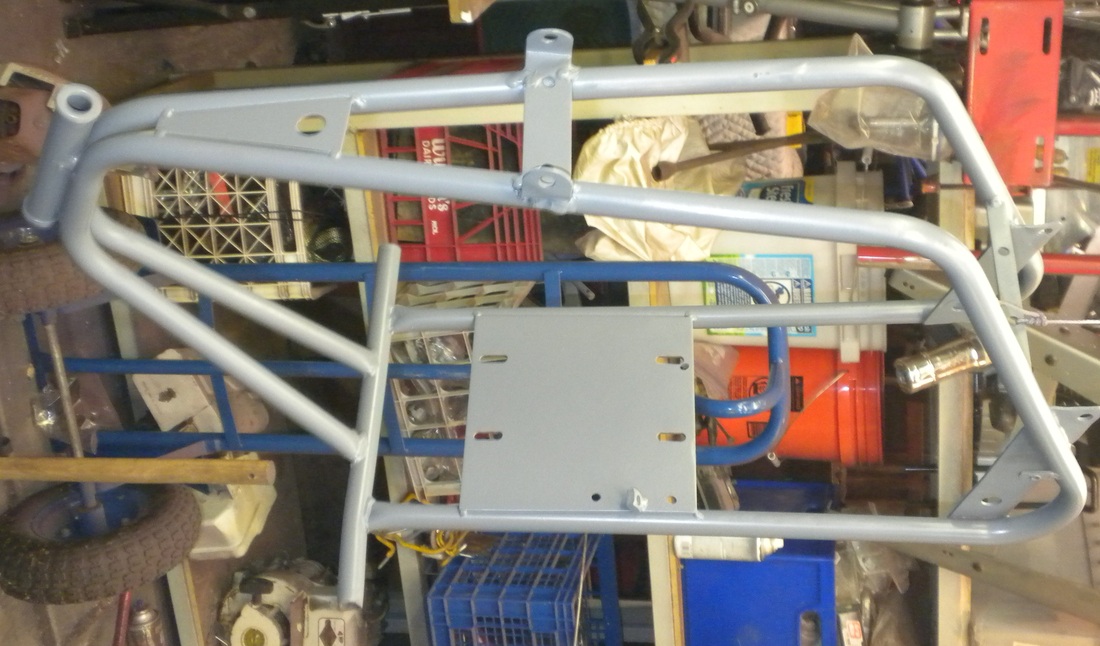
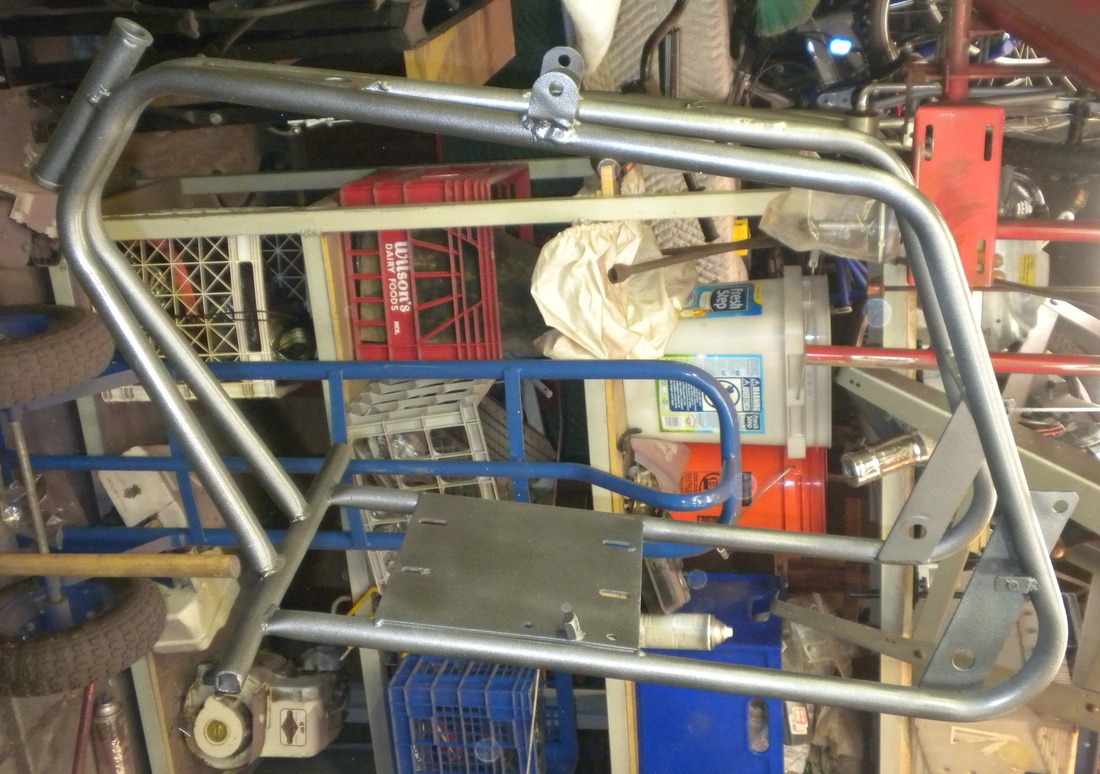
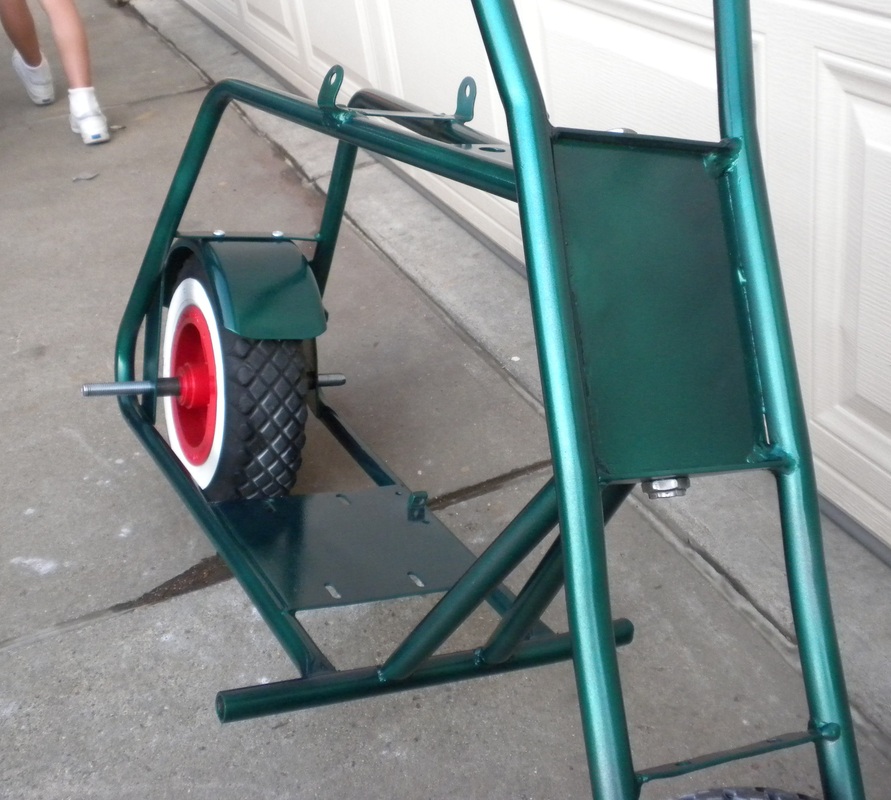
The steel turned out to be in fairly good shape.
|
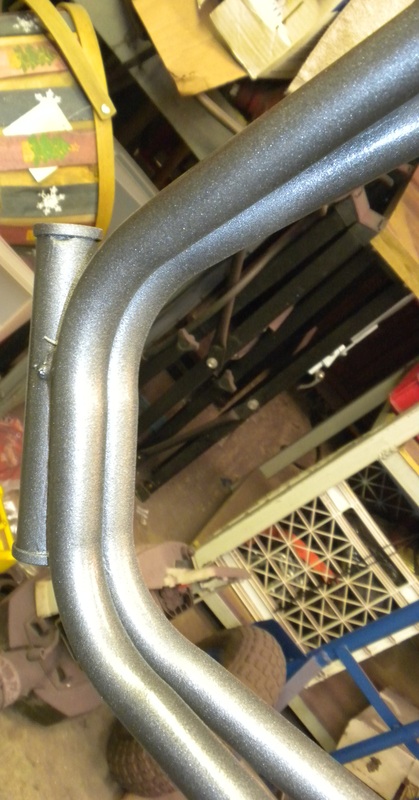
You can see some old repairs to the forks. At one point someone brazed a bunch of spots and was very heavy handed.
|
After a bunch of scraping, grinding and sanding. I tried to smooth out the repairs but it wasn't worth it, hey this is a 10 dollar mini bike right?
|
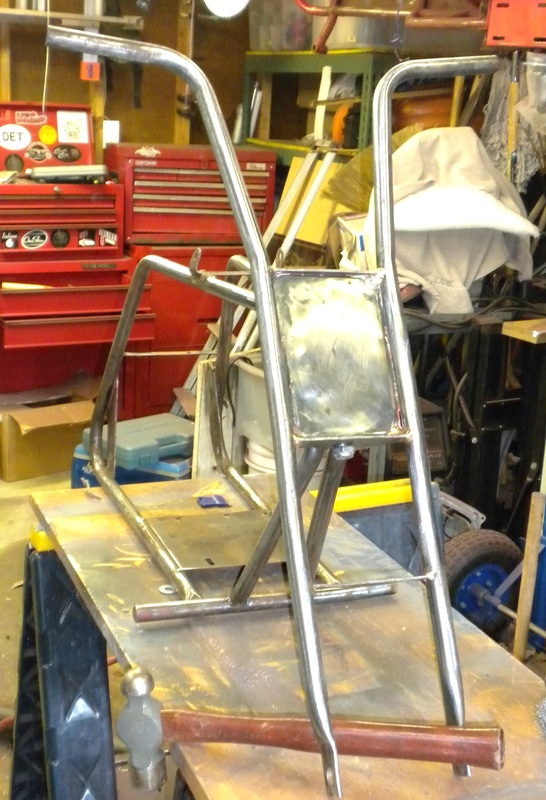
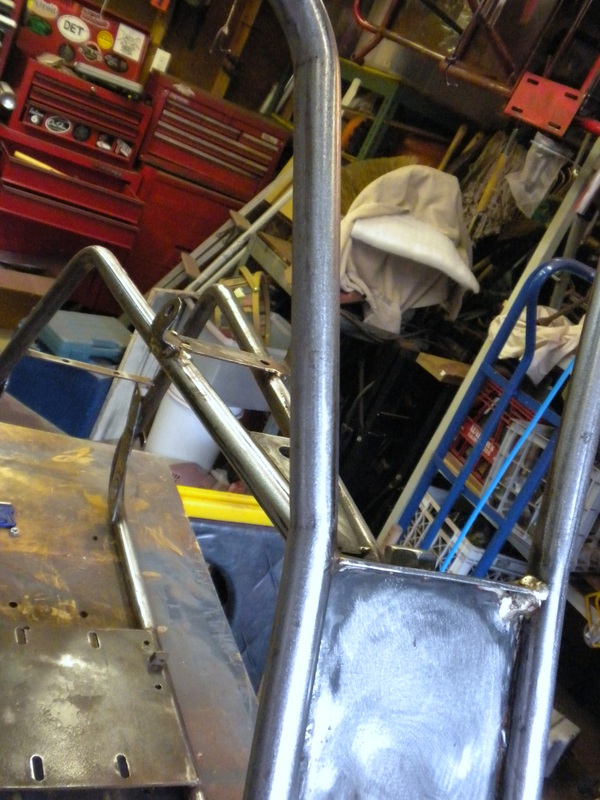
Starting to look a lot better
|
          |
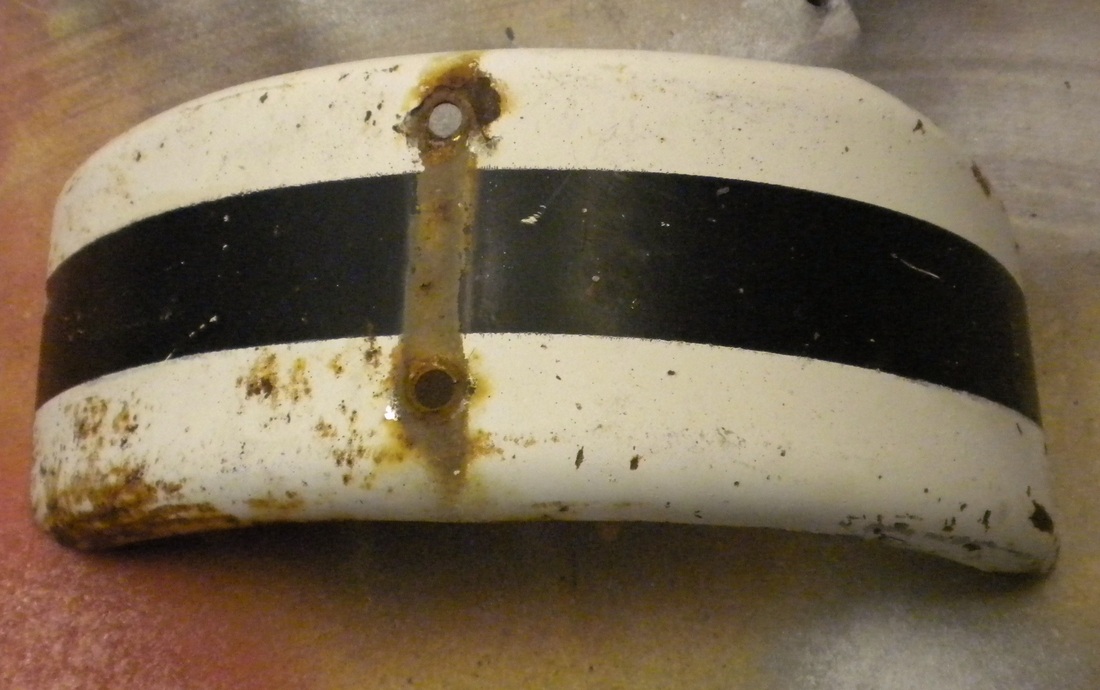
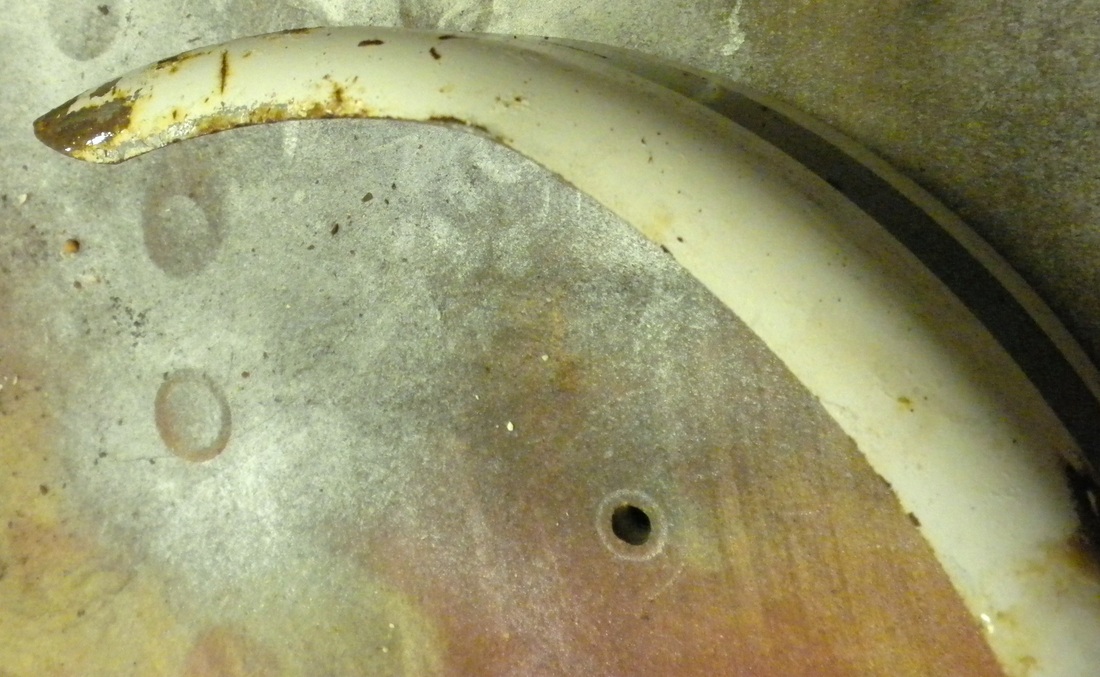
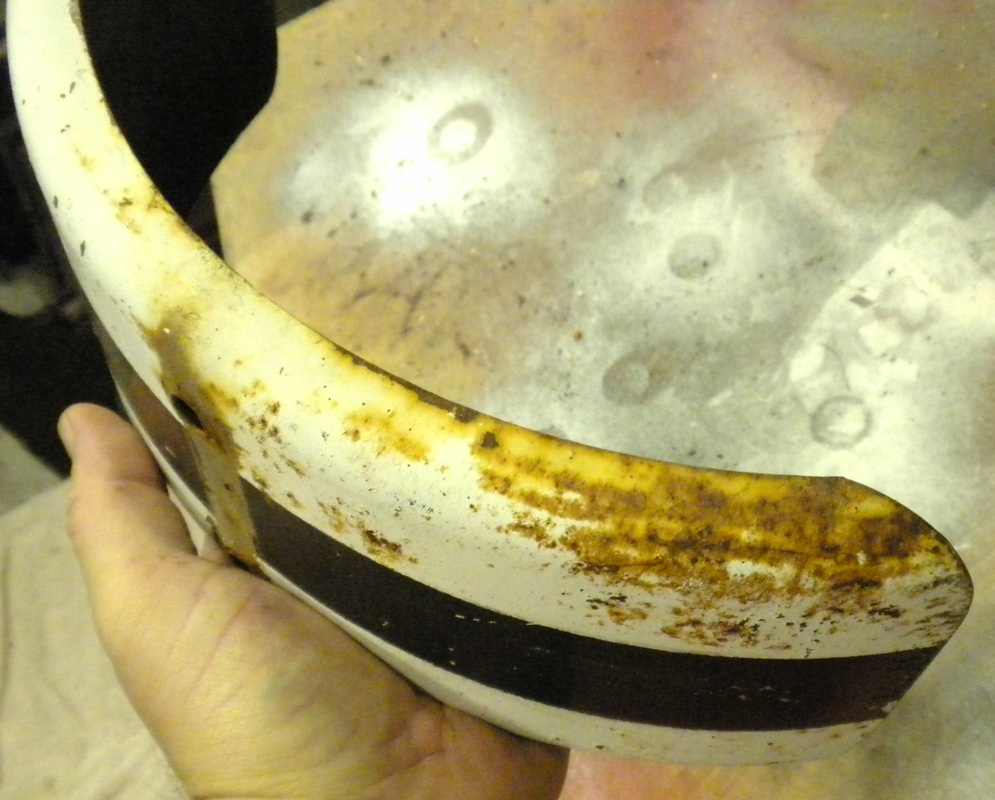
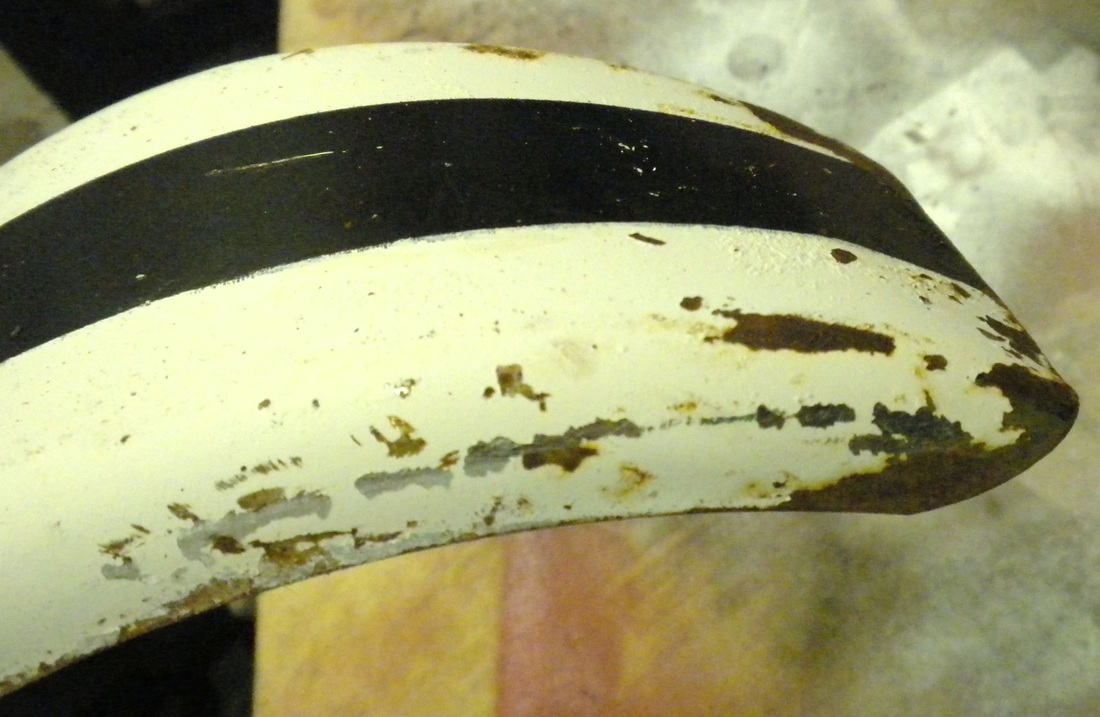
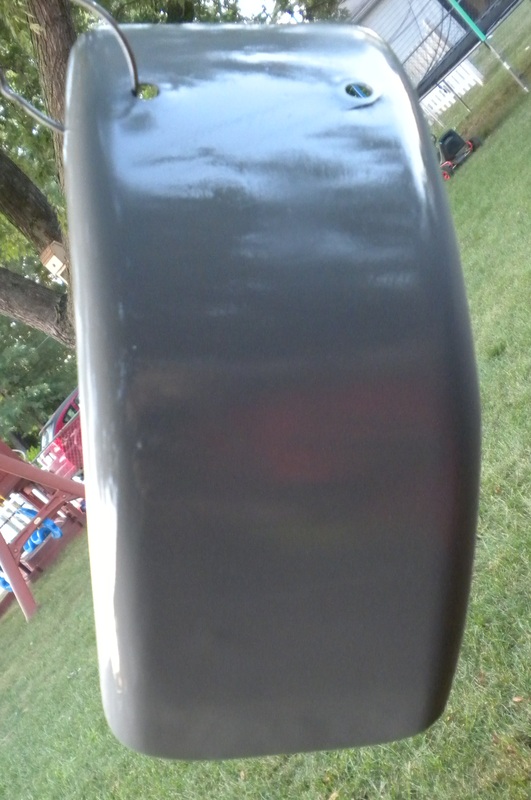
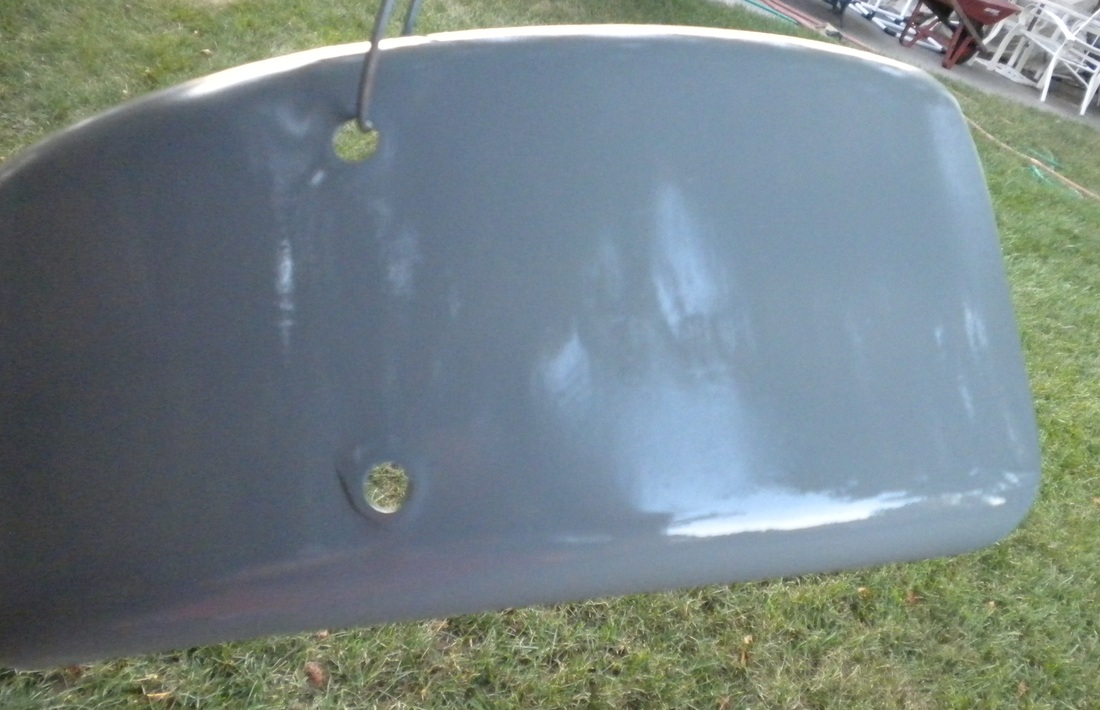
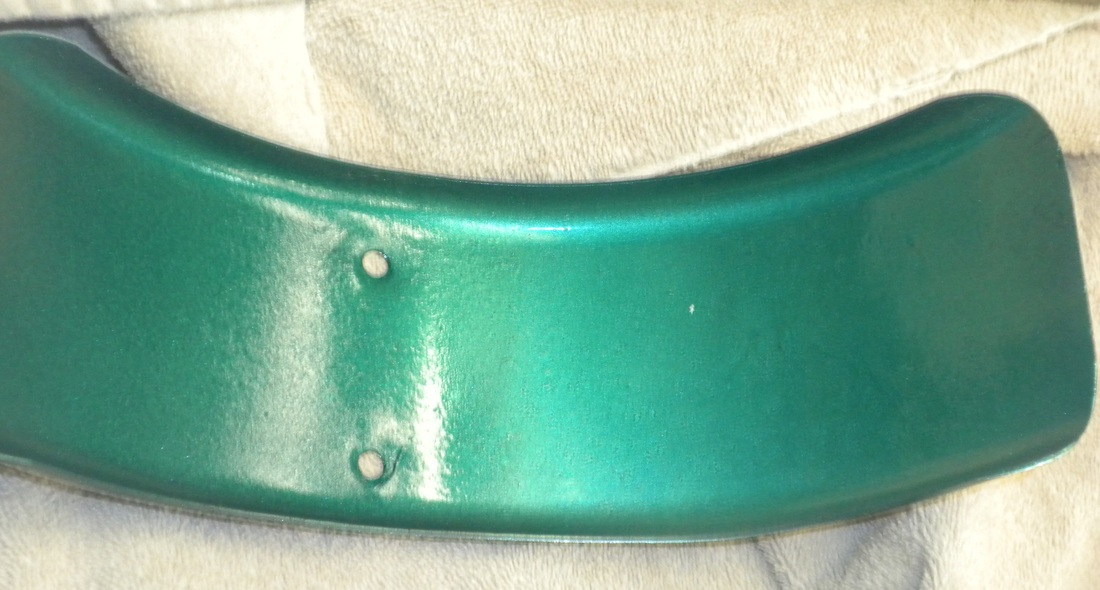
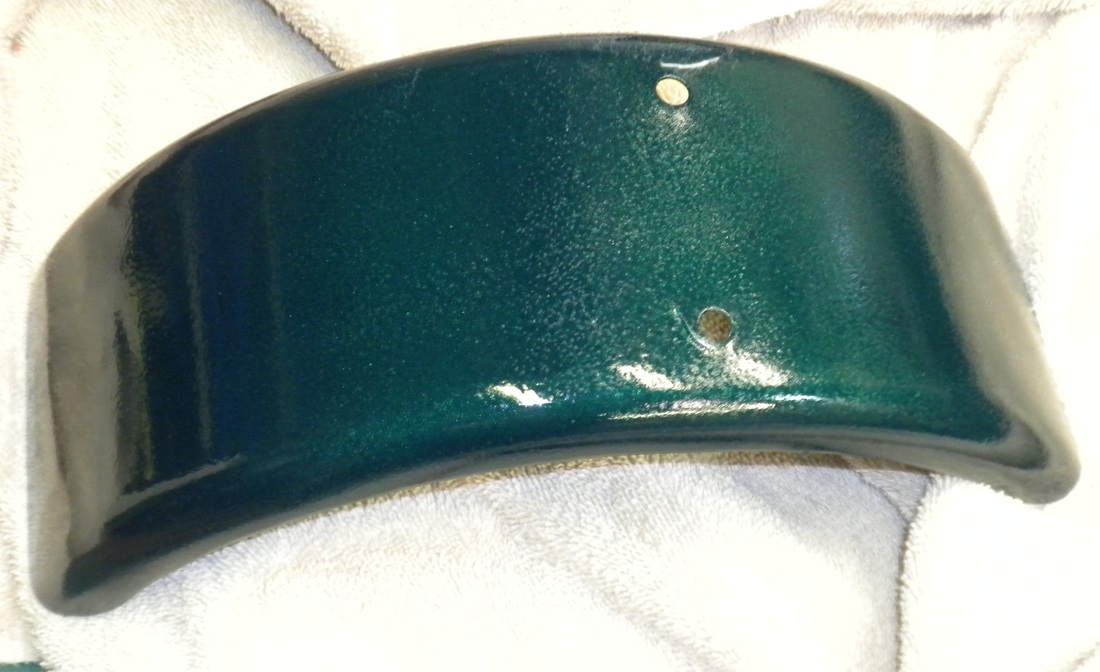
The fender was in rough shape
|
Here you can see the dent and how tweaked the fender was
|

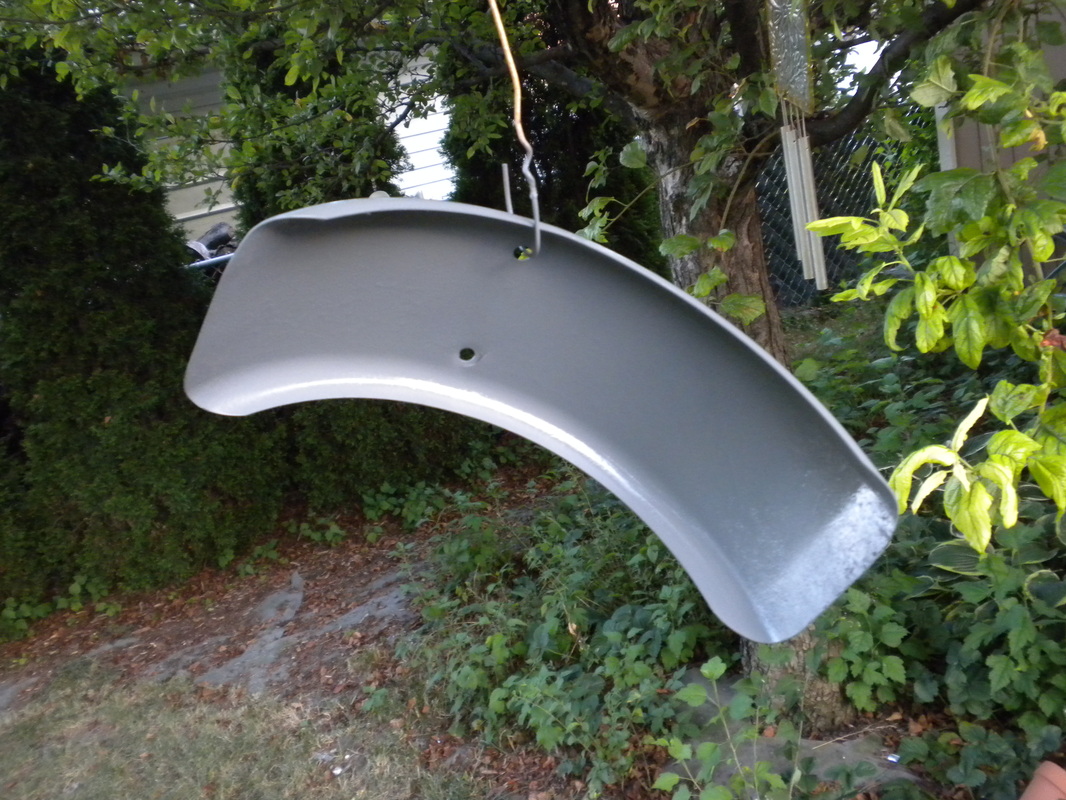
Thankfully it was the original fender and the steel was nice and thick. I was able to straighten it out with a hammer and dolly, file and lots of 40 grit paper on an orbital sander
|
   |
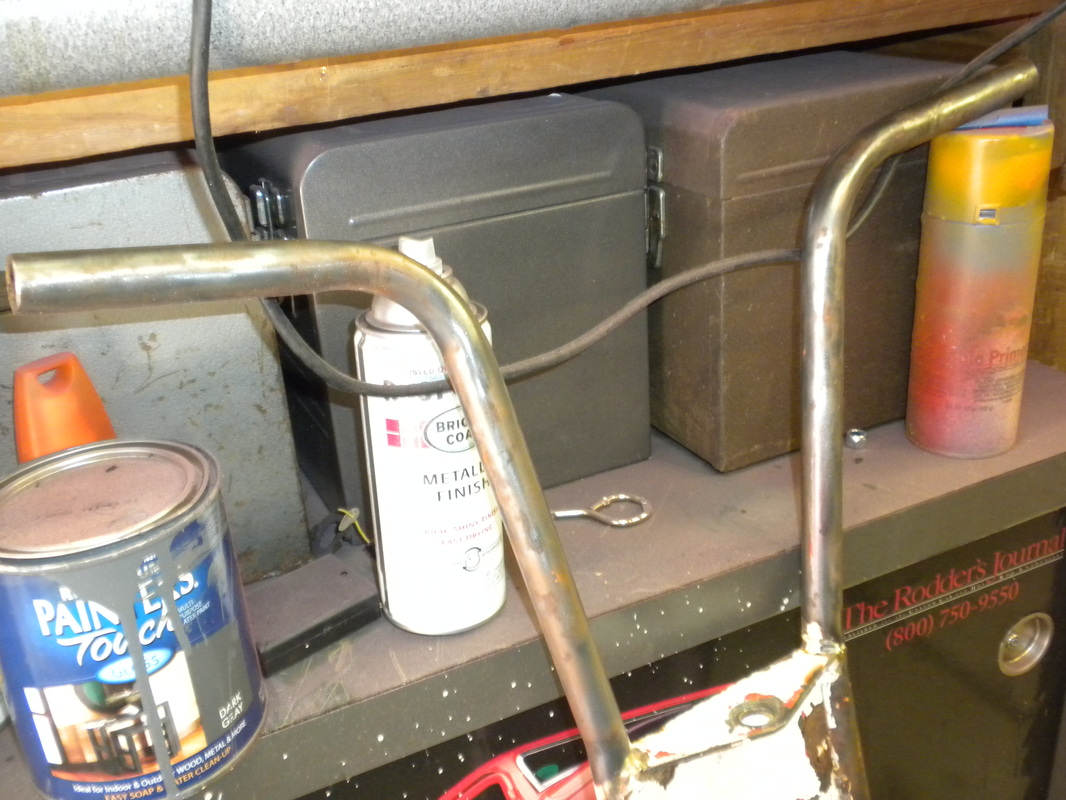
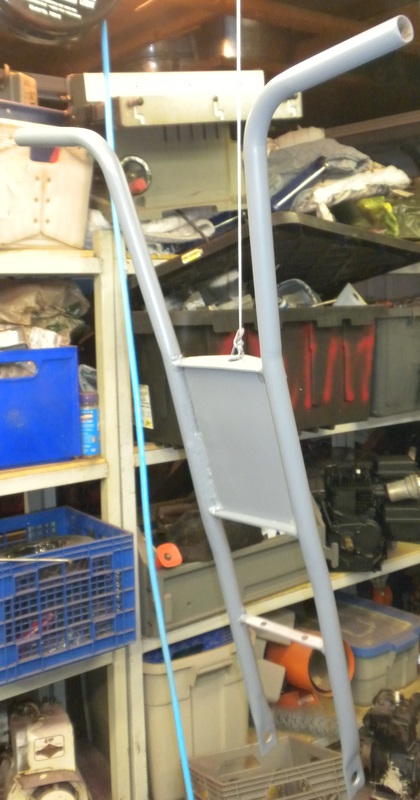
After a coat of primer, things were looking up.
|
    |
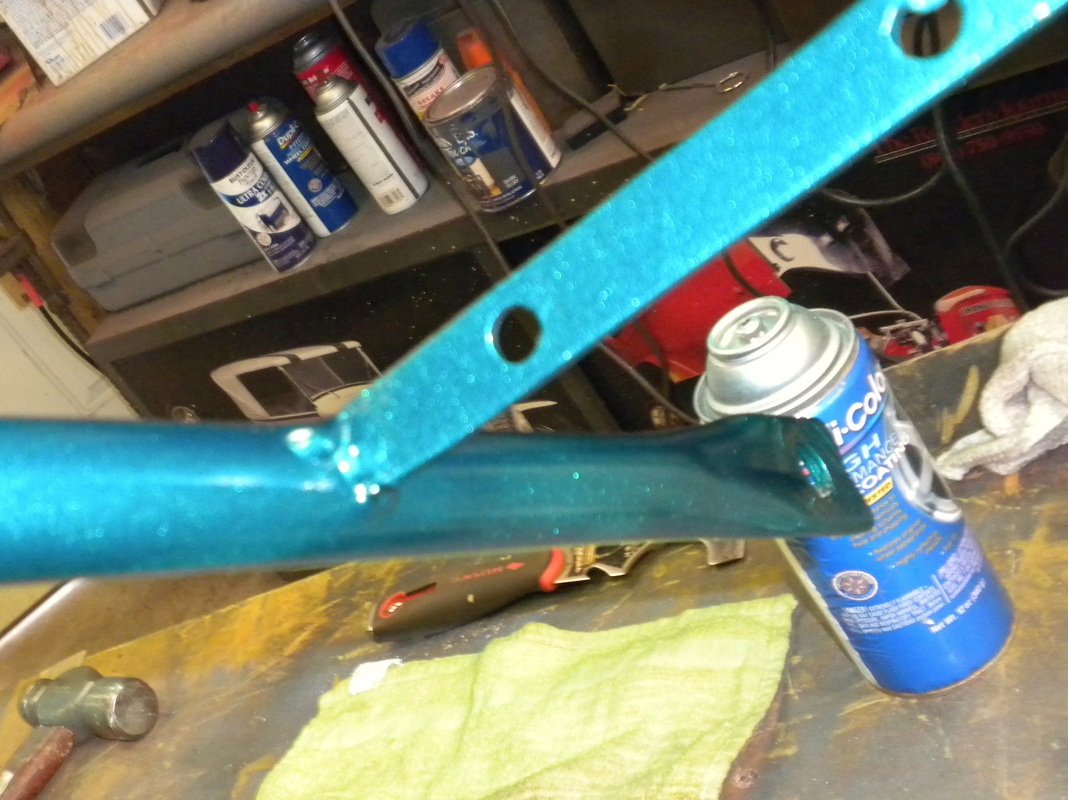
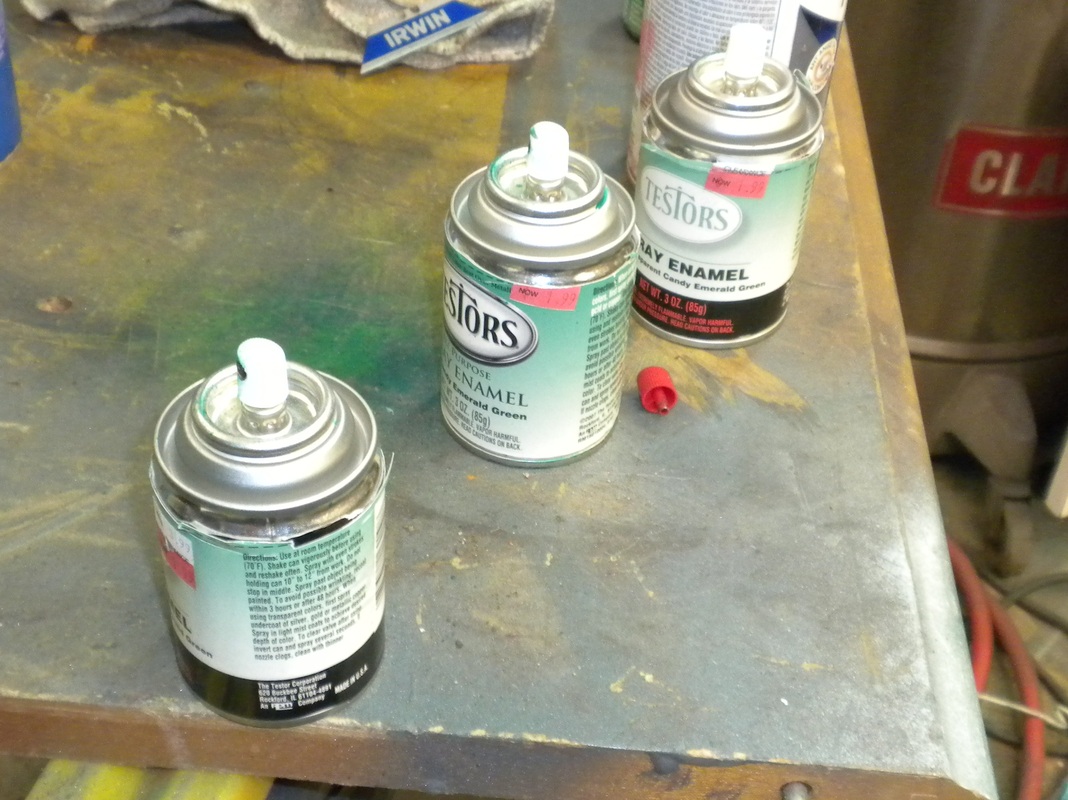
I was on a tight budget, so I decided to see what I could do for paint with what I had in hand. I had 6 cans of Testors Candy Emerald Green that I had bought on sale at Michaels for dirt cheap. So I experimented.
|
I had a can of Duplicor Sandalwood which was metallic but decided on the Duplicor Metallic Graphite because the Candy Green covered it better. The one that I decided on is on the left.
|
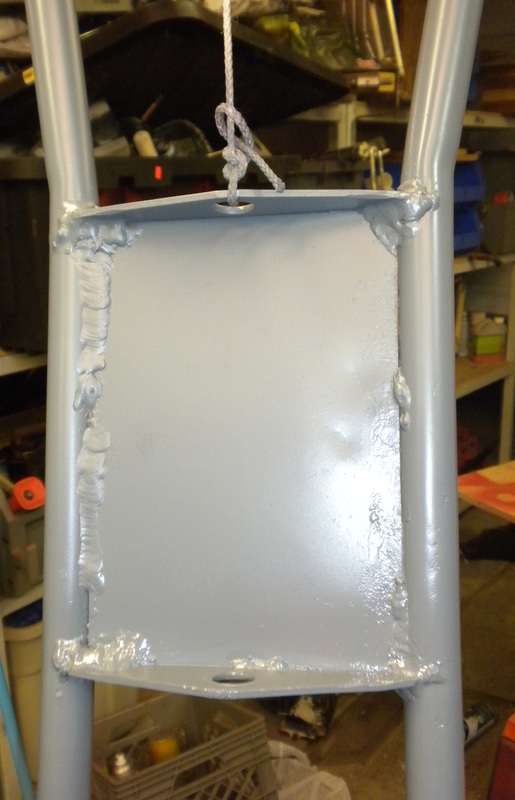
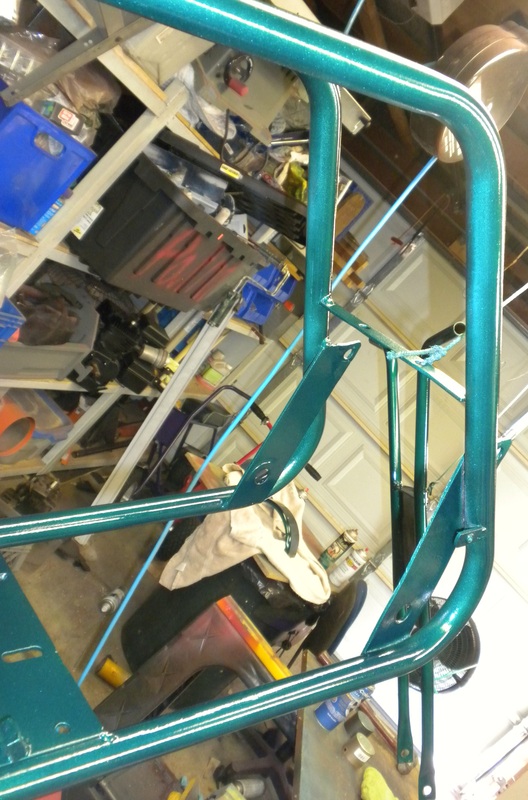
I coated the frame and forks in the Duplicolor Graphite wheel paint.
|
You can see the metallic in this picture.
|
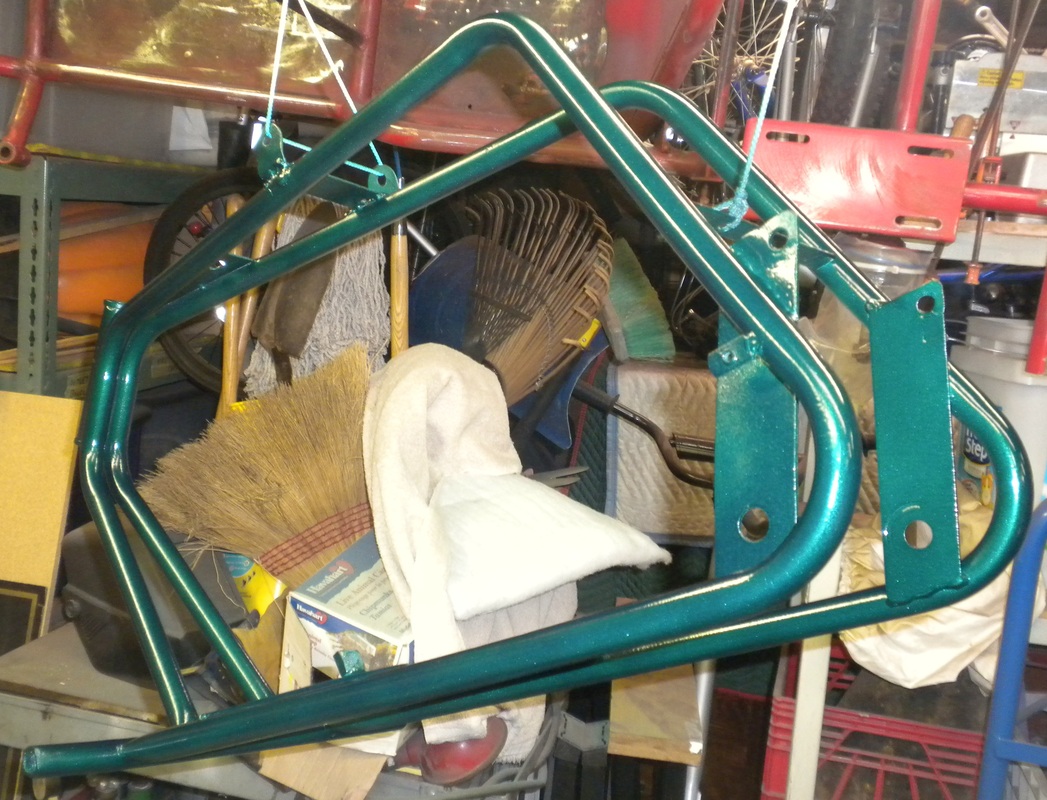
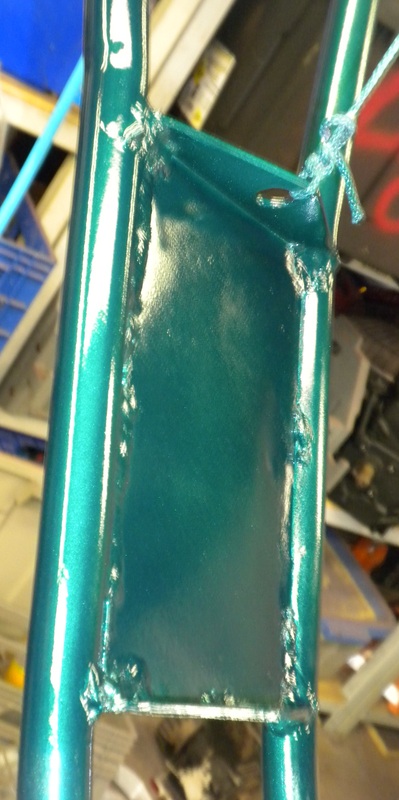
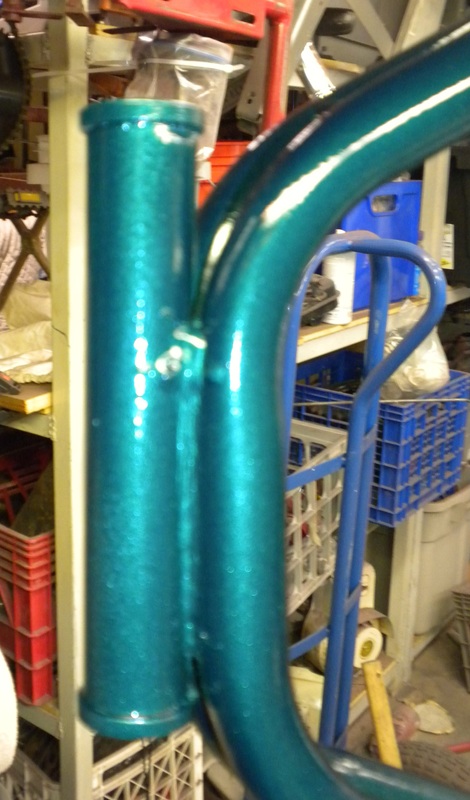
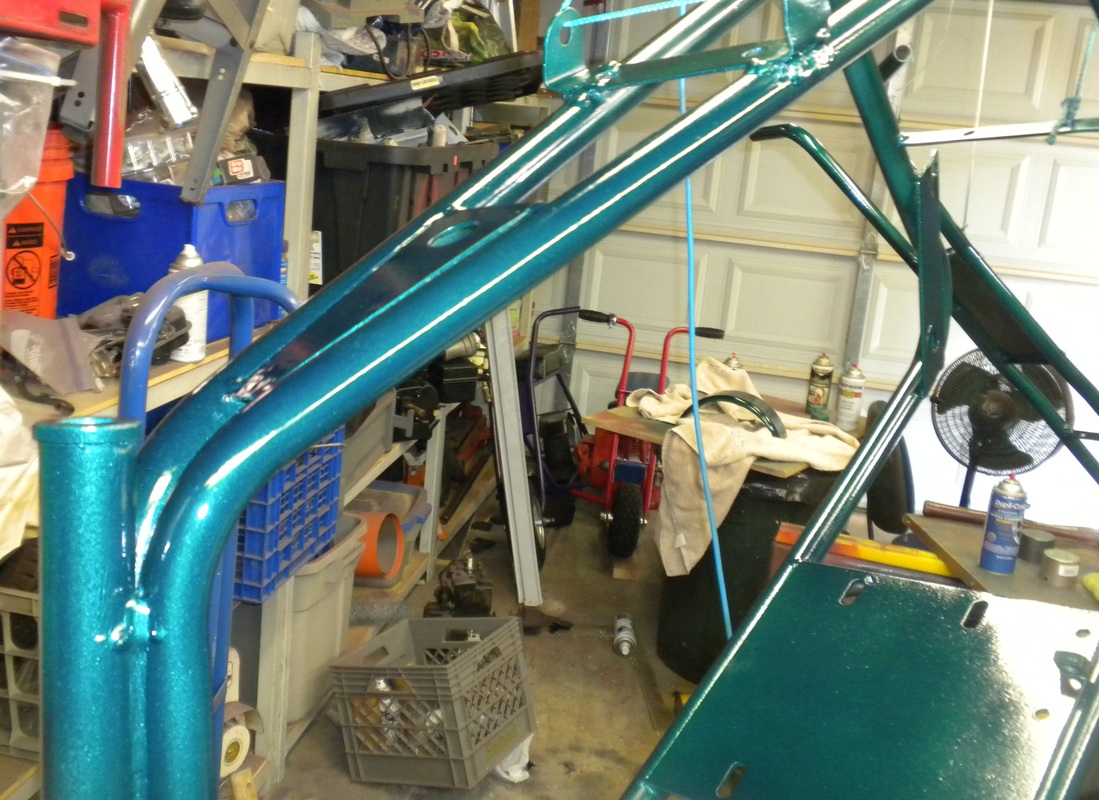
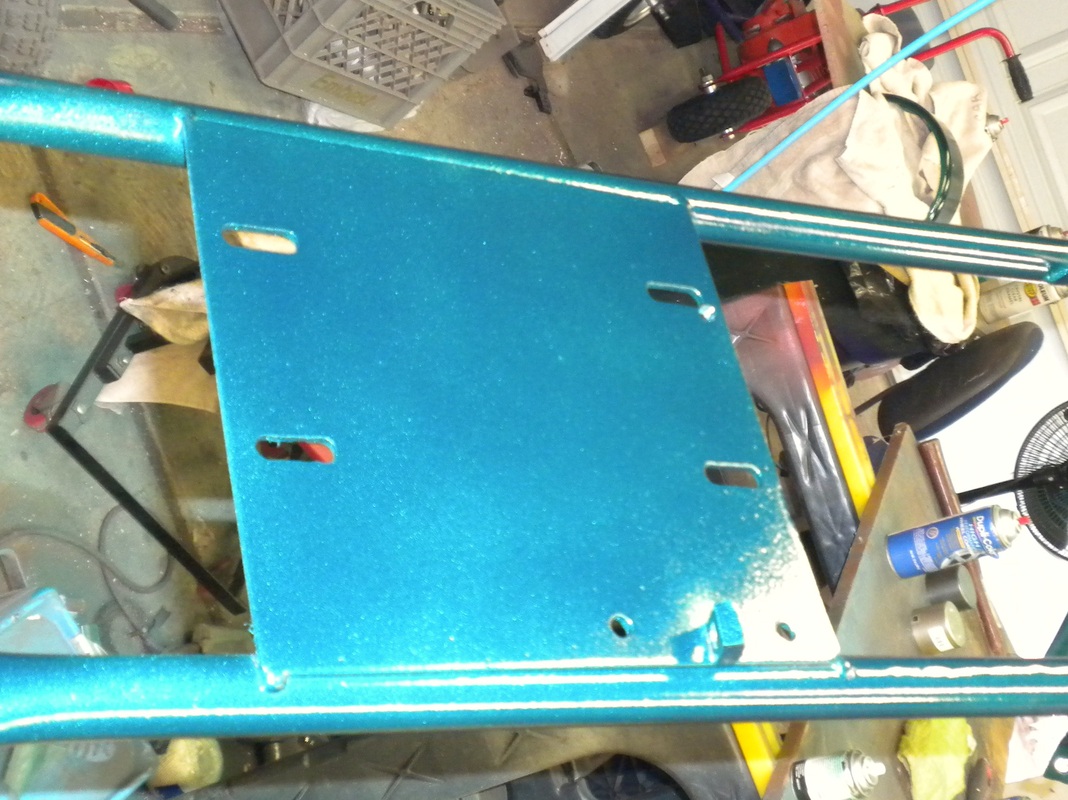
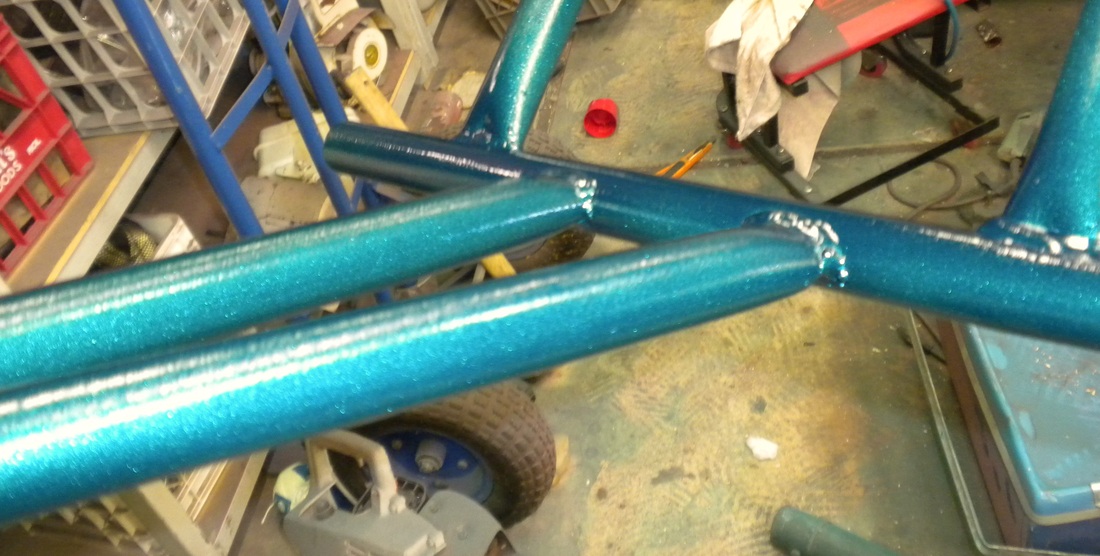
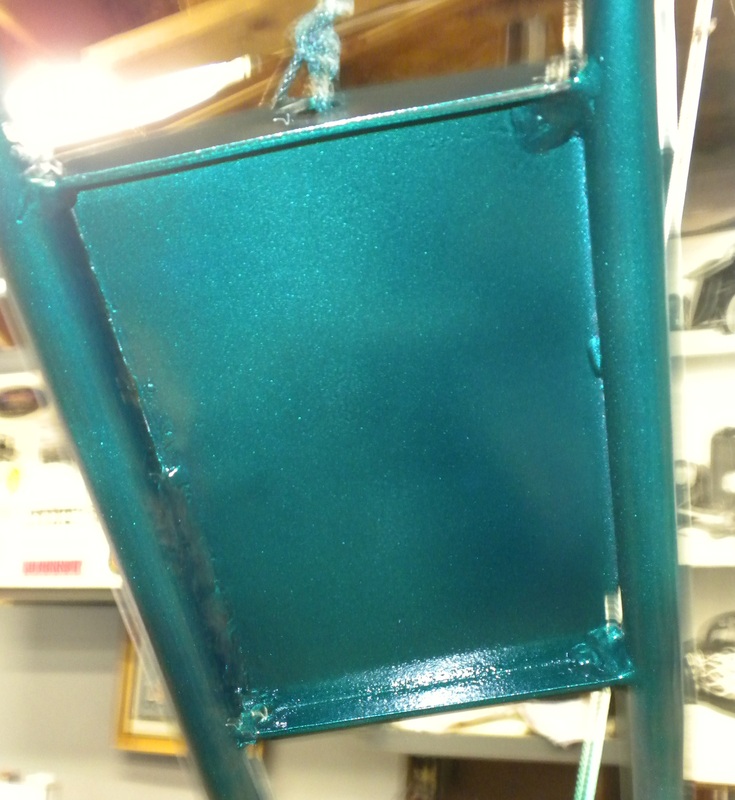
Then I started putting multiple light coats of the Candy Emerald Green Testors paint. I know I'm taking a chance using model paint on a mini bike, but I was itching to get it painted and that was all that I had. Plus I am going to put at least 3 coats of clear on it so am not worried about durability.
|
          |
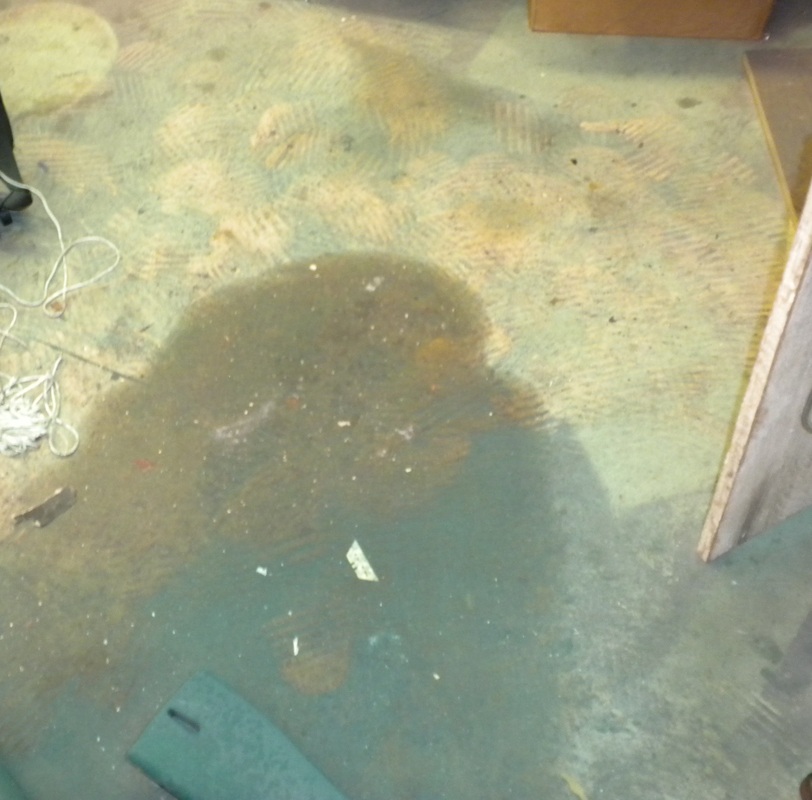
My floor (and everything else) got a coat of Candy Emerald Green too...
|
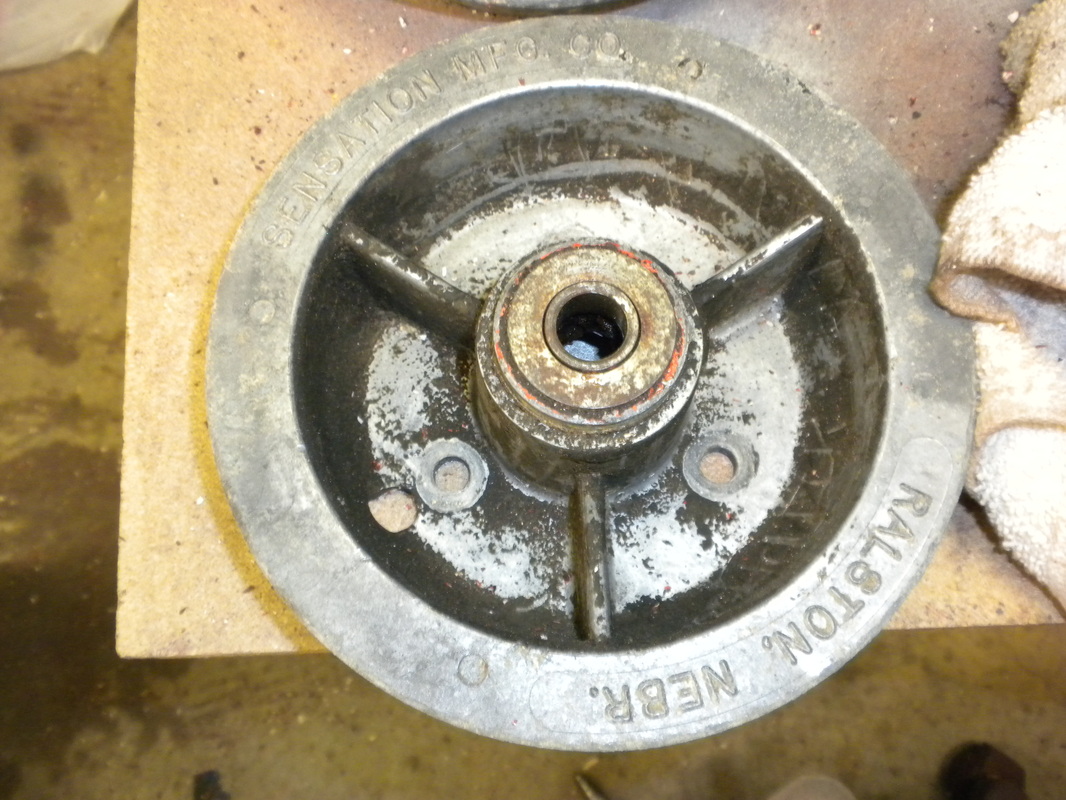
With the frame and forks painted, I turned my attention the wheels. Just like my other 2 mini bike projects, the wheels were mismatched.
|
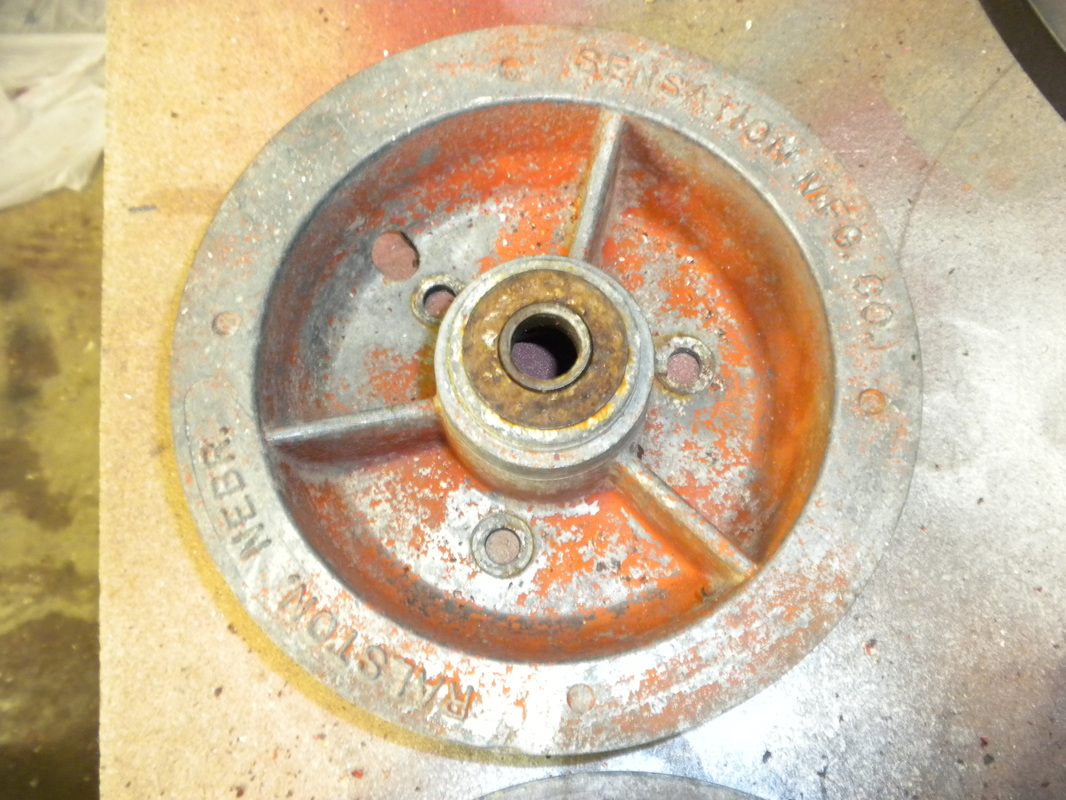
The back is a pretty cool 2 piece aluminum wheel made by Sensation Manufacturing.
|
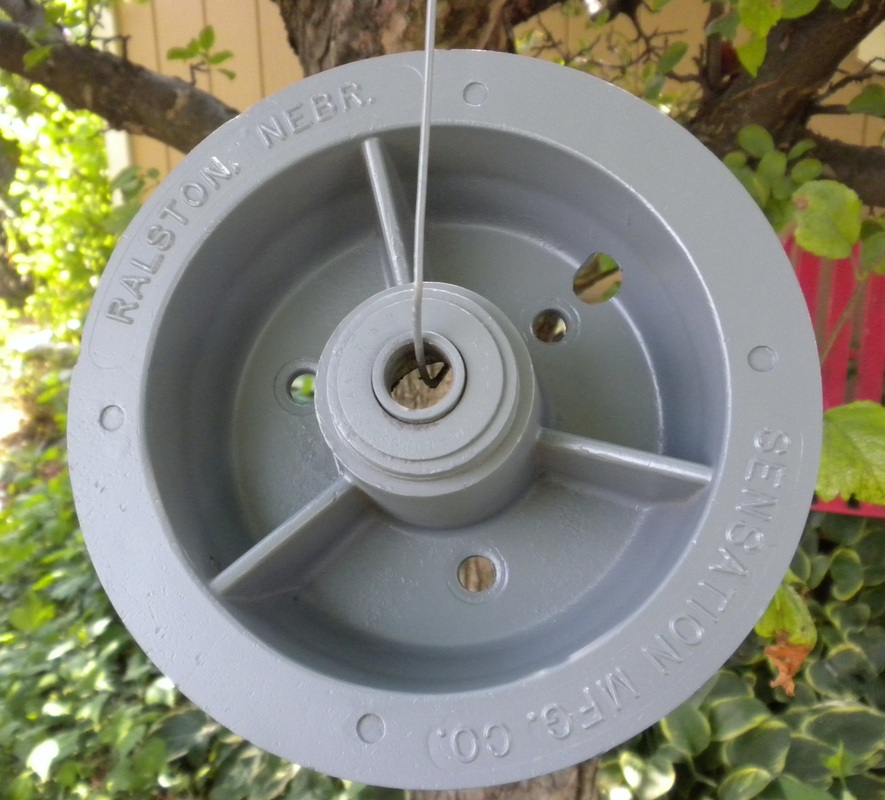
I cleaned both halves up and shot them with primer, the wheel looked pretty good after cleaning but I have plans and the wheels will need to be the same color.
|
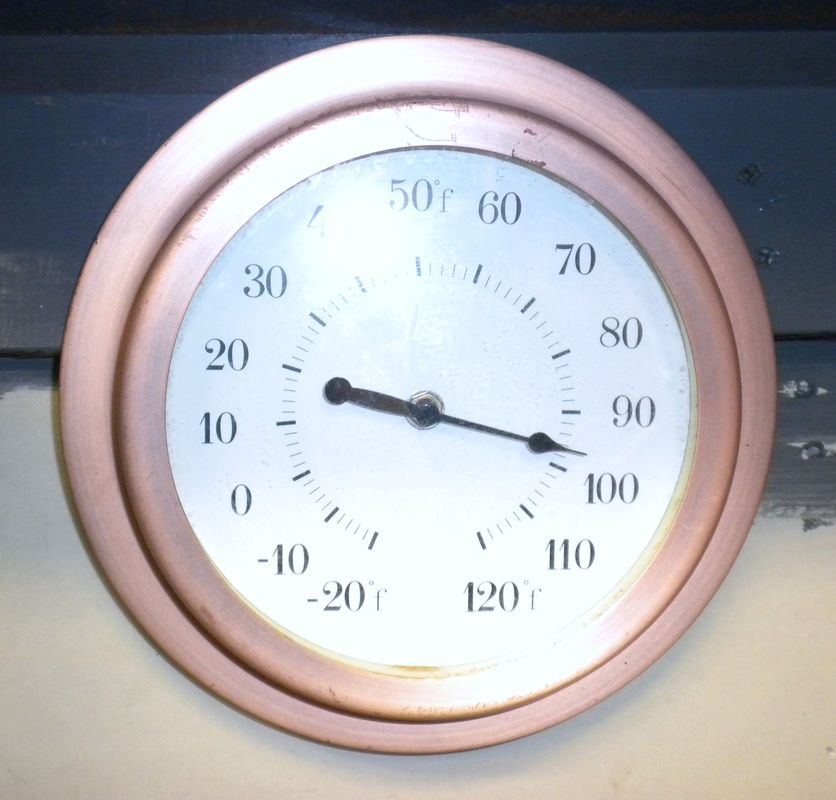
When your garage Thermometer looks like this, it might be a good idea to stop working out there for a bit. I trudged through, rinsing my head under the hose every 15-20 minutes.
|
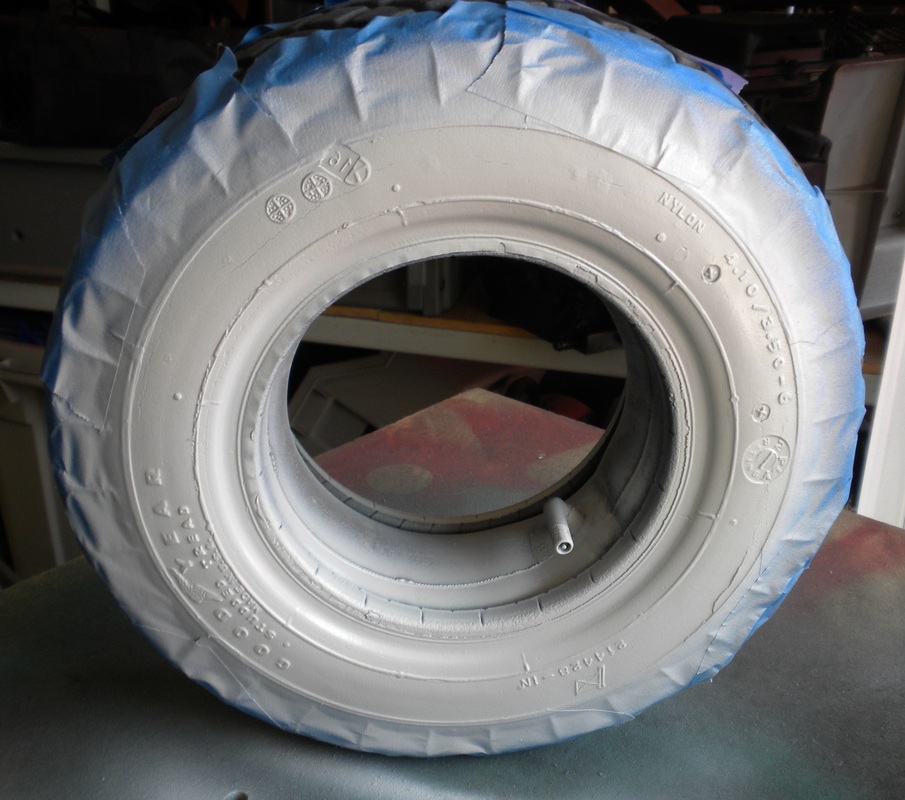
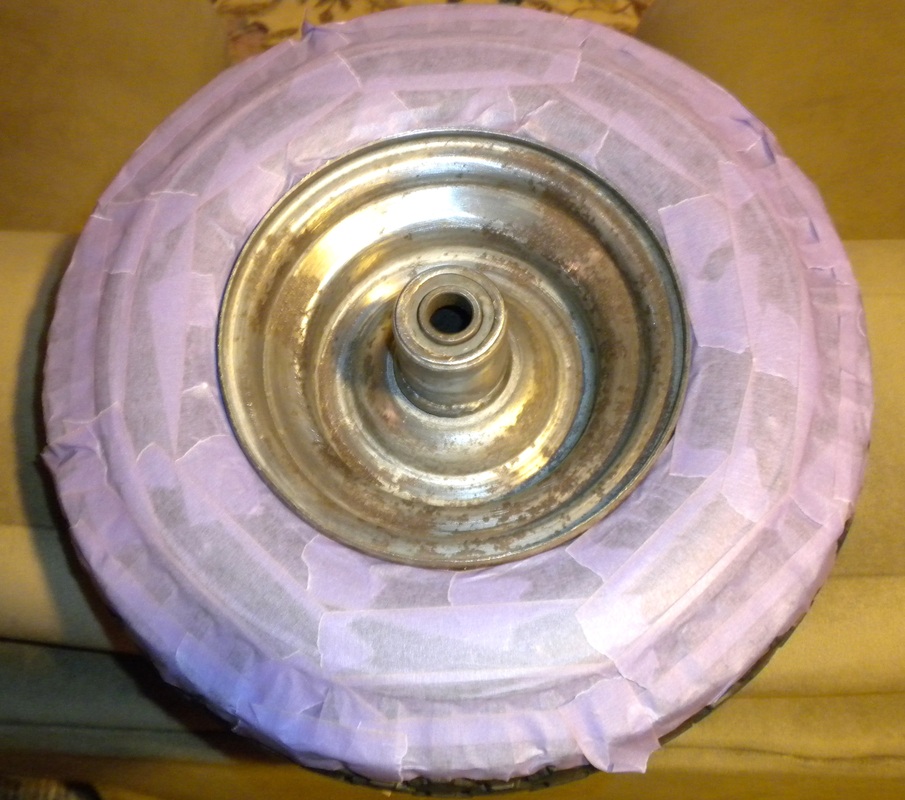
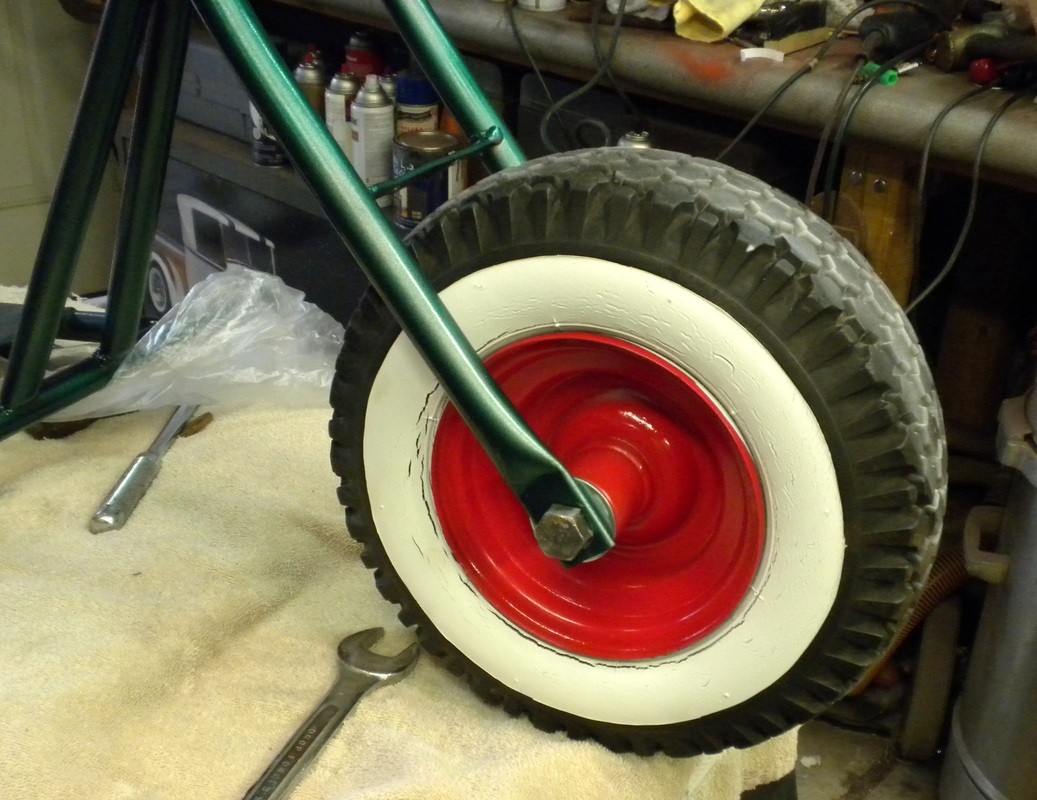
The tires got taped up for a wide white wall treatment. I used Rustoleum Painter's Choice Semi-Gloss White and gave them 2 coats.
|
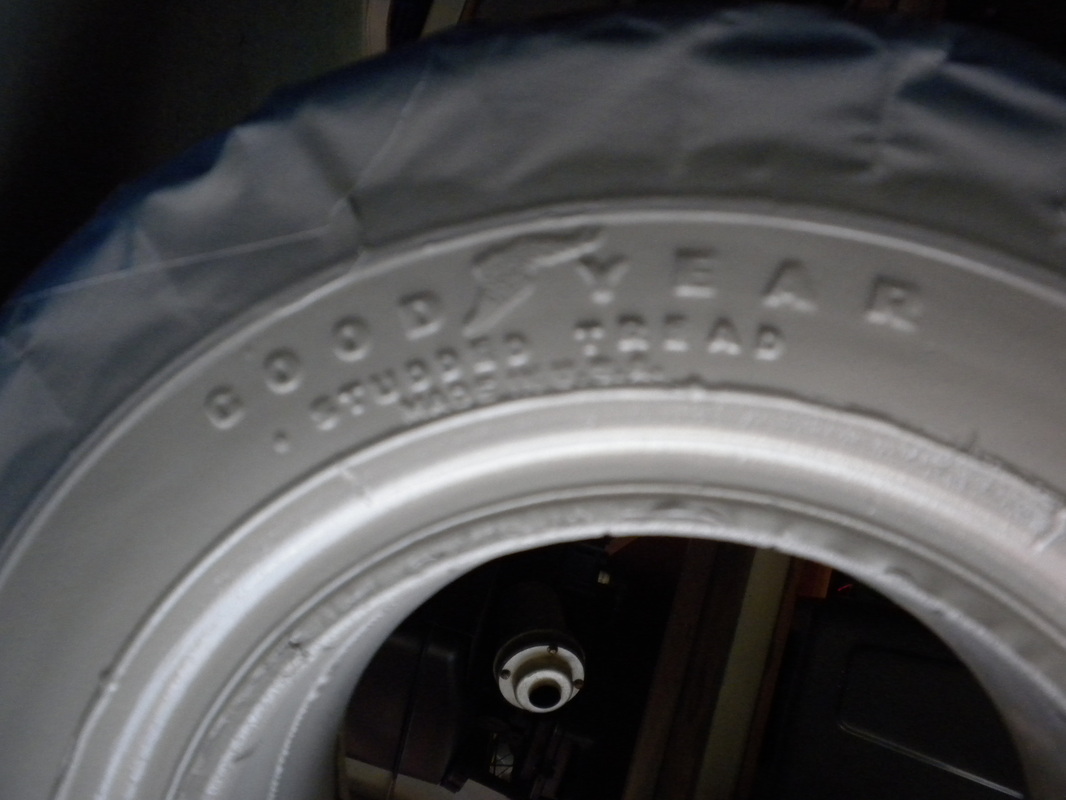
It panged my heart a little painting a wide white on a vintage 1960's Goodyear tire but it had some dry rot and cracking going on.
|
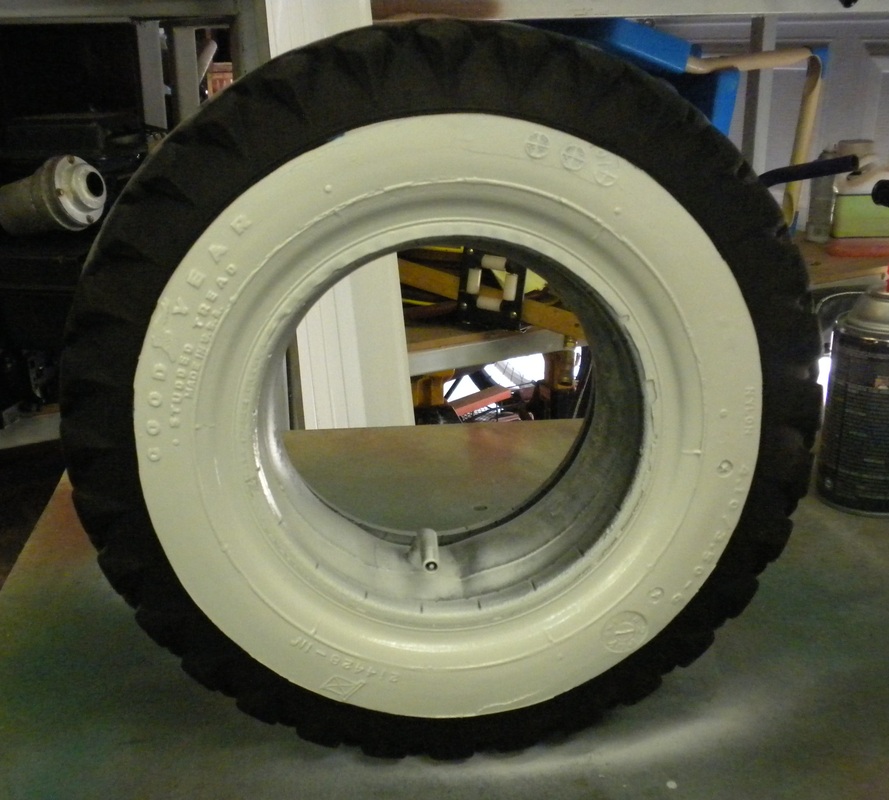
The finished product, it looks pretty darn good. I noticed some tape still on it after I shot this picture and that is why the white wall looks a little out of round.
|
I didn't feel like spending a half hour trying to pry this tire off only to damge the fresh paint when I put it back on so I taped it.
|
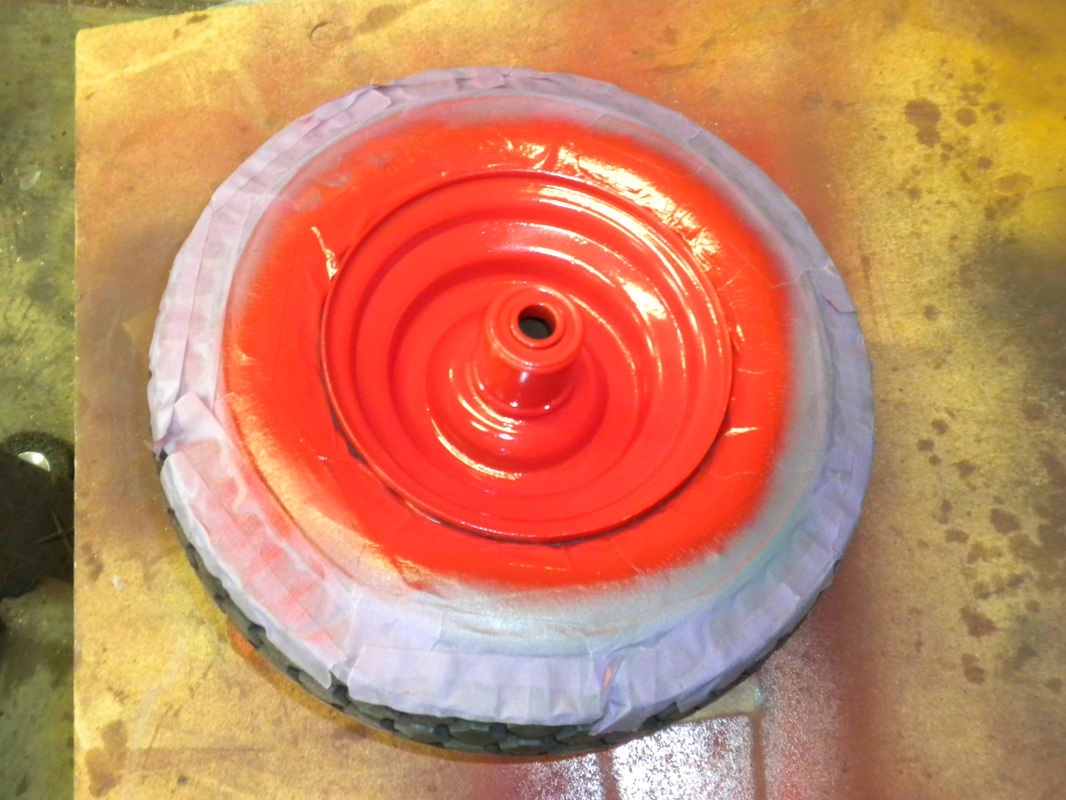
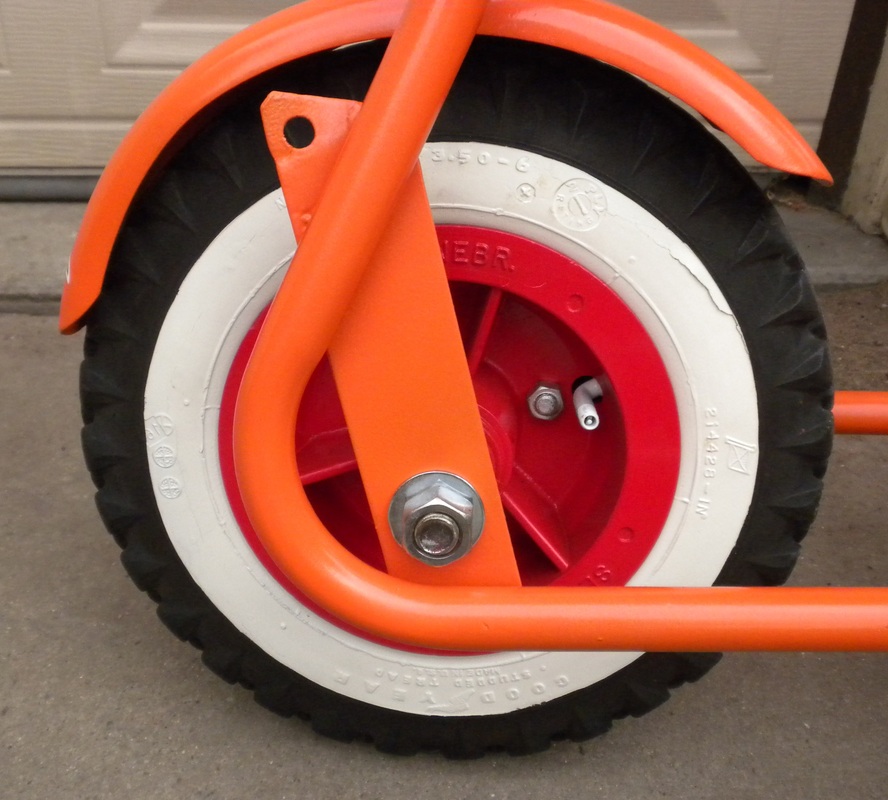
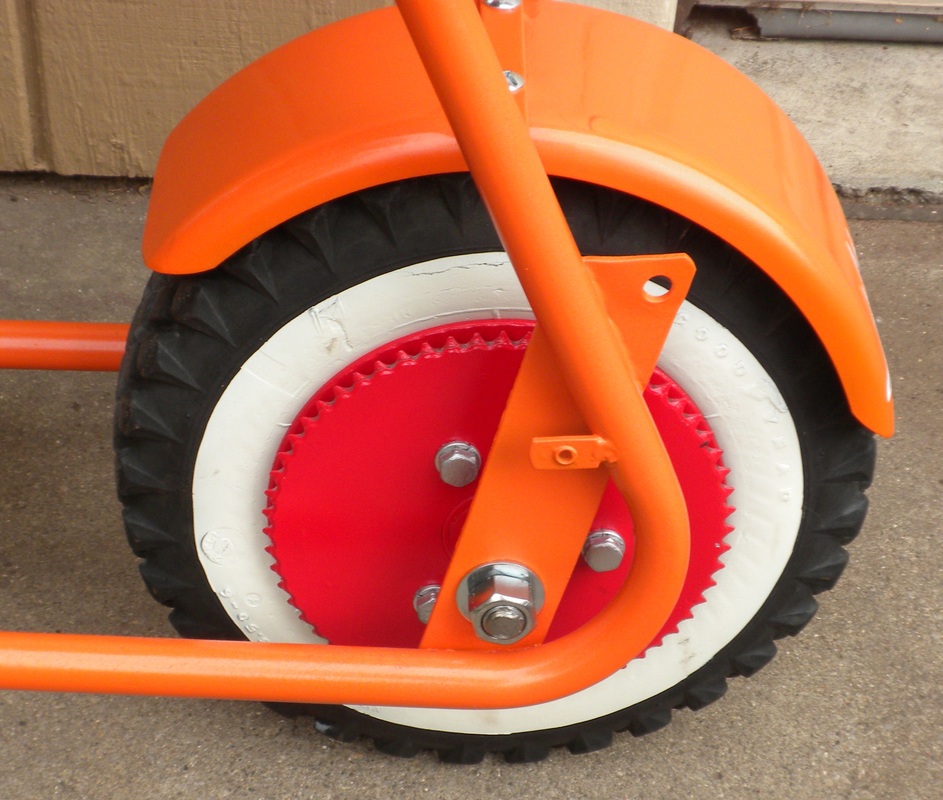
The red wheels are going to look great with the wide whitewalls
|
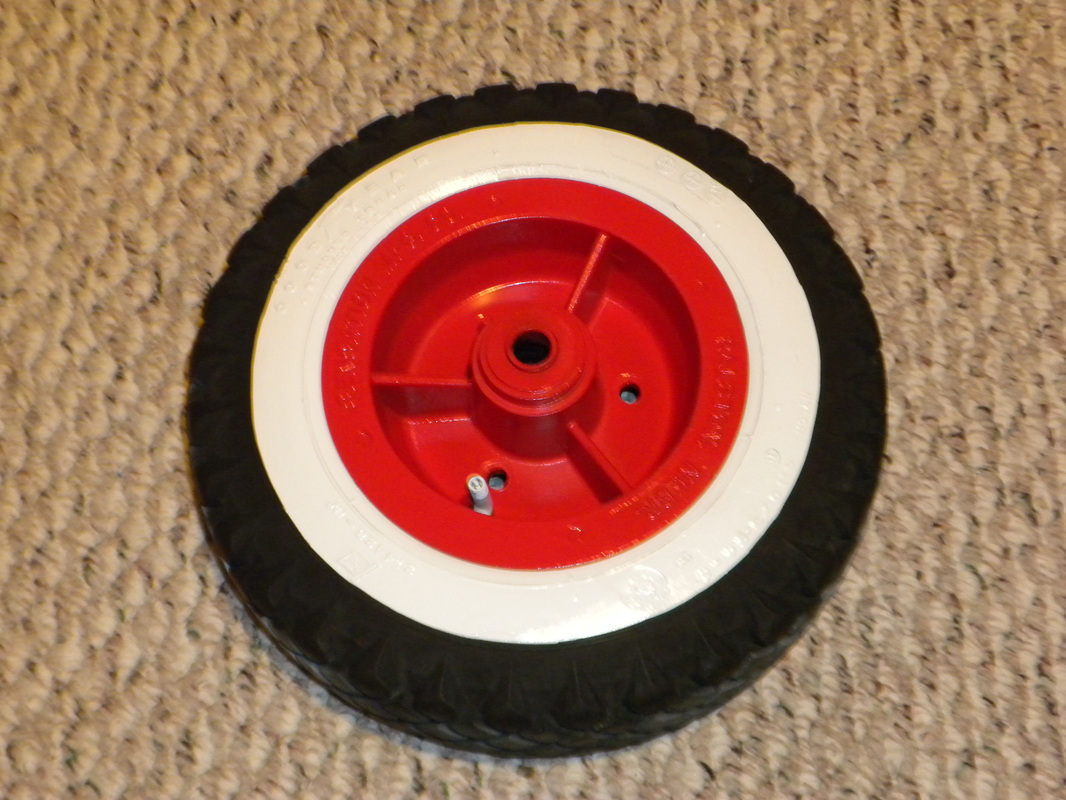
And they do, these are going to look killer with the candy green paint.
|
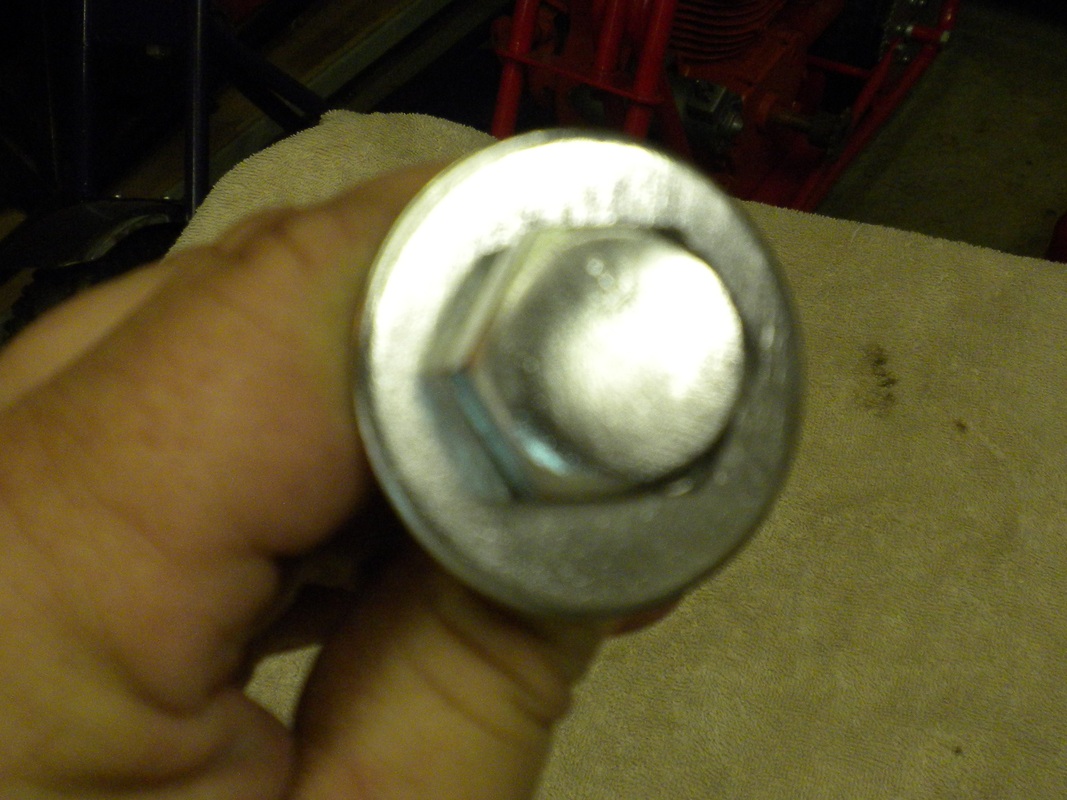
The new bolts and washers got a quick wire wheeling and then I buffed them as best as I could with the equipment I have. They actually look much better than they showed up in the picture.
|
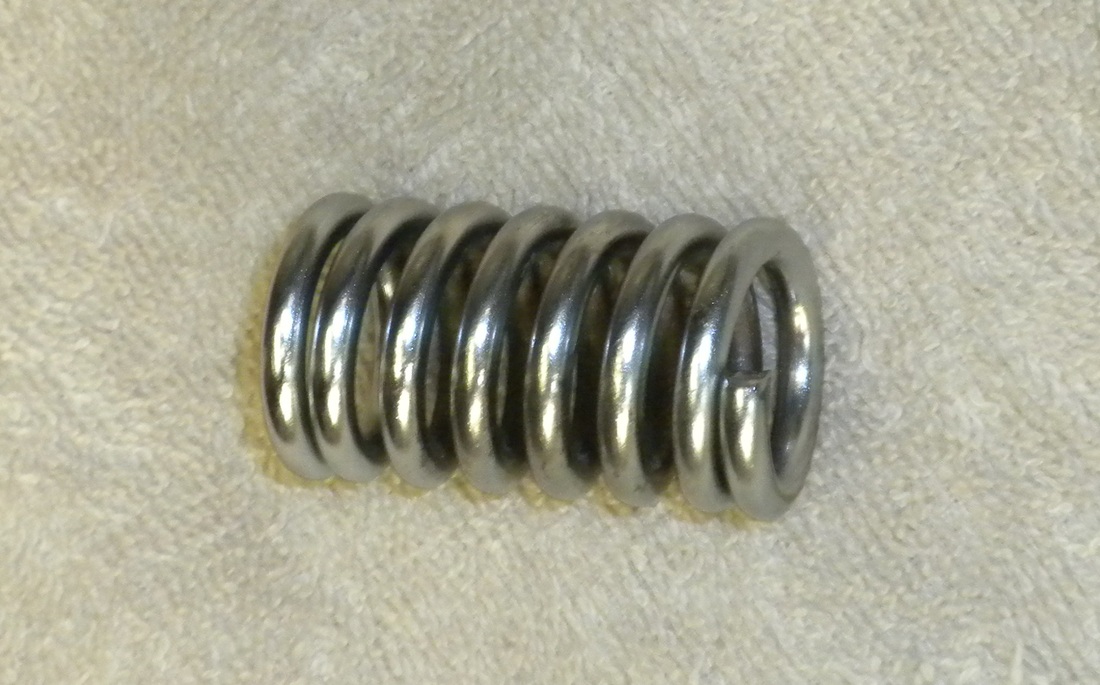
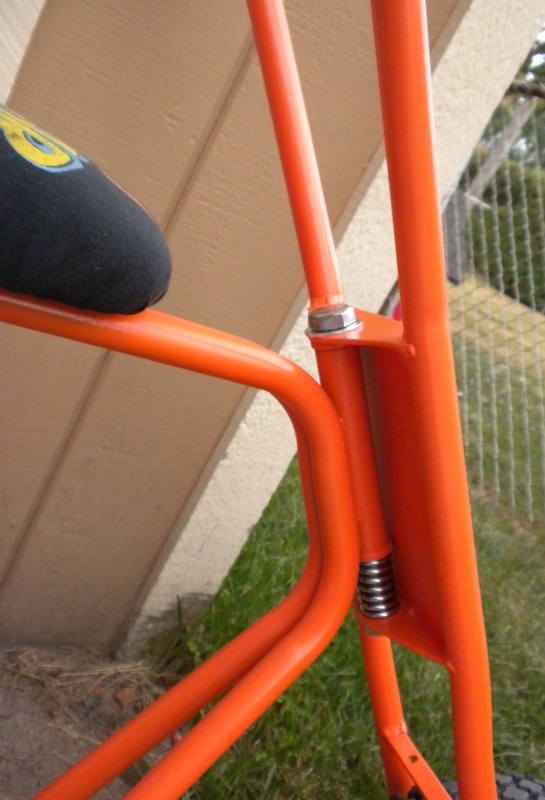
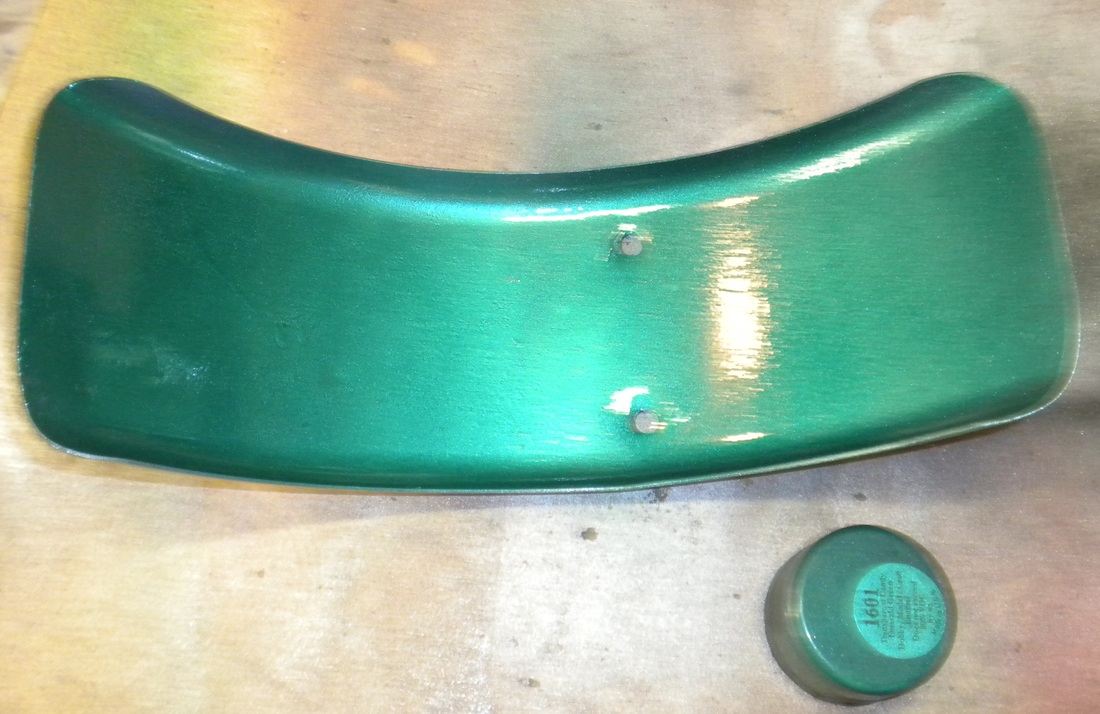
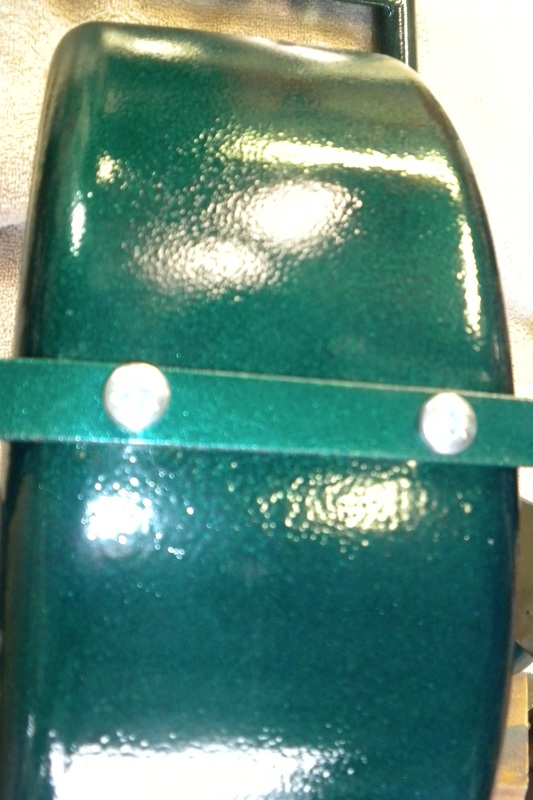
This is the spring for the front forks, I stripped all of the paint and rust off of it then buffed it and gave it coat of clear.
|
That candy green does look good against those wheels
|


After seeing how great the wheels and tires looked, I had to repaint it. The candy green, while it looks great in the pictures, was very splotchy and there were some spots I missed altogether as you can see in this picture
|
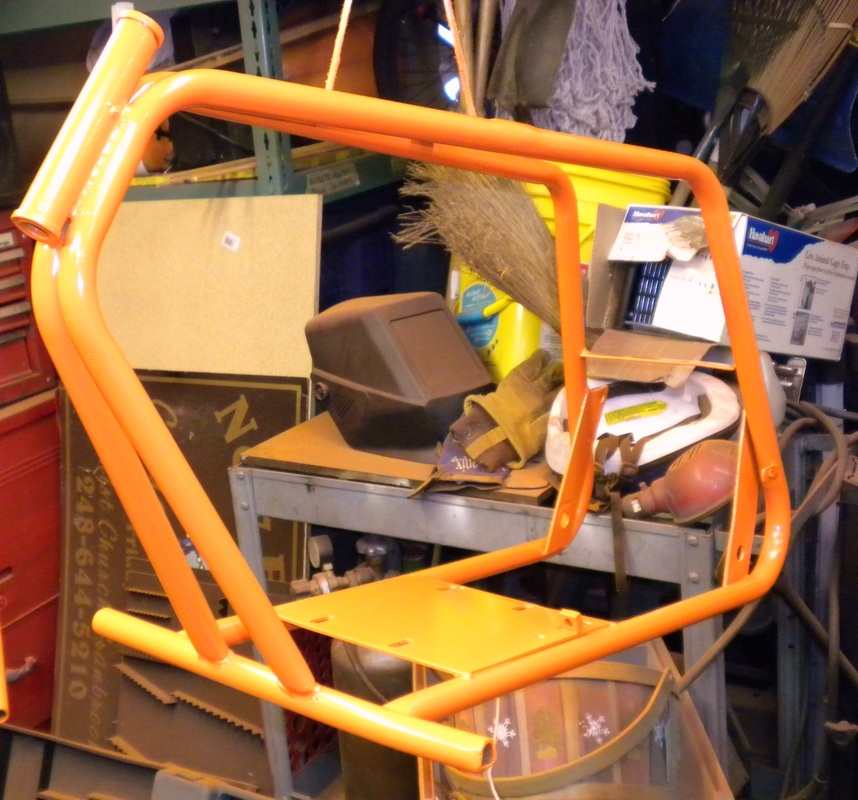
My original color choice was orange, so that's the color I went with for repaint.
|
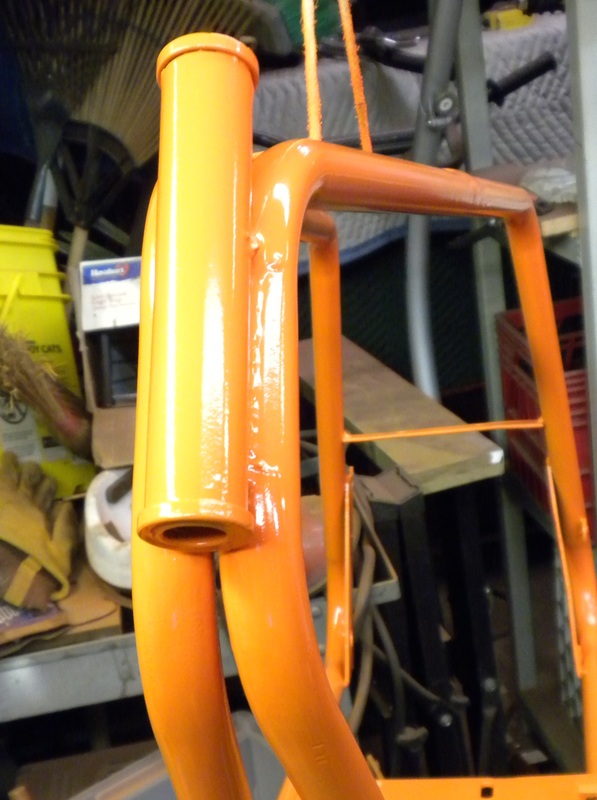
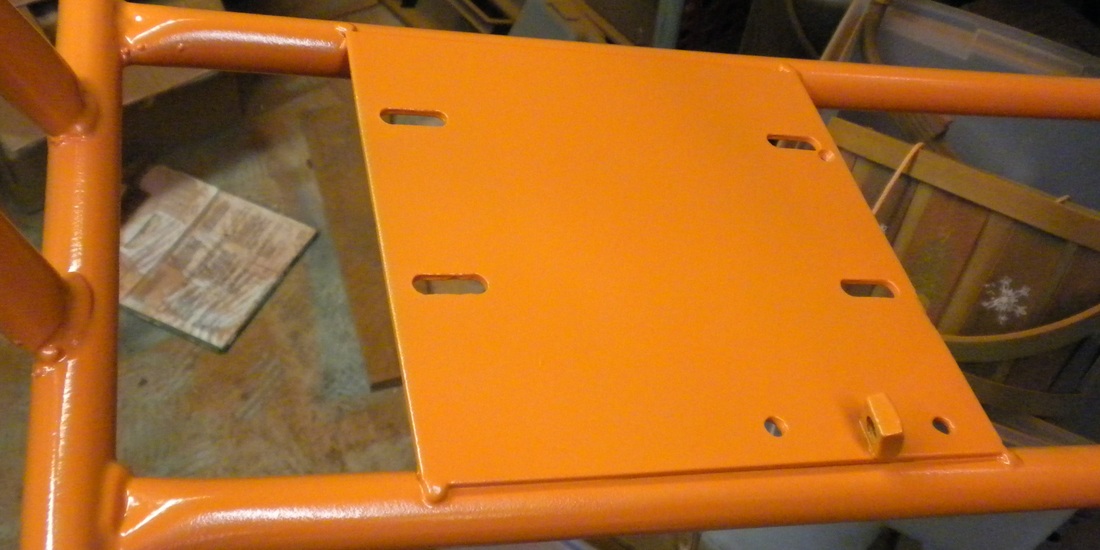
This is Rustoleum Painters Choice again. The color is called "Real Orange" and I covered it all with Duplicolors "Clear Effex" which is a clear with metal flake in it.
|
I wet sanded the whole thing with 500 grit and you can see in this picture that it really helped.
|
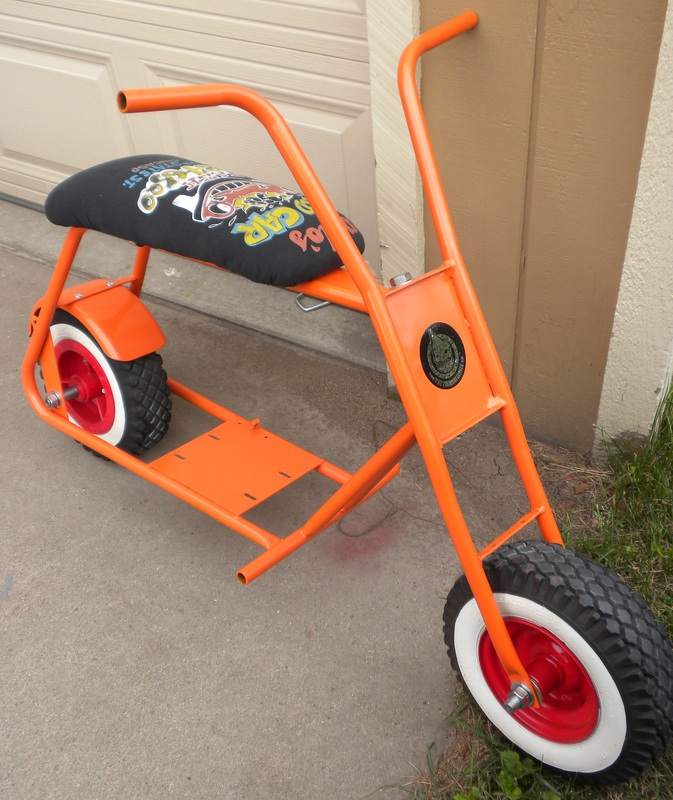
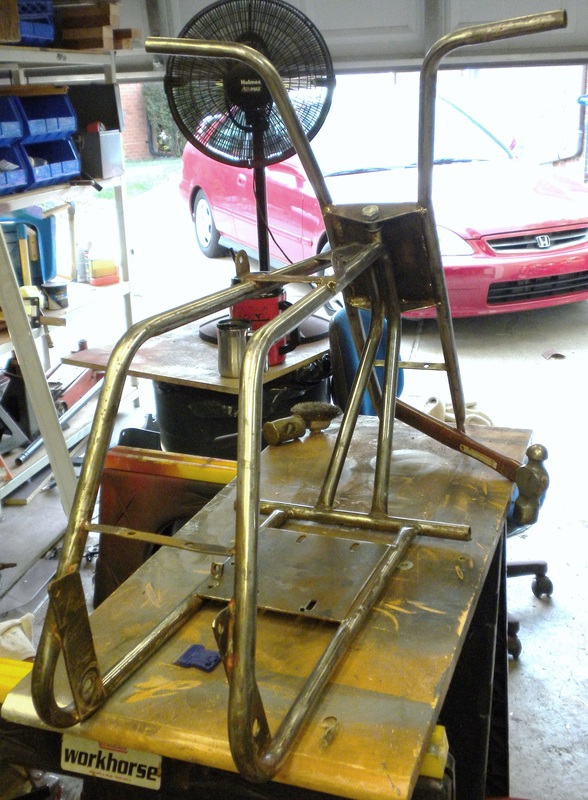
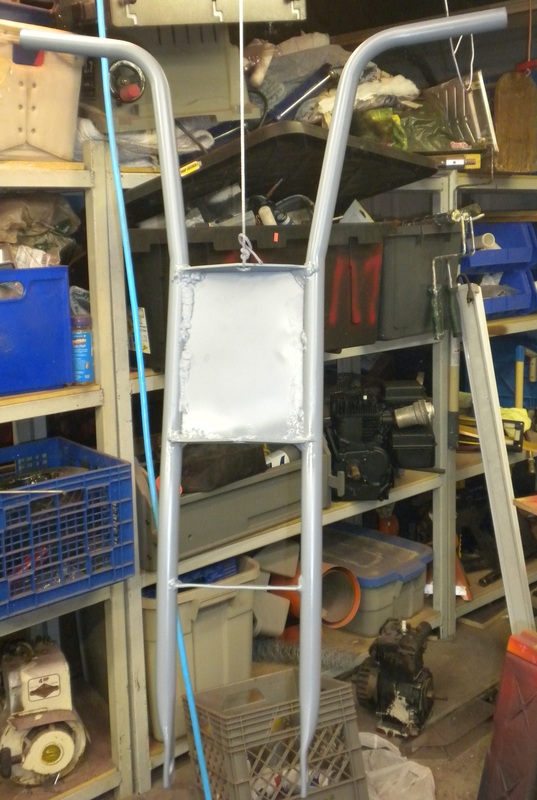
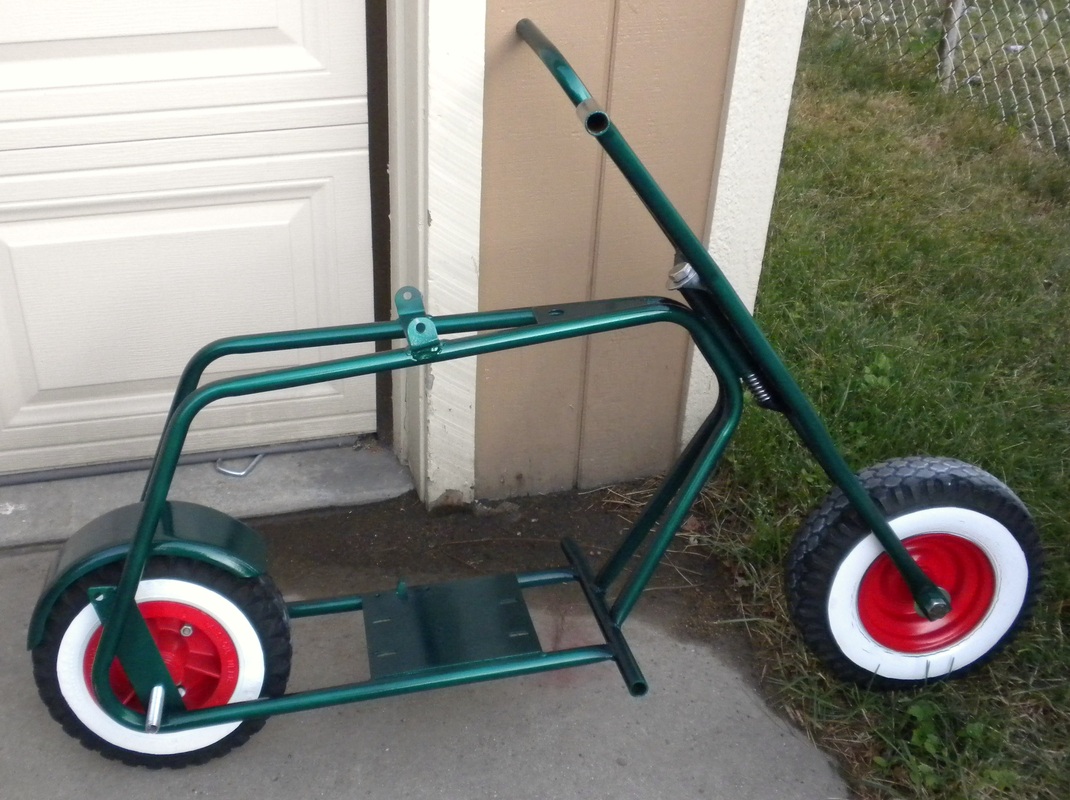
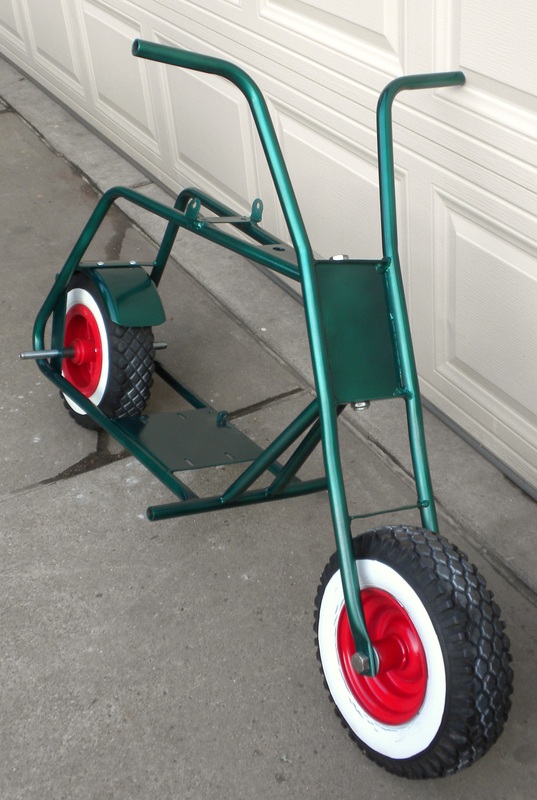
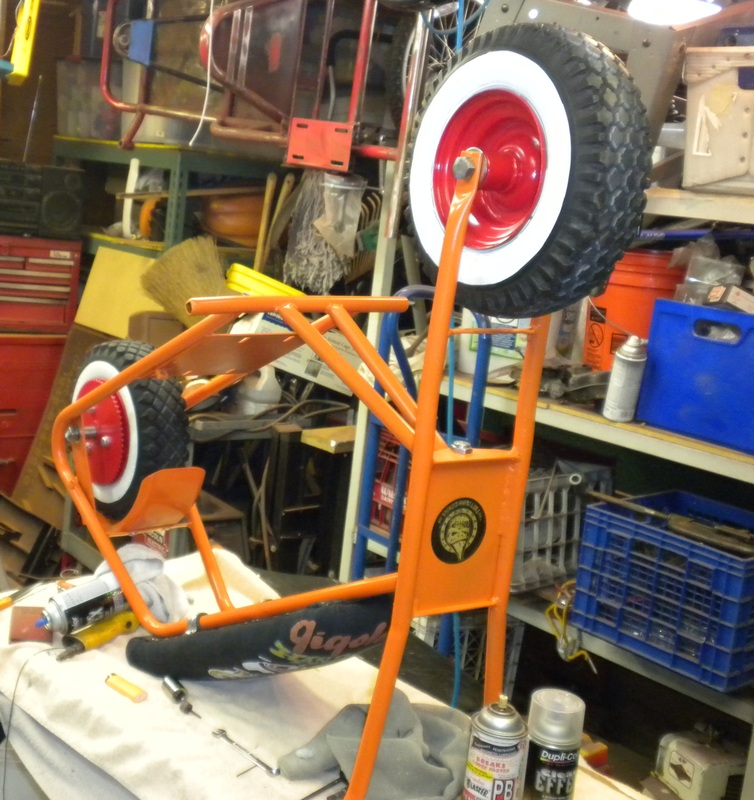
Starting to take shape
|
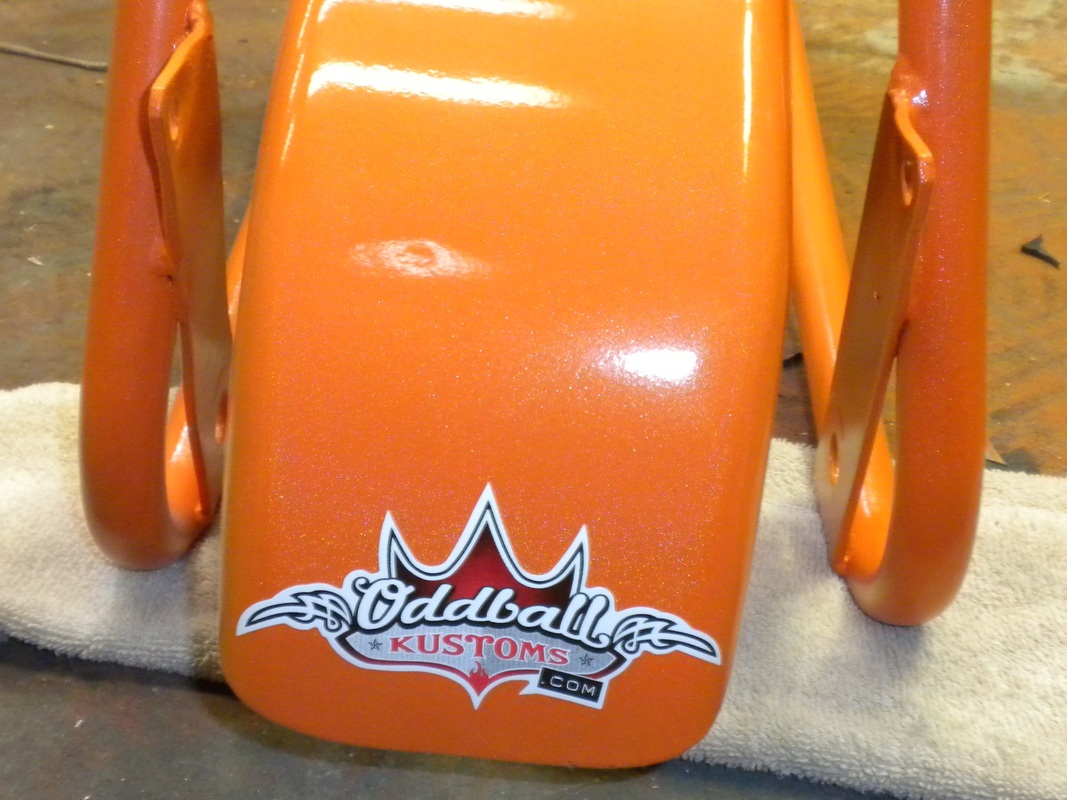
I added a couple of hot rod decals to give it that flavor, you can really see the flake in this shot.
|
Still in the seat building mode from the one I made for the other Alexander Reynolds, I decided to build one for this one. I started by cutting another using the template that I had made for the other.
|
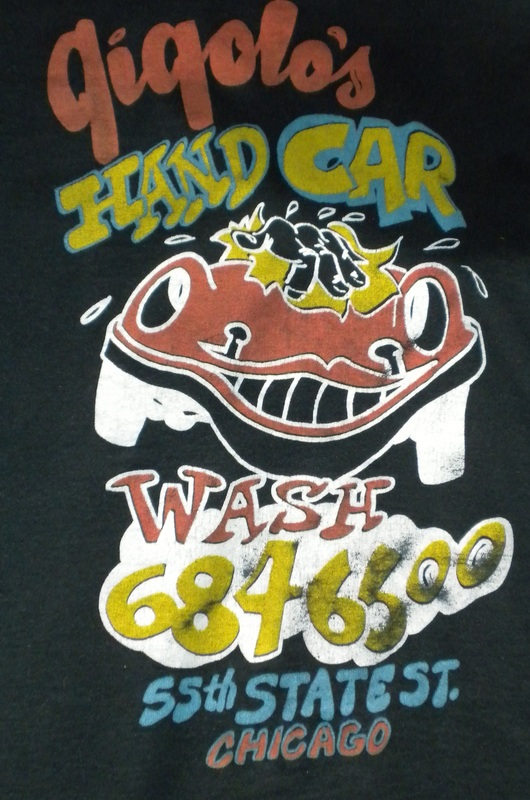
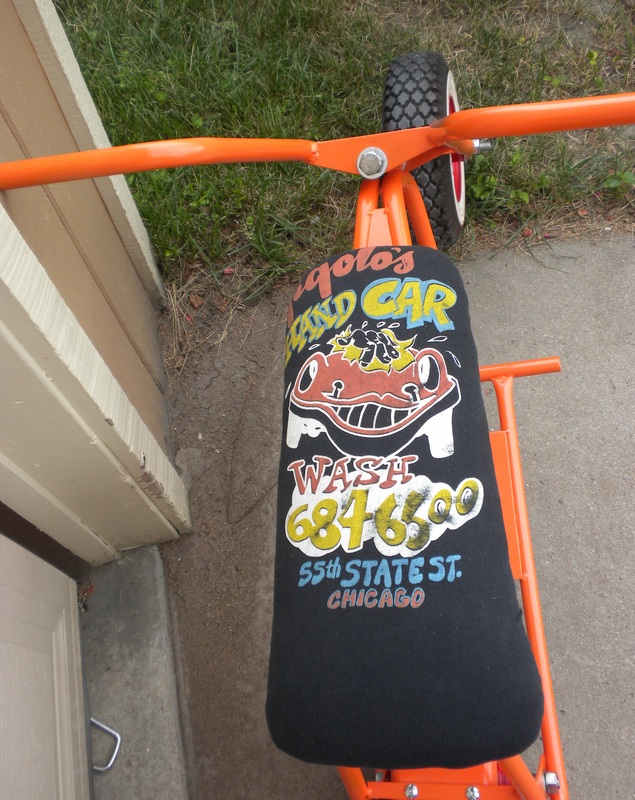
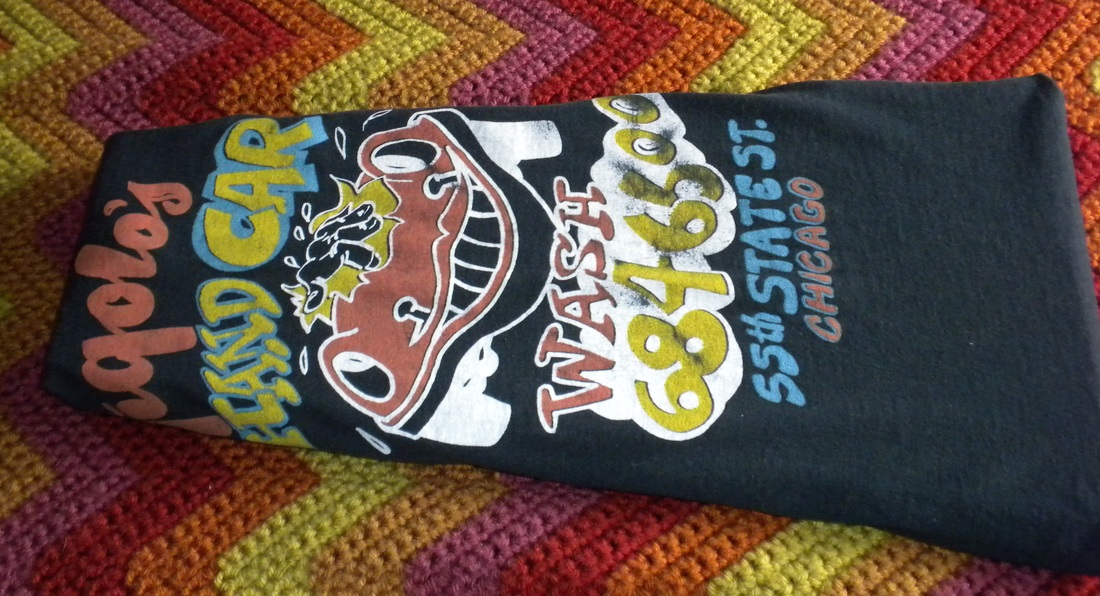
I has bought enough Skull and Crossbone material to cover a total of 3 seats, but thought that 3 identical seats would be boring. So I grabbed this T-shirt I picked up used at a car show a few years back but never fit me right
|
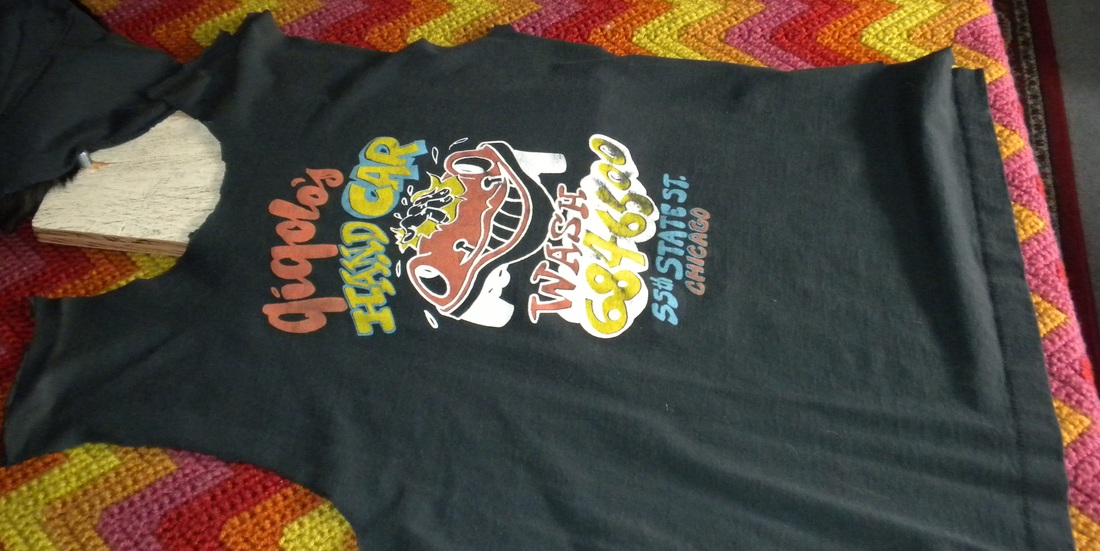
I cut as close as I could to the seams because there is barely enough fabric to fit over the padding.
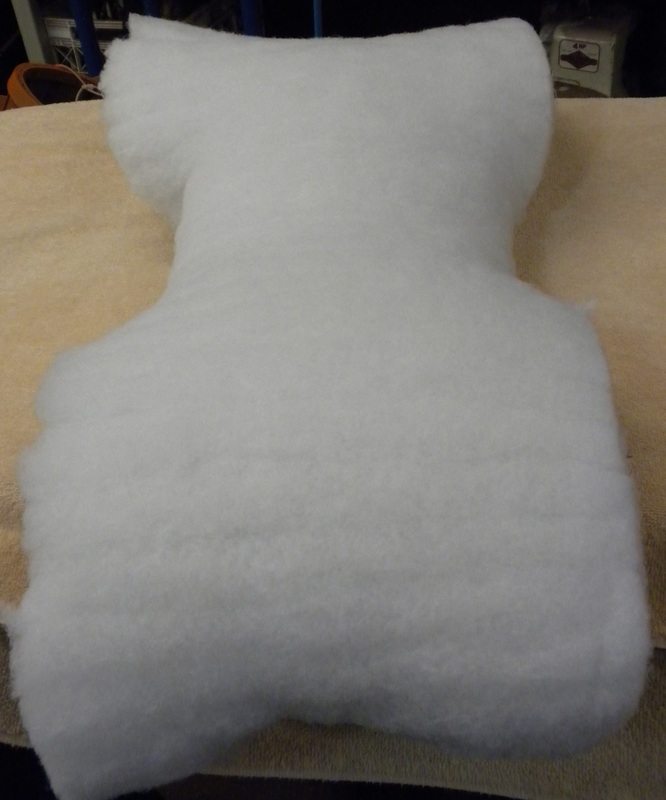
I took some upholstery classes in the late 90's and still remember the basics. I'm not saying that it's difficult to build basic flat seats but remembering the importance of going slow and stretching the material from opposite sides helped alot.
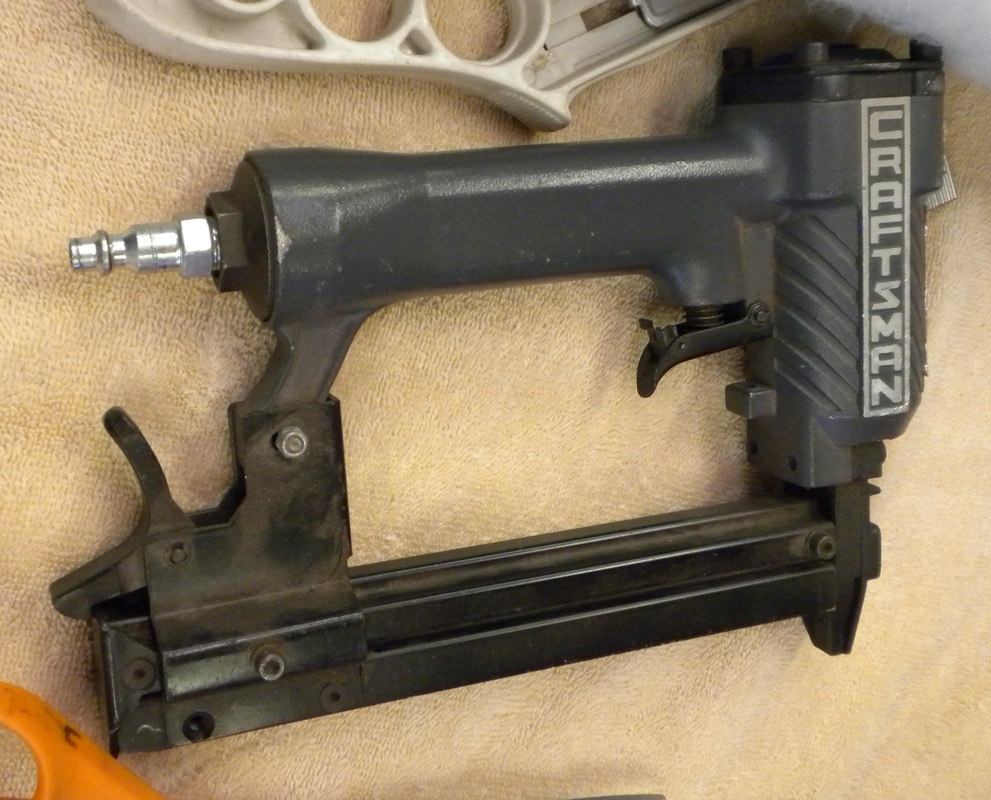
It also helps to have a pnuematic stapler. I have two, this one and a 20 dollar one from China Freight. I prefer this one because it's a model built before they added the saftey switches meaning that you don't have to push it down on anything to shoot it.
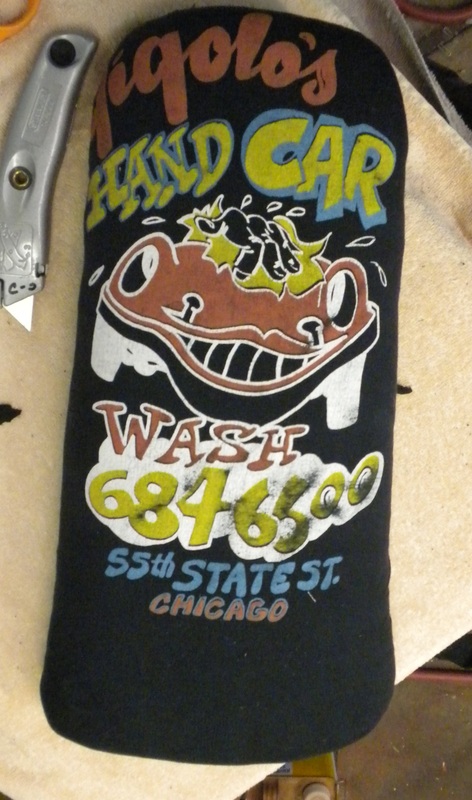
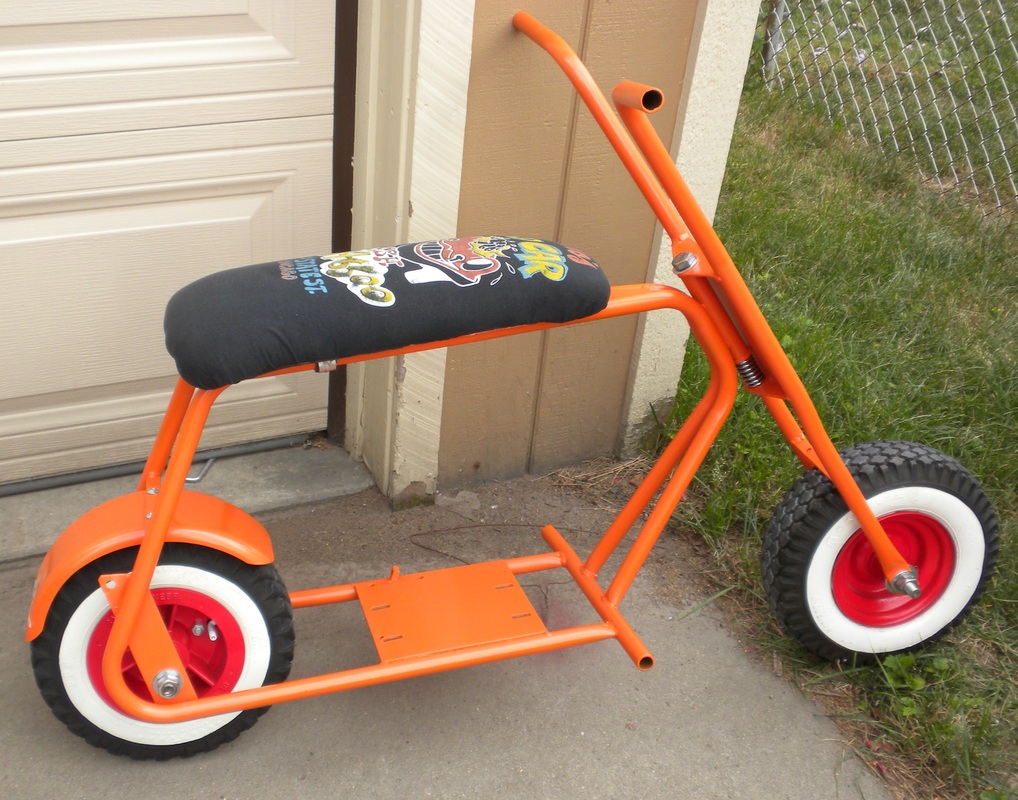
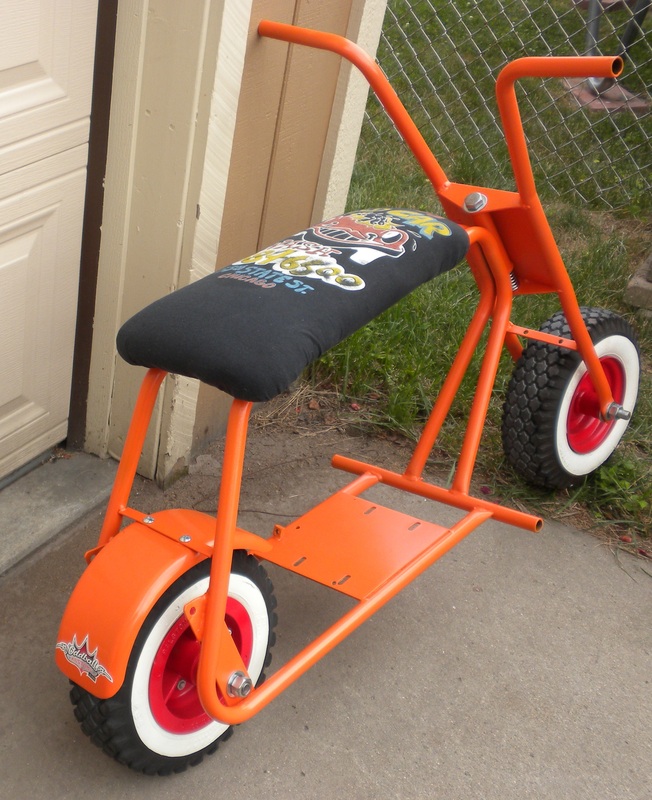
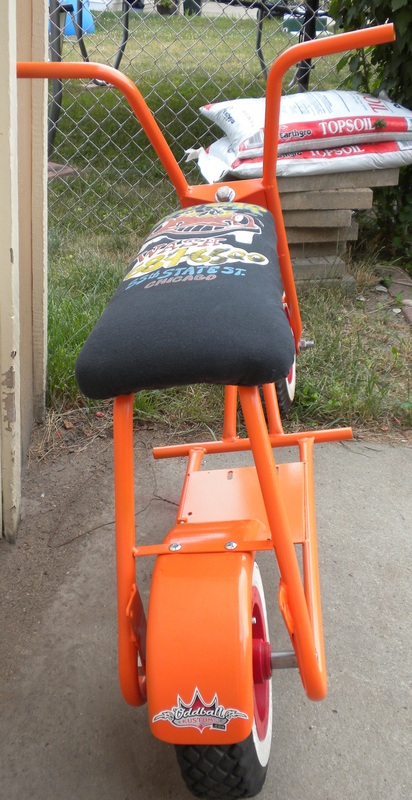
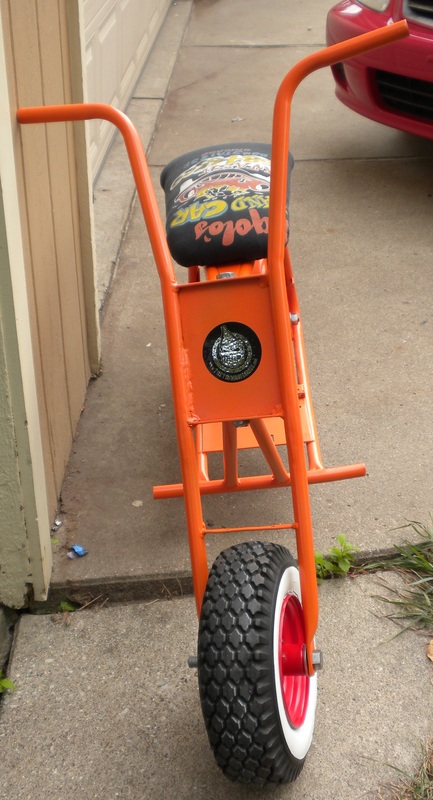
Here it is finished, I think it is super cool. The best thing is that it's completely unique and the shirt only cost me 2 bucks.
           |
This shows how the graphics will fit on the finished seat.
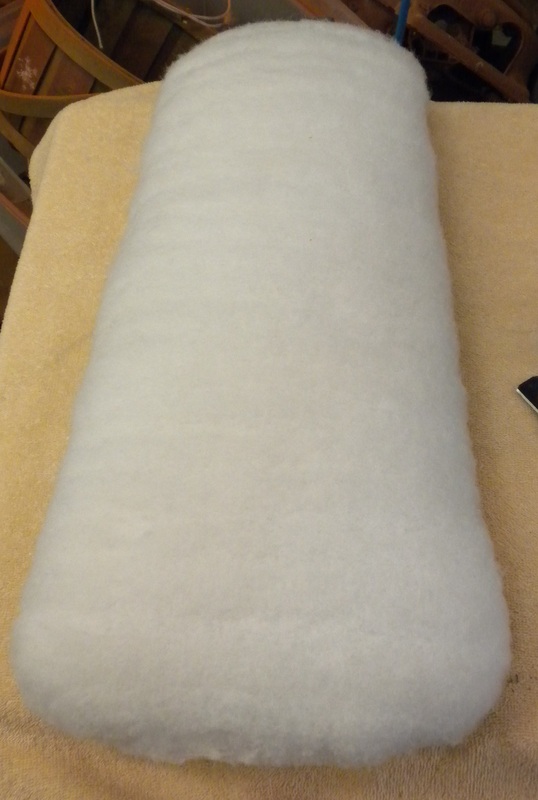
If the seat looks good with no covering on it, it will look good when it's finished.
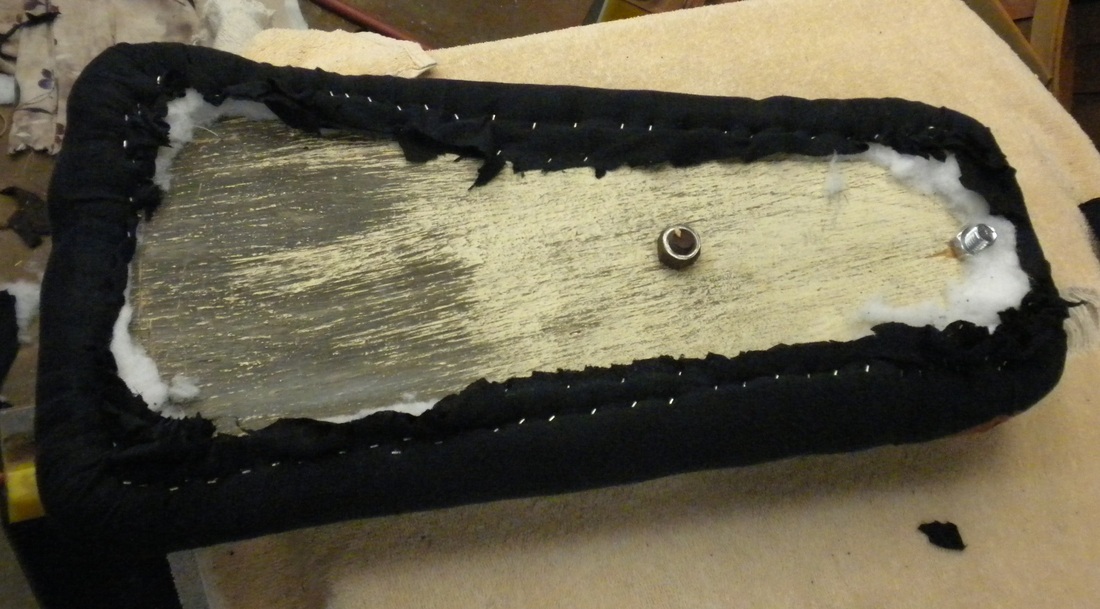
This is how it should look on the other side when finished, I try to keep everythign as neat as possible.
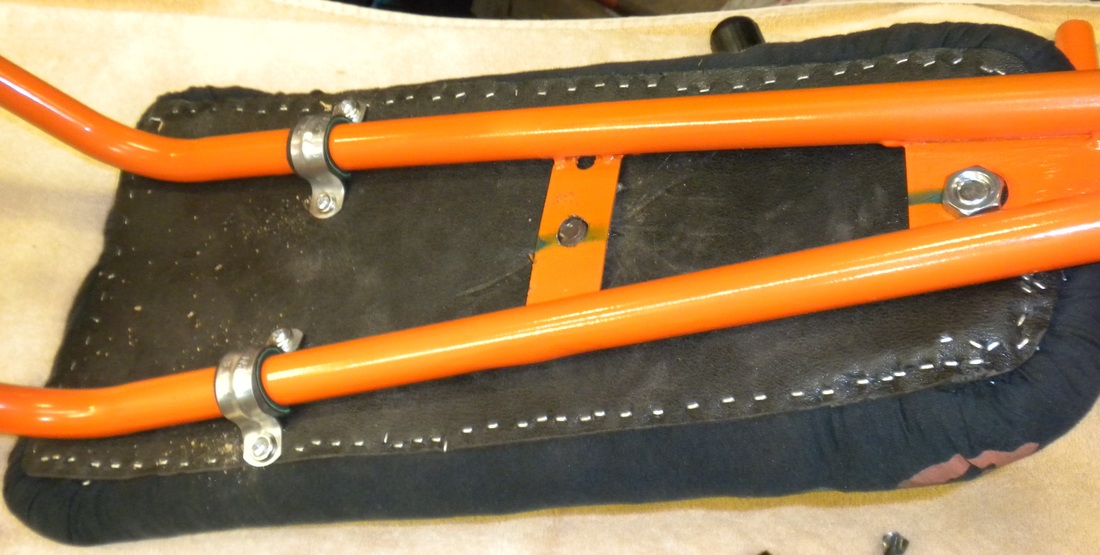
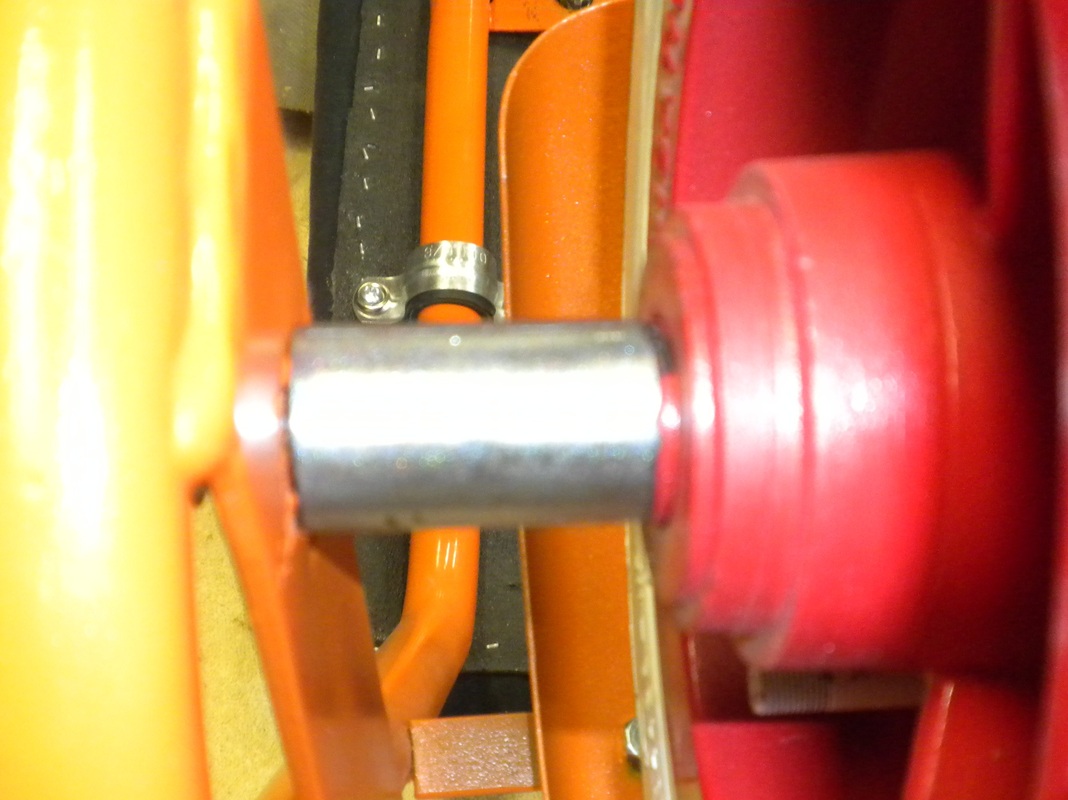
Here is is installed, I covered the bottom with sheet plastic. I sunk two carraige bolts in the seat before I covered it but one spun on me so I added the two pipe straps to secure it, using heater hose as an improvised gasket.
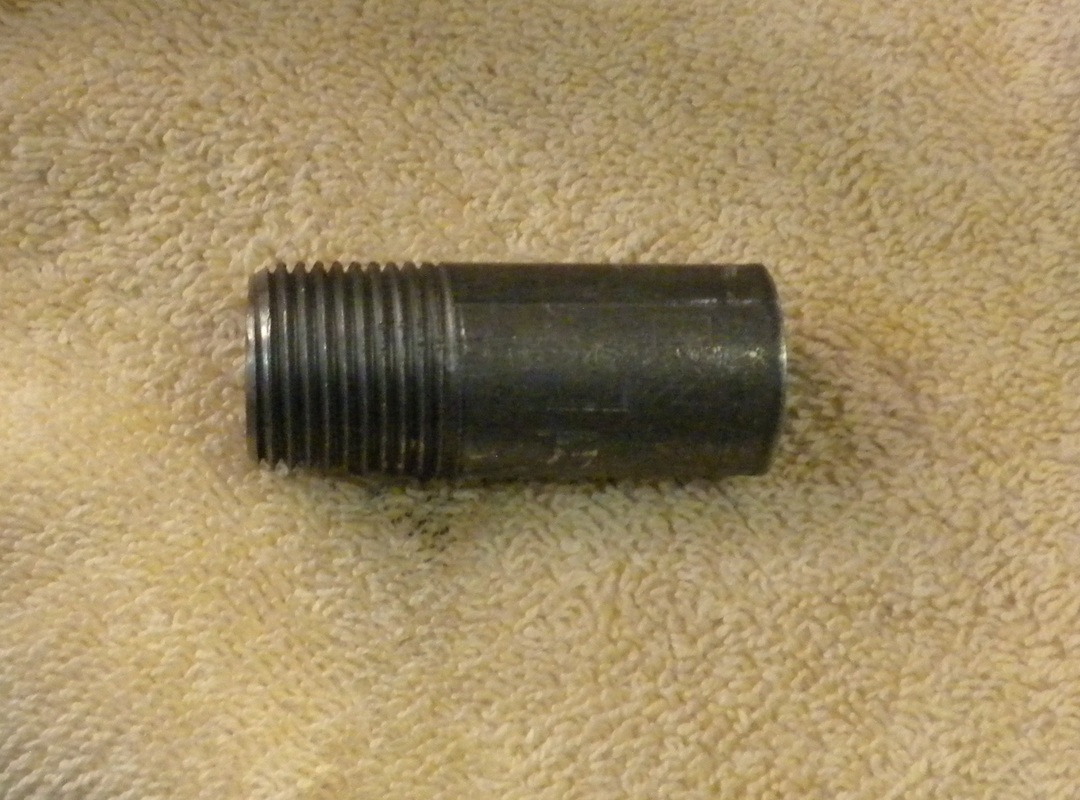
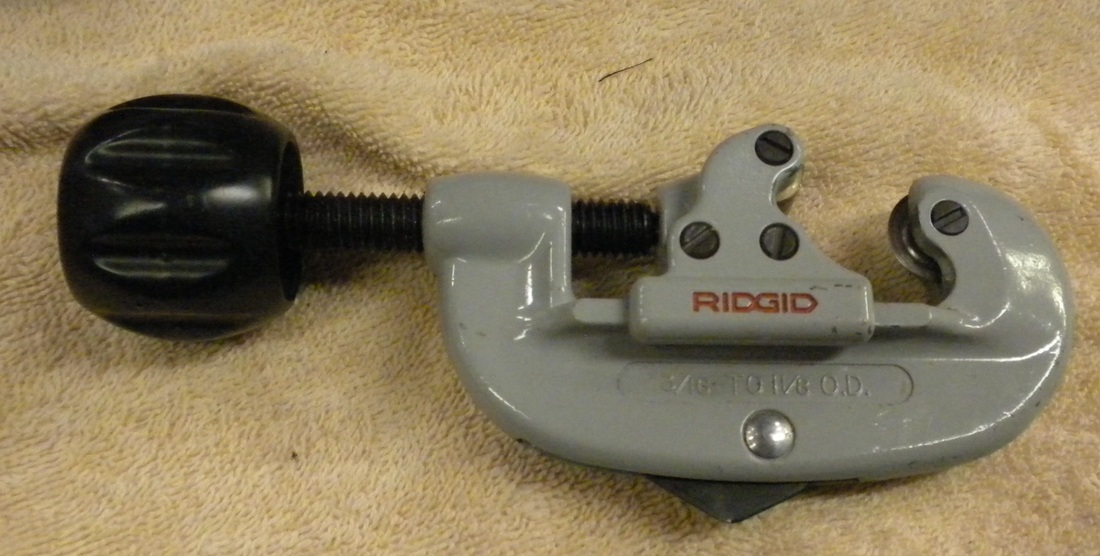
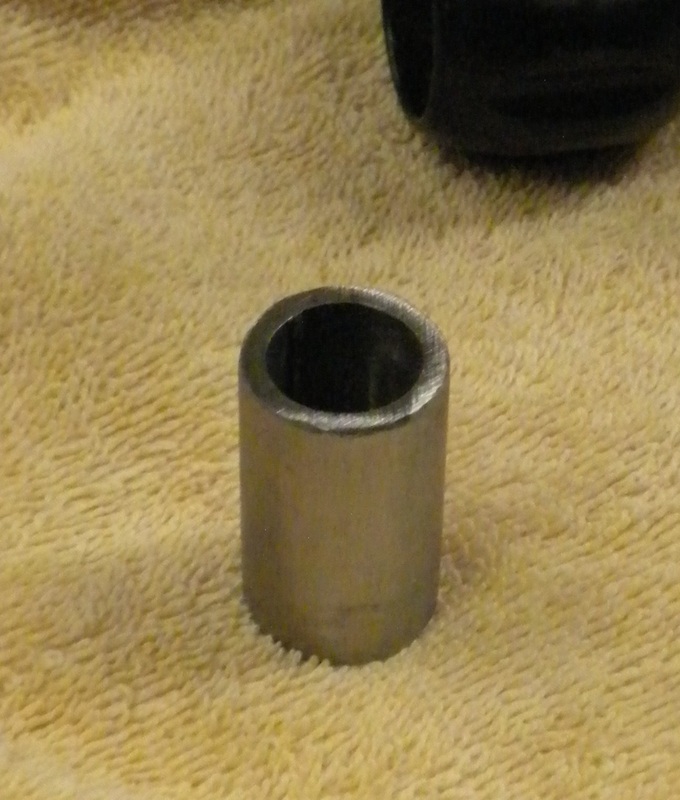
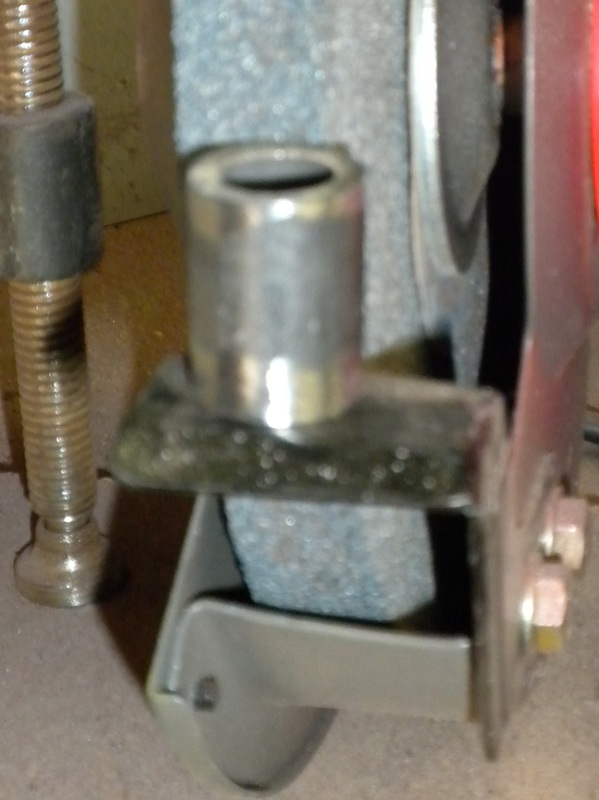
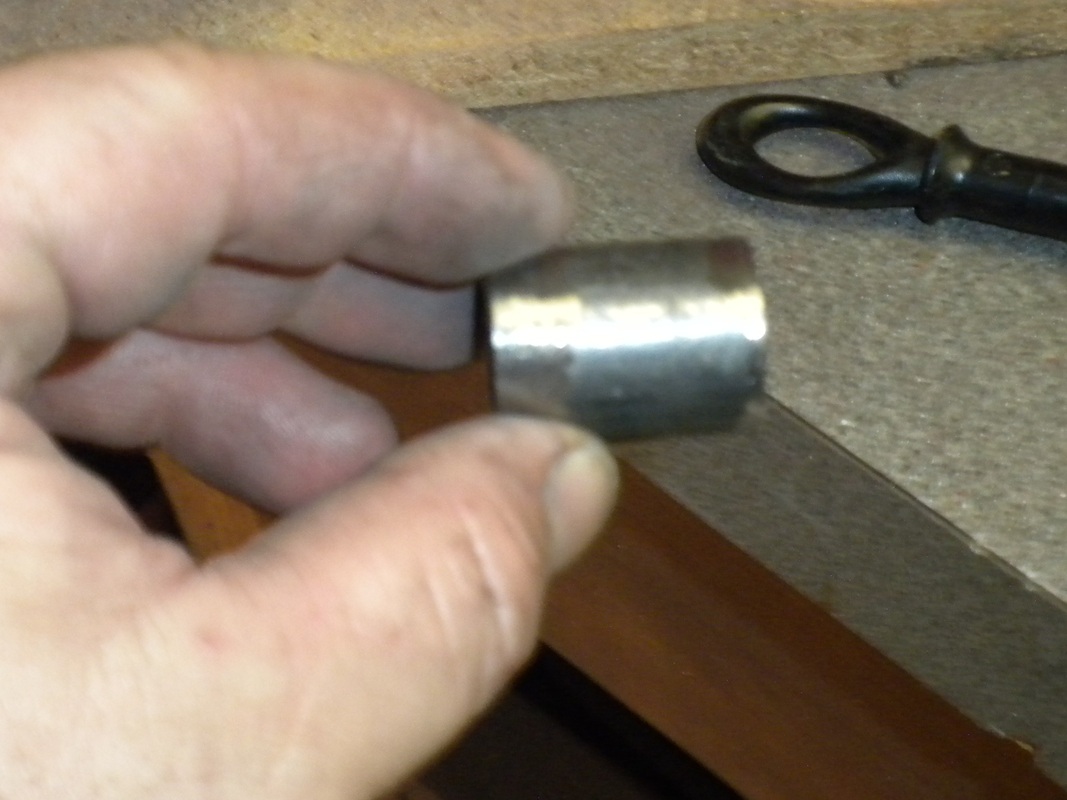
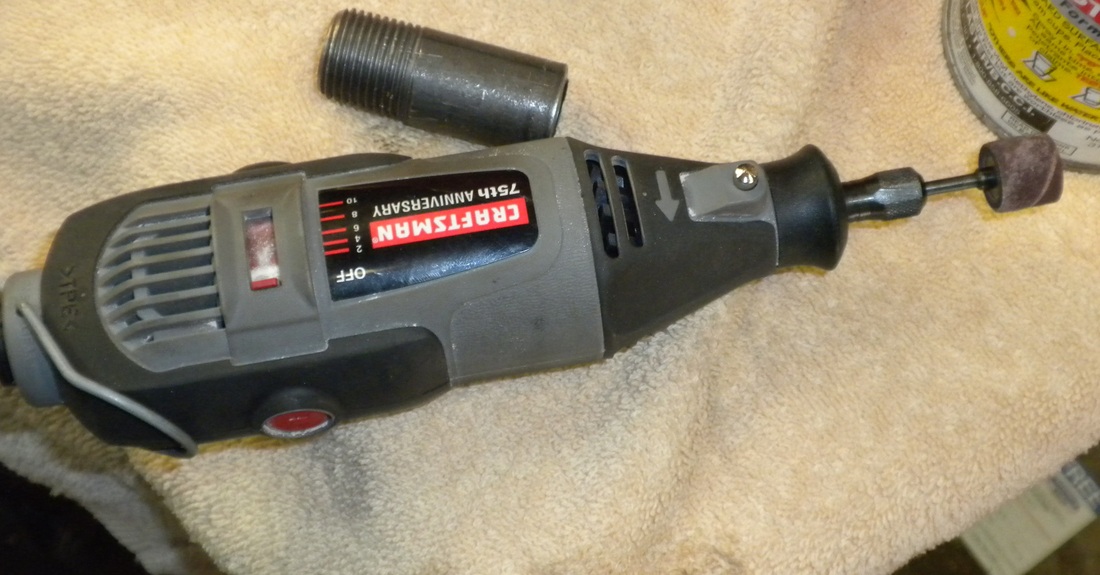
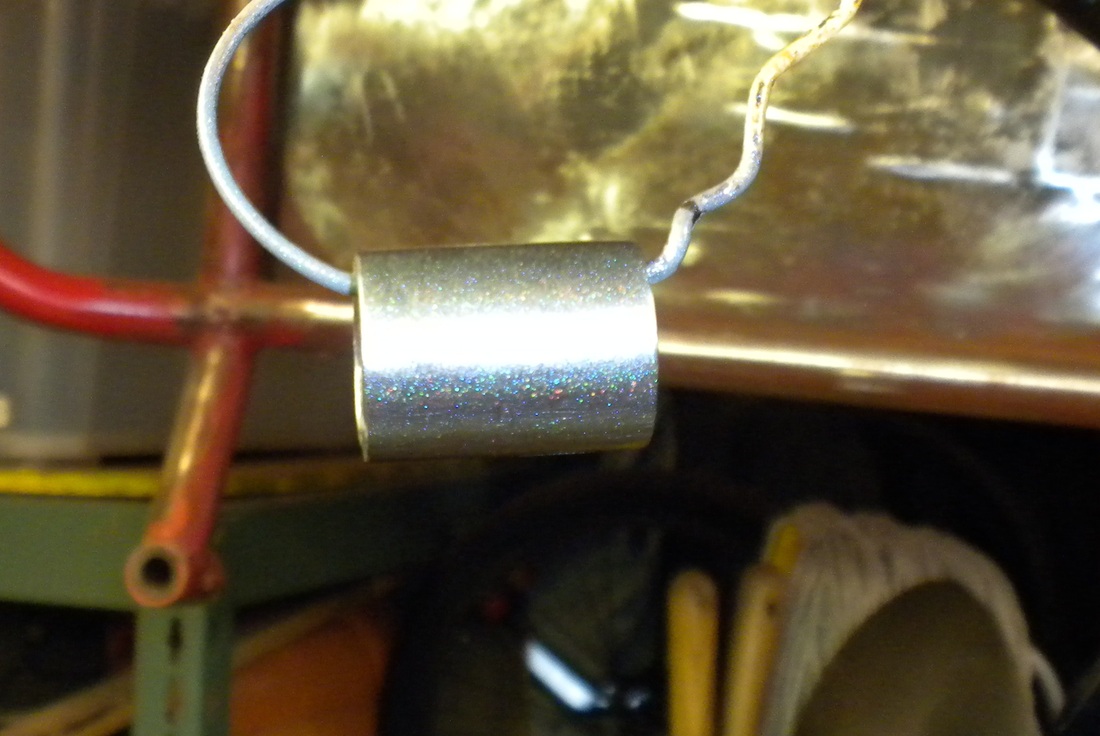
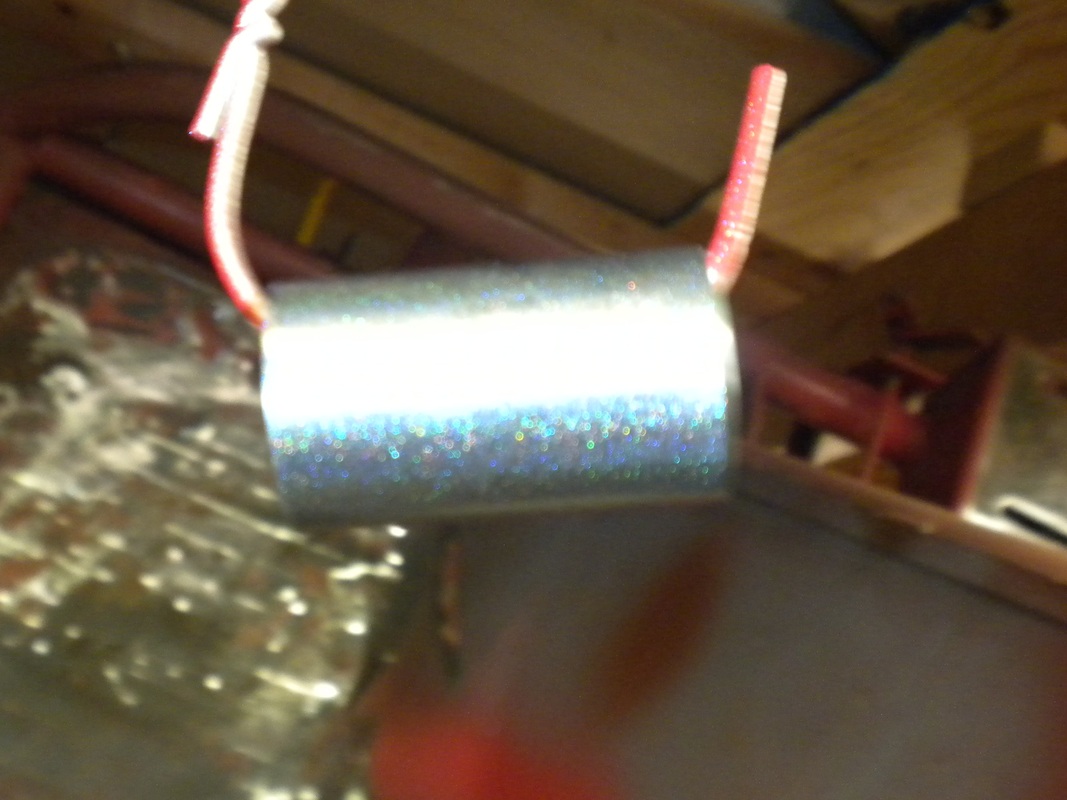
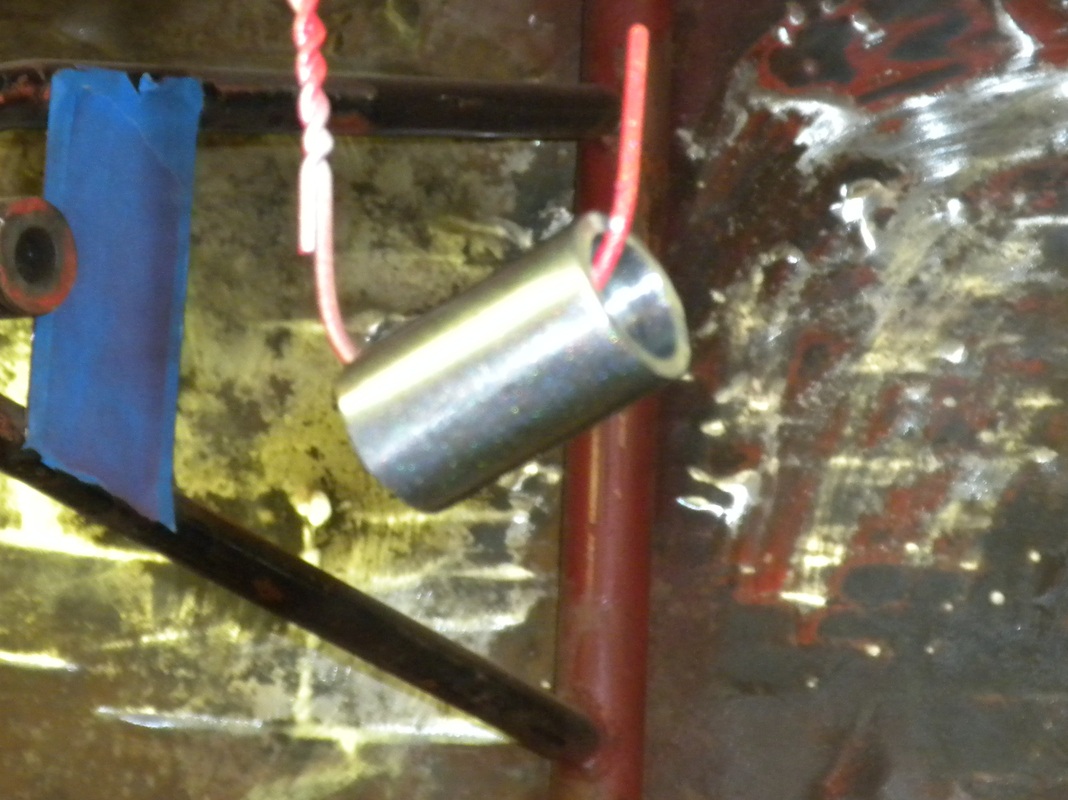
The back wheel needed spacers so I used black pipe and cut them to length with a tubing cutter. I then used my dremel to remove the inside seam and burrs. Then cleaned them up on my grinder, wire wheel and 150 grit sandpaper. I followed with 220 then wet sanded with 400 and 600 grit paper, and then polished on my buffing wheel before coating them with Duplicolor Clear Effex metal flake clear.
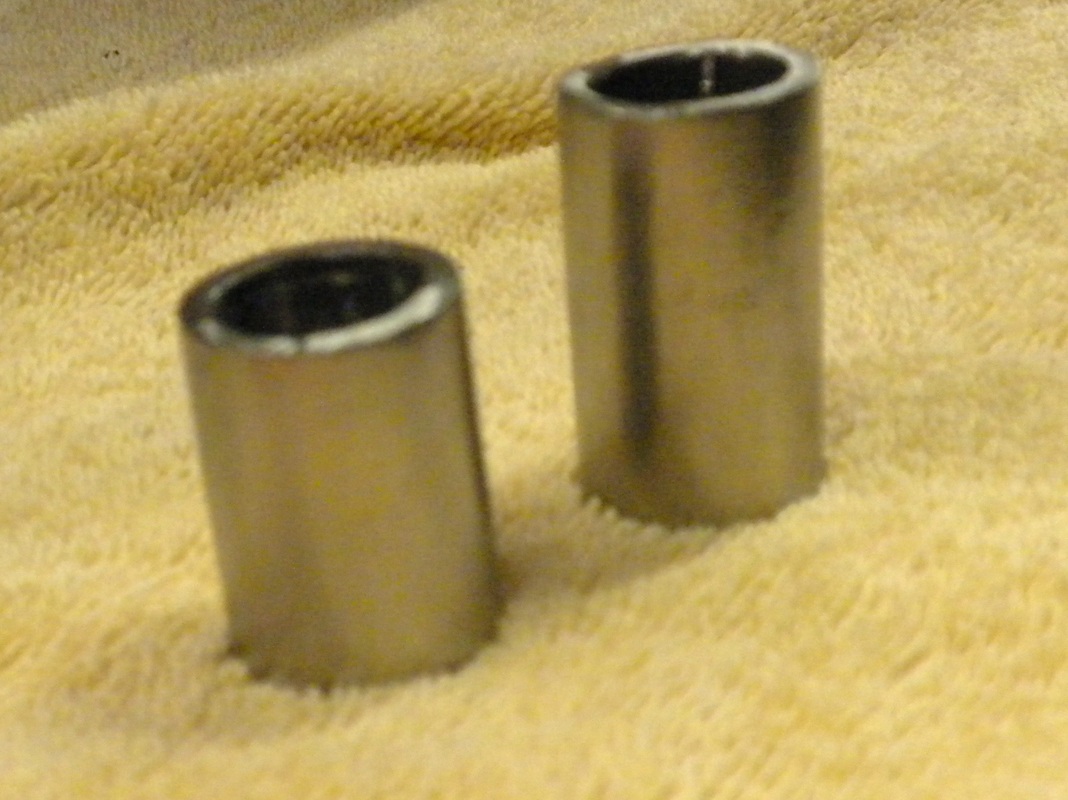 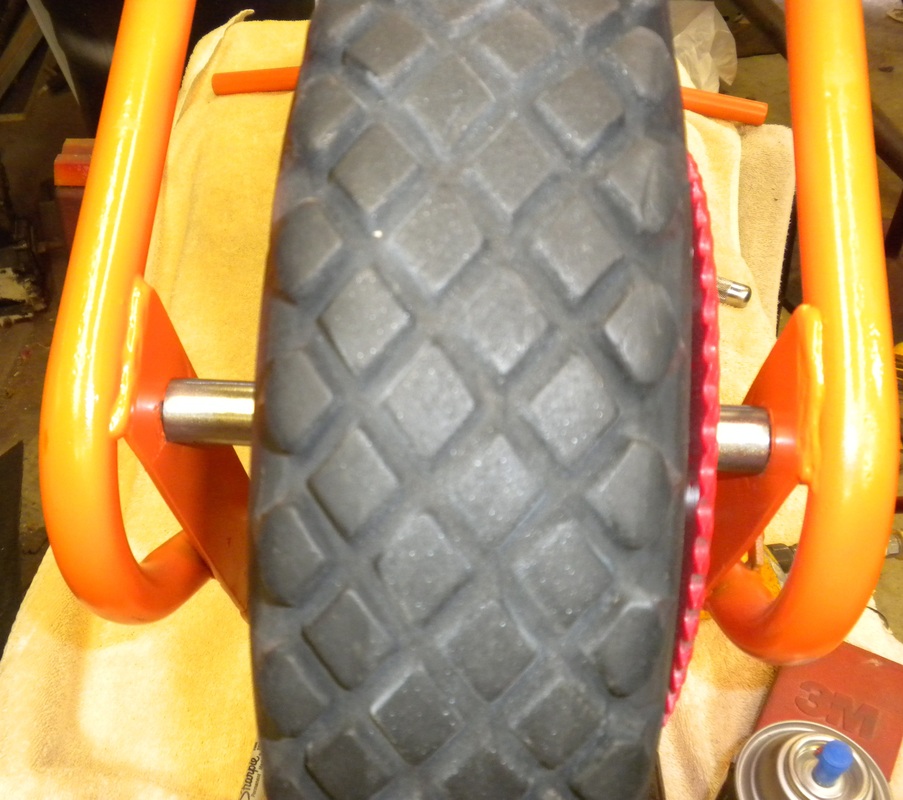
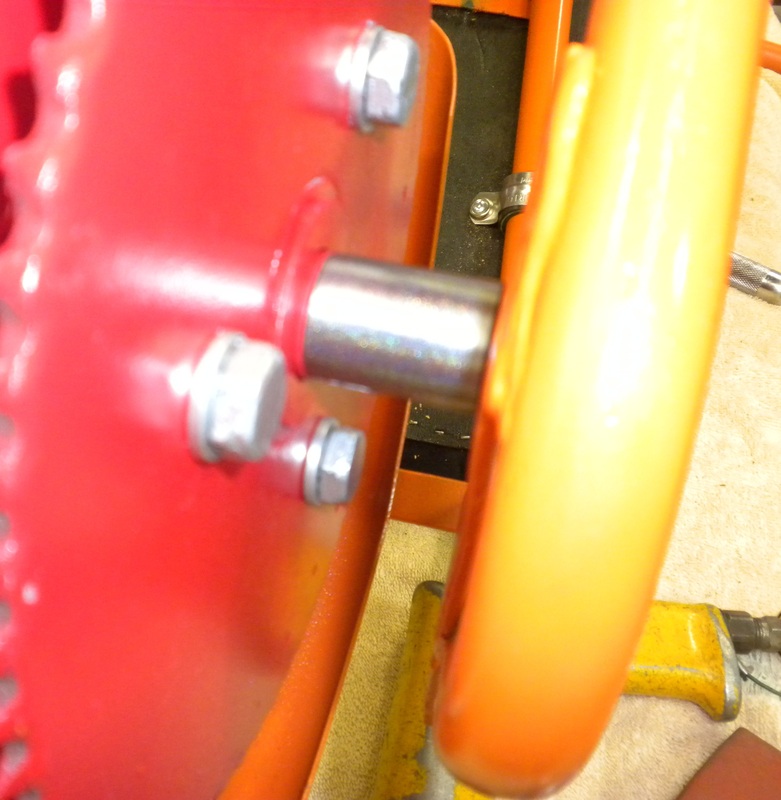
The spacers back on the bike, every little detail counts.
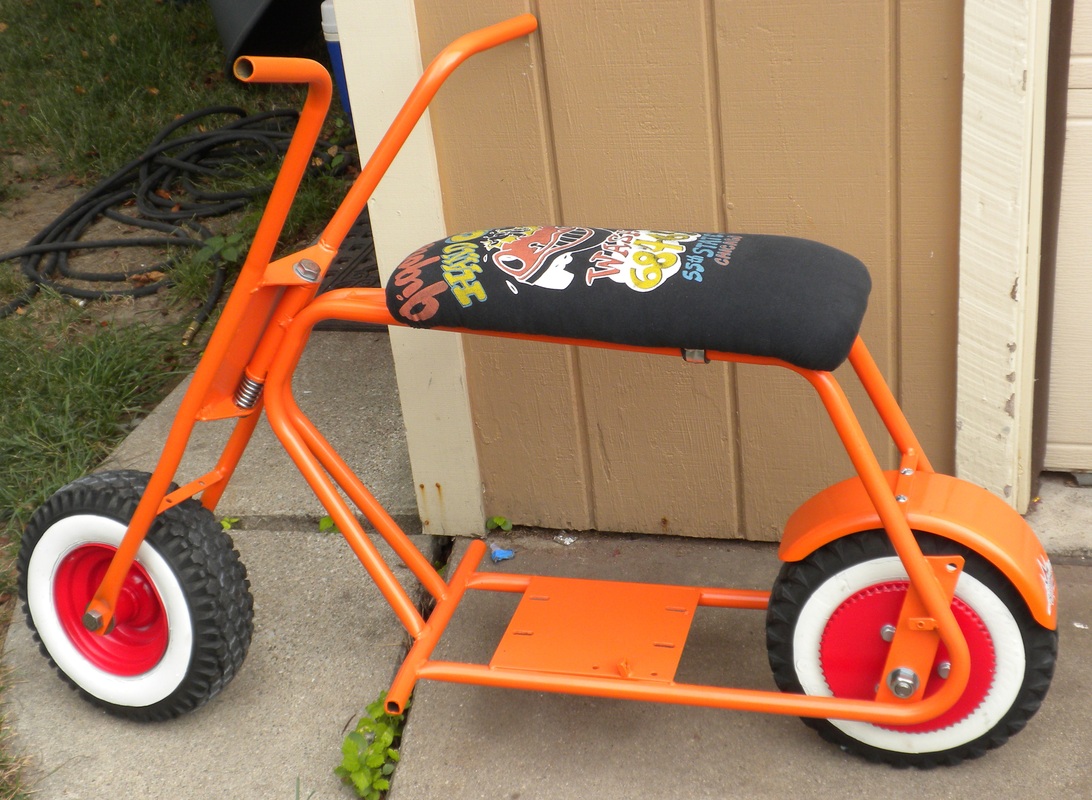
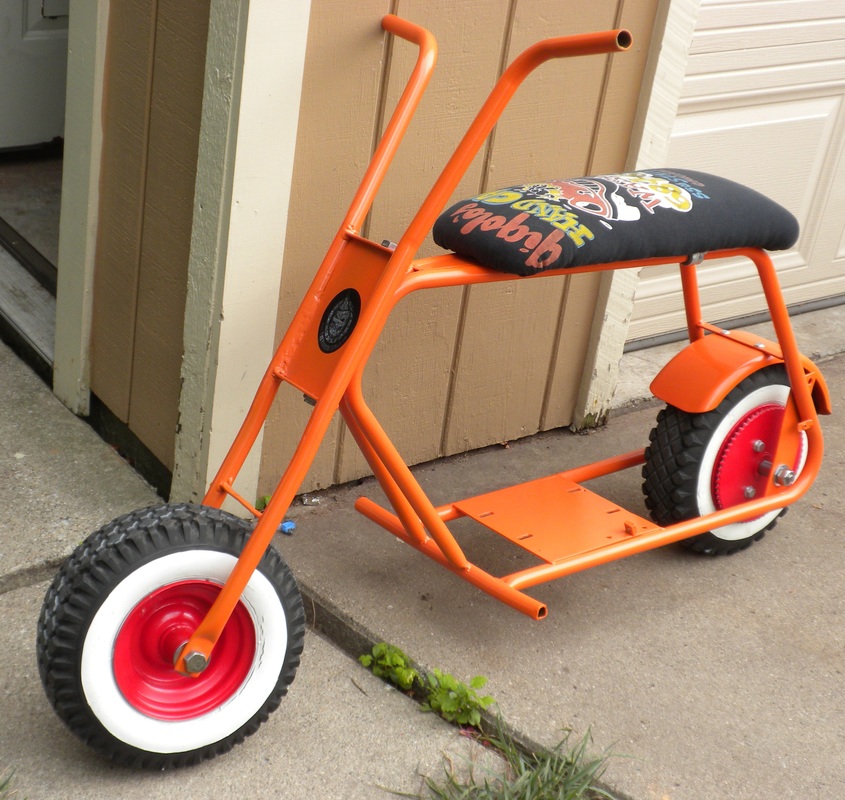
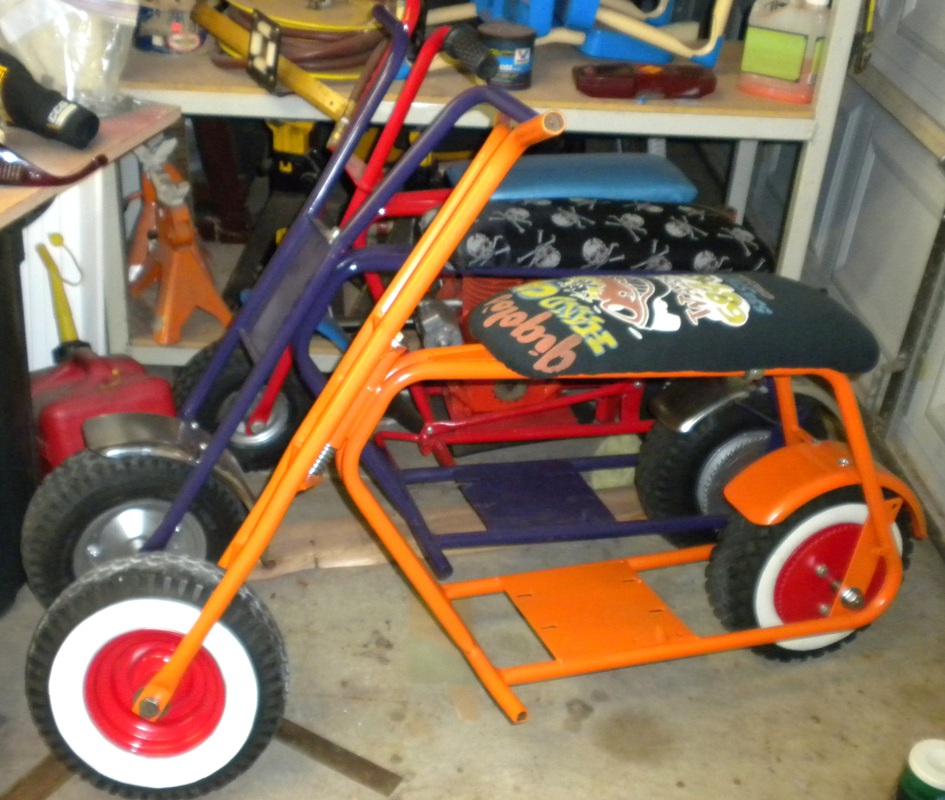
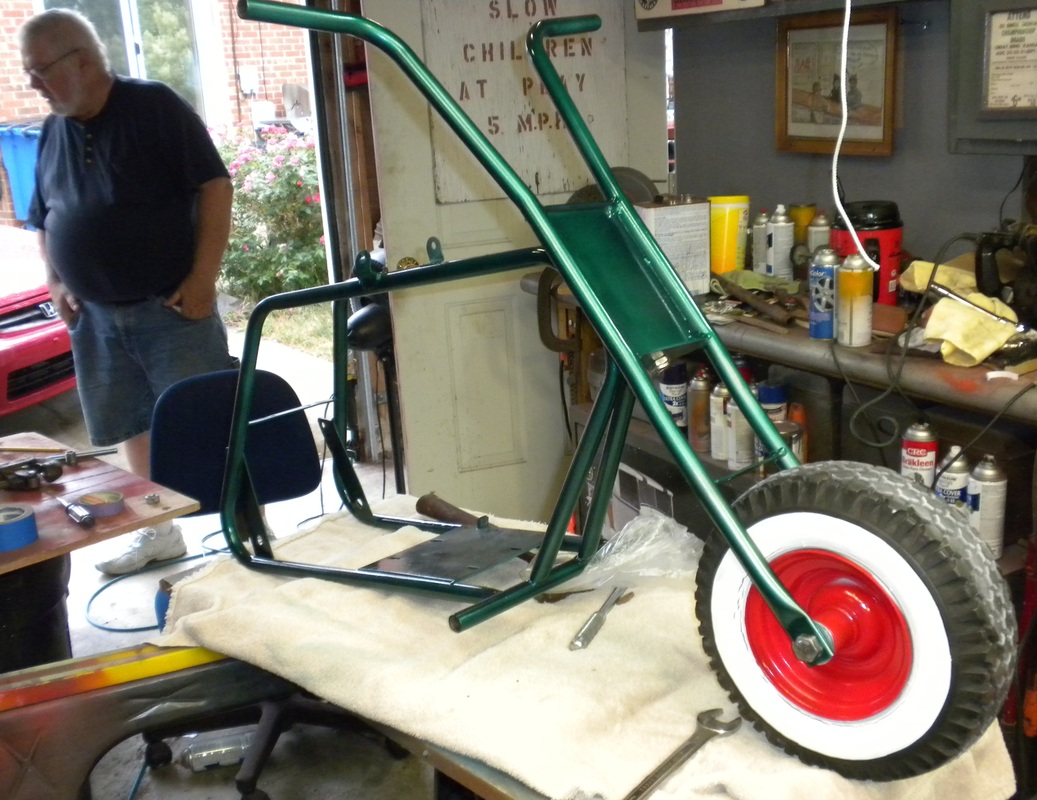
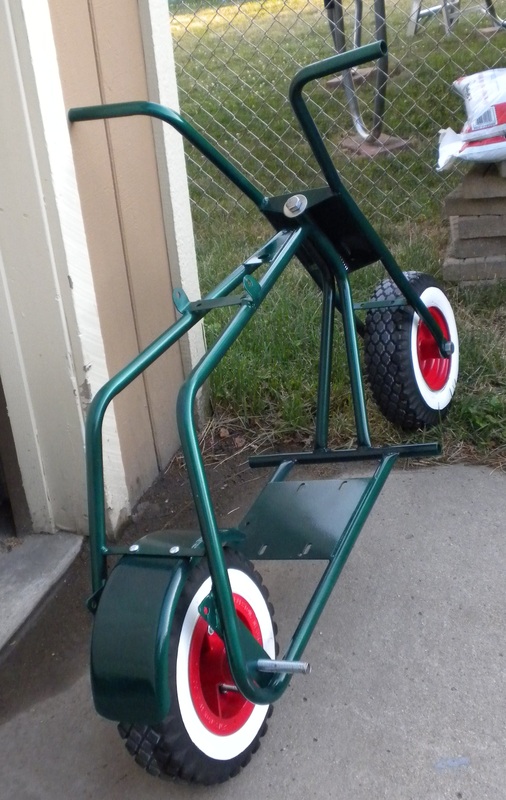
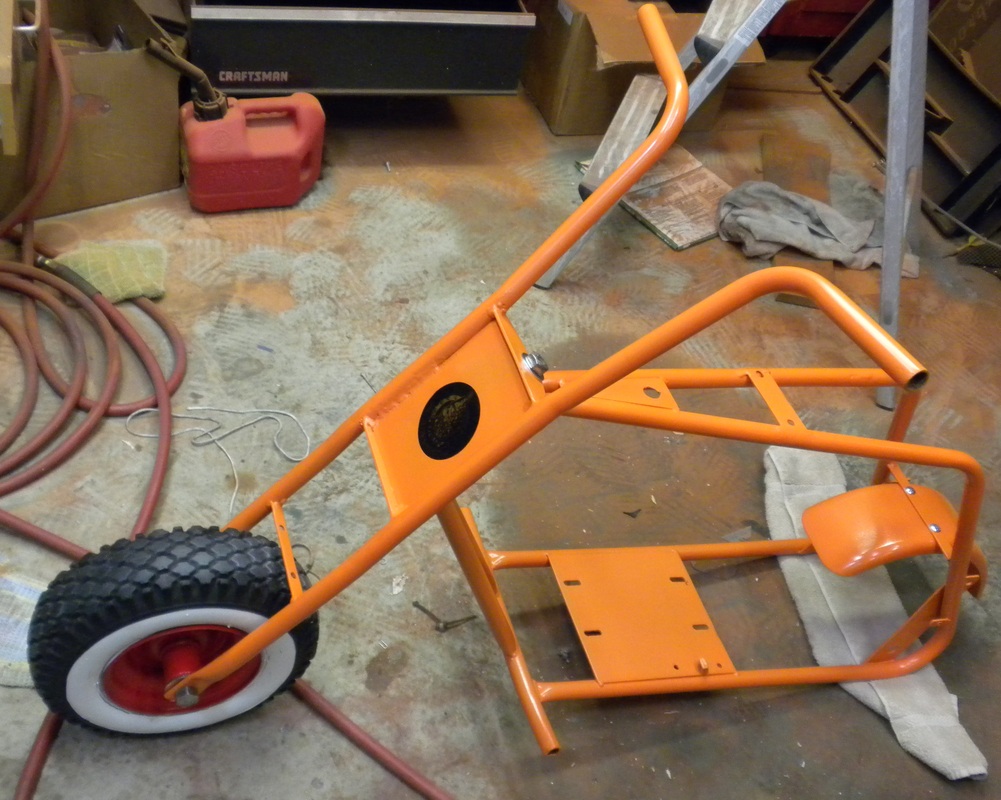
The final assembly

Its done...and I am really happy with it!
|